
 Save
Save
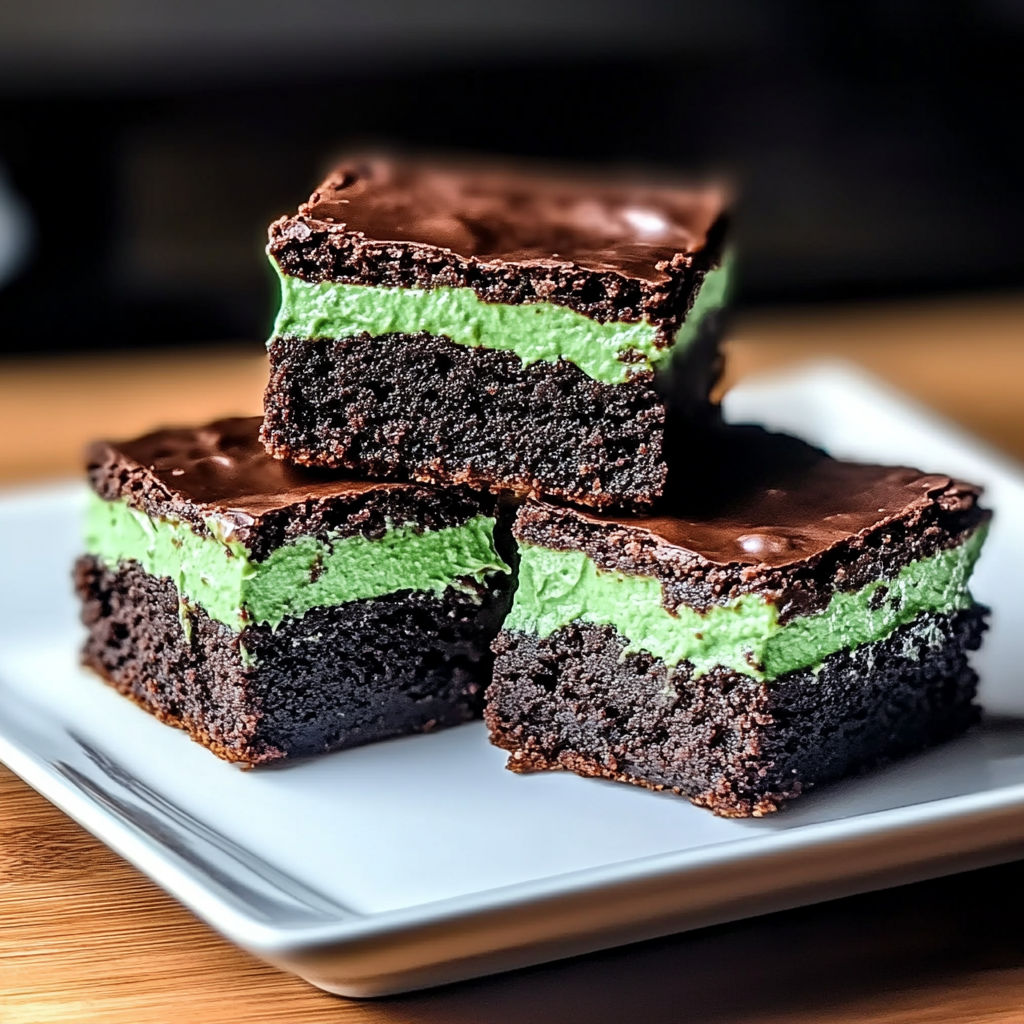
Mint brownies instantly elevate any dessert table with their dense chocolate base and cool creamy mint layer. Whenever I bake these for family gatherings or holiday parties they disappear faster than any other treat I make. This is the go to for when I want something nostalgic but a little unexpected.
I started making these for St Patricks Day one year and now everyone wants them for birthdays and bake sales too. That minty layer makes them extra special and they are always crowd pleasers.
Ingredients
- Unsalted butter: creates a moist fudgy texture and makes both brownie and frosting layers rich
- Semi sweet chocolate: sets up a deep cocoa flavor and helps with that glossy top use good quality bars if possible
- White sugar: gives structure and crackly edges
- Large eggs: provide lift and a dense crumb make sure they are room temperature
- Cocoa powder: boosts intensity look for Dutch processed for smoother flavor
- All purpose flour: ensures brownies stay chewy and soft
- Salt: balances sweetness and heightens chocolate taste
- Peppermint extract: is where the minty magic happens be sure to use pure extract for the best taste
- Green food coloring: just a drop gives the classic mint layer tint
- Powdered sugar: ensures the mint layer is smooth and creamy sift it for best texture
- Heavy cream: softens and fluffs the frosting just a tablespoon will do
- For topping: more butter and semi sweet chocolate combine for a luscious glaze
Instructions
- Make the brownie base:
- Melt unsalted butter and semi sweet chocolate together in a saucepan over low heat stirring often until completely smooth and glossy
- Add sugar and eggs:
- Remove from heat and stir in sugar then beat in eggs one at a time whisking well after each this creates the signature fudgy cheesecake like crumb
- Mix dries:
- In another bowl whisk cocoa powder flour and salt thoroughly to eliminate flour pockets
- Combine wet and dry:
- Fold dry mixture gently into melted chocolate base mixing just until streaks disappear for tender results
- Bake:
- Spread batter into a greased or lined baking pan smoothing the top Bake for about 30 minutes until a toothpick comes out with moist crumbs Avoid overbaking for extra fudgy centres
- Cool completely before adding mint layer
- Prepare mint frosting:
- Beat softened butter with powdered sugar peppermint extract and a few drops of food coloring Add cream to achieve a fluffy but spreadable consistency Taste and adjust for peppermint intensity if needed
- Layer on brownies:
- Spread the mint frosting evenly over completely cooled brownies using an offset spatula for a smooth finish
- Make the chocolate glaze:
- Melt semi sweet chocolate with more butter over gentle heat until pourable and silky
- Top brownies:
- Pour glaze over mint layer and quickly smooth it with a spatula Let set at room temperature or chill until glaze is firm to the touch before slicing into bars
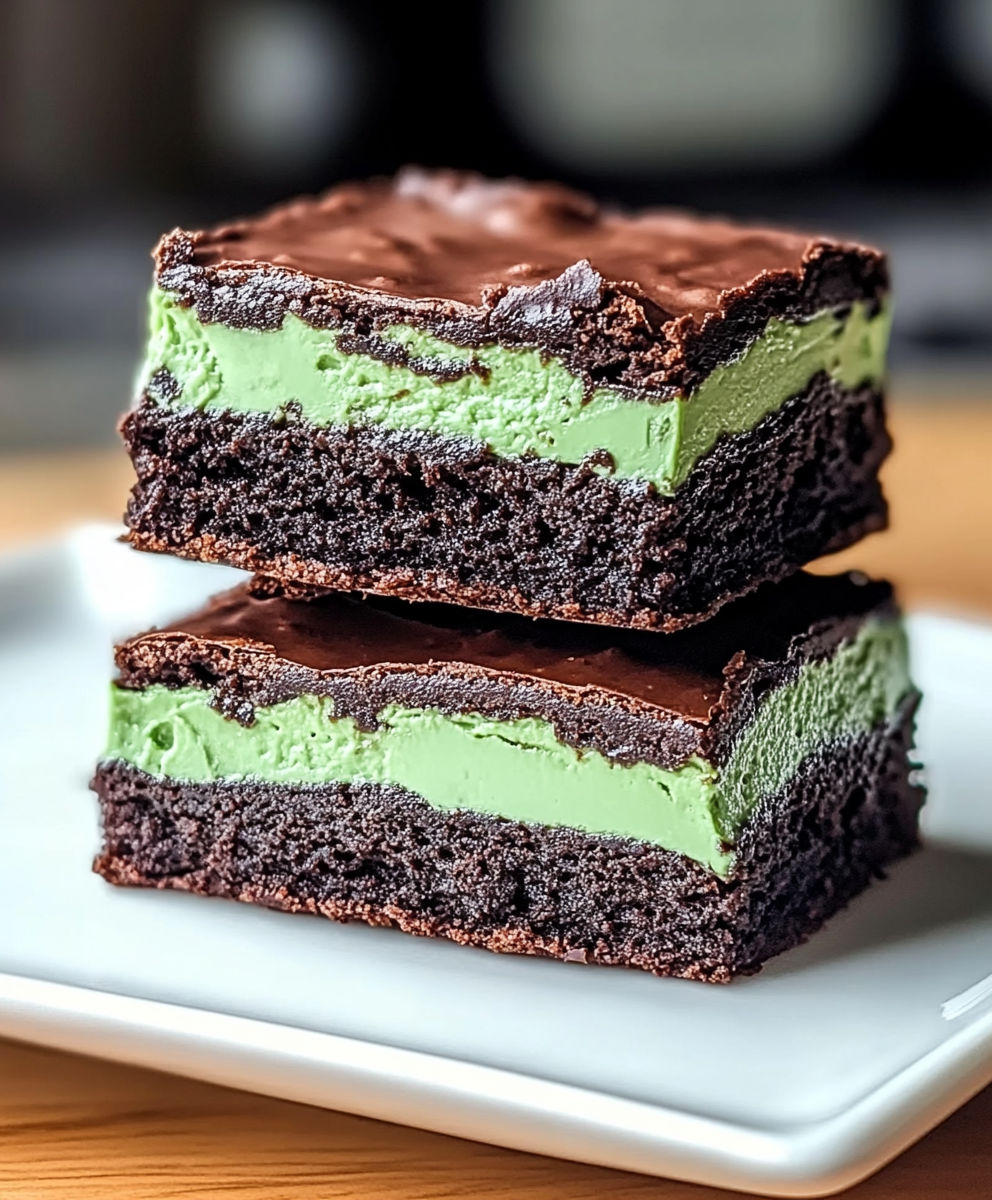
Whenever I pull out the peppermint extract the kitchen fills with that unmistakable scent and just the anticipation makes everyone sneak into the kitchen for a corner piece I love how the green mint layer instantly brings a sense of celebration even to ordinary days
Storage Tips
Cut brownies only when completely set and store in an airtight container between layers of parchment This keeps the glaze and frosting picture perfect A chilled pan of brownies can last up to a week but I recommend bringing them to room temperature for serving so the flavors pop
Ingredient Substitutions
Use dark chocolate if you want an extra intense cocoa hit Dairy free butters work surprisingly well if needed Almond extract adds a twist if peppermint is not your thing For a caffeine kick espresso powder in the base deepens the chocolate
Serving Suggestions
Pair with vanilla ice cream or a drizzle of hot fudge Sprinkles or a chocolate curl garnish add a festive touch Serve cut into small squares on tiered trays for parties or slice big for an over the top dessert
Cultural Notes
Mint brownies are an American bakery classic especially popular at potlucks and retro style parties Their green tinted layer nods to holiday flavors but these brownies are welcome year round For many families mine included they are a must for March celebrations
Seasonal Adaptations
Swap red or pink coloring for winter holidays Fold in crushed candy canes for December treats Add lemon extract to the frosting for a springtime variation
Success Stories
I made these for a bake sale and they sold out within minutes Someone once told me these taste like a grown up Girl Scout cookie and after trying them I completely agree If you love Andes mints or chocolate peppermint patties this is your new favorite
Freezer Meal Conversion
These freeze perfectly Cut cooled brownies into bars wrap tightly in foil and freeze up to two months Just let them thaw at room temperature for a quick dessert that still tastes bakery fresh

Makes a striking dessert for any occasion and is sure to become a family favorite. Try this recipe the next time you want treats that stand out on any table.
Recipe FAQs
- → How do I achieve a smooth mint layer?
Beat the butter until creamy before gradually adding powdered sugar, extract, and food coloring. Spread evenly on cooled brownies for best results.
- → Can I make these brownies gluten-free?
You can substitute all-purpose flour with your preferred gluten-free baking blend in equal measure for similar texture.
- → What is the best way to melt chocolate for topping?
Melt chocolate and butter slowly over low heat or use a microwave in short intervals, stirring frequently to prevent burning.
- → How do I cut brownies without smearing the frosting?
Chill the brownies until the chocolate topping is set, then use a sharp knife dipped in hot water and wiped dry between slices.
- → Can the peppermint flavor be adjusted?
Yes, add peppermint extract a little at a time and taste as you go until your desired level of mintiness is reached.