
 Save
Save
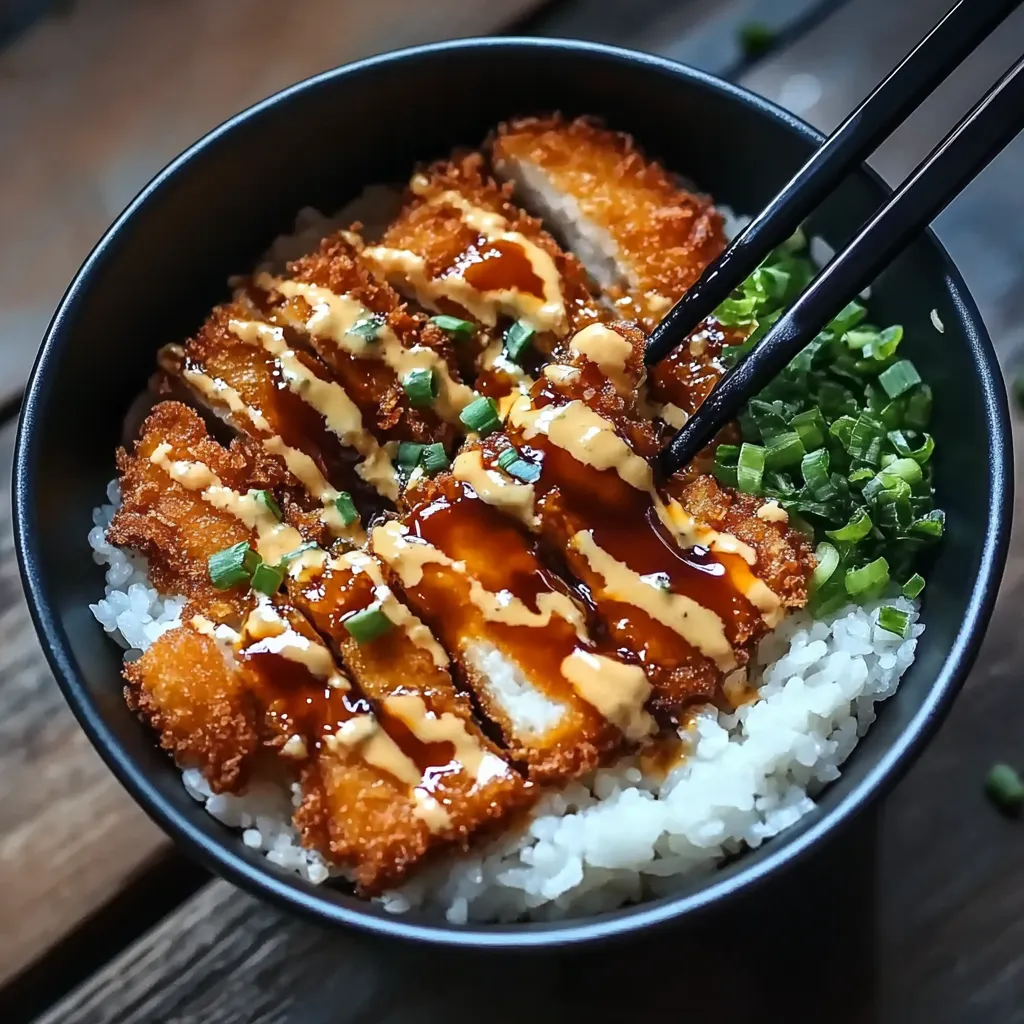
This hearty Japanese katsu bowl has become my weeknight dinner savior when I'm craving something crispy yet deeply satisfying. The contrast between the crunchy panko-crusted cutlet, fluffy rice, and tangy tonkatsu sauce creates a perfect harmony of textures and flavors that brings authentic Japanese comfort food right to your table.
I first made these katsu bowls after returning from Tokyo, desperately missing the katsu shops that seemed to be on every corner. After several attempts, I perfected this version that my husband now requests at least twice a month.
Ingredients
- Boneless pork chops or chicken breasts: the foundation of your katsu, choose cuts about 1/2 inch thick for best results
- All purpose flour: creates the first layer of your breading station for perfect adhesion
- Large egg: acts as the glue that helps panko stick to your protein
- Panko breadcrumbs: Japanese style breadcrumbs that create an exceptionally light and crispy coating
- Ketchup: forms the base of your tonkatsu sauce adding sweetness and body
- Worcestershire sauce: provides depth and umami richness to the sauce
- Soy sauce: adds essential saltiness and that signature Asian flavor profile
- Mirin or rice vinegar: brings necessary acidity and subtle sweetness
- Brown sugar: balances the sauce with caramel notes
- Steamed rice: absorbs the delicious sauce and creates the foundation of your bowl
- Shredded cabbage: adds freshness and crunch to balance the fried elements
Step-by-Step Instructions
- Prepare Your Protein:
- Take your pork chops or chicken breasts and place between plastic wrap. Using a meat mallet or heavy pan, gently pound to even thickness of about 1/4 inch. This ensures quick and even cooking while tenderizing the meat. Season both sides generously with salt and pepper, allowing the seasonings to penetrate the meat.
- Set Up Breading Station:
- Arrange three shallow dishes in a row. Fill the first with flour seasoned with a pinch of salt and pepper. In the second dish, beat the egg until completely smooth. Fill the third dish with panko breadcrumbs. This organized setup makes the breading process much cleaner and more efficient.
- Bread The Cutlets:
- Take each seasoned cutlet and dredge thoroughly in flour, shaking off excess. Next, dip into beaten egg, ensuring complete coverage. Finally, press firmly into panko breadcrumbs, patting gently to create an even coating that adheres well. Place breaded cutlets on a plate and let rest for 5 minutes to help the coating set.
- Fry To Perfection:
- Heat 1/2 inch of vegetable oil in a large skillet to 340350°F. If you don't have a thermometer, test by dropping a breadcrumb in it should sizzle immediately but not burn. Carefully place cutlets in the hot oil without crowding the pan. Fry for 34 minutes per side until deeply golden brown and internal temperature reaches 145°F for pork or 165°F for chicken.
- Create Tonkatsu Sauce:
- While cutlets are frying, combine ketchup, Worcestershire sauce, soy sauce, mirin, brown sugar, and mustard in a small saucepan. Whisk thoroughly and bring to a gentle simmer over medium heat. Cook for 23 minutes until slightly thickened with a glossy appearance. The sauce should coat the back of a spoon.
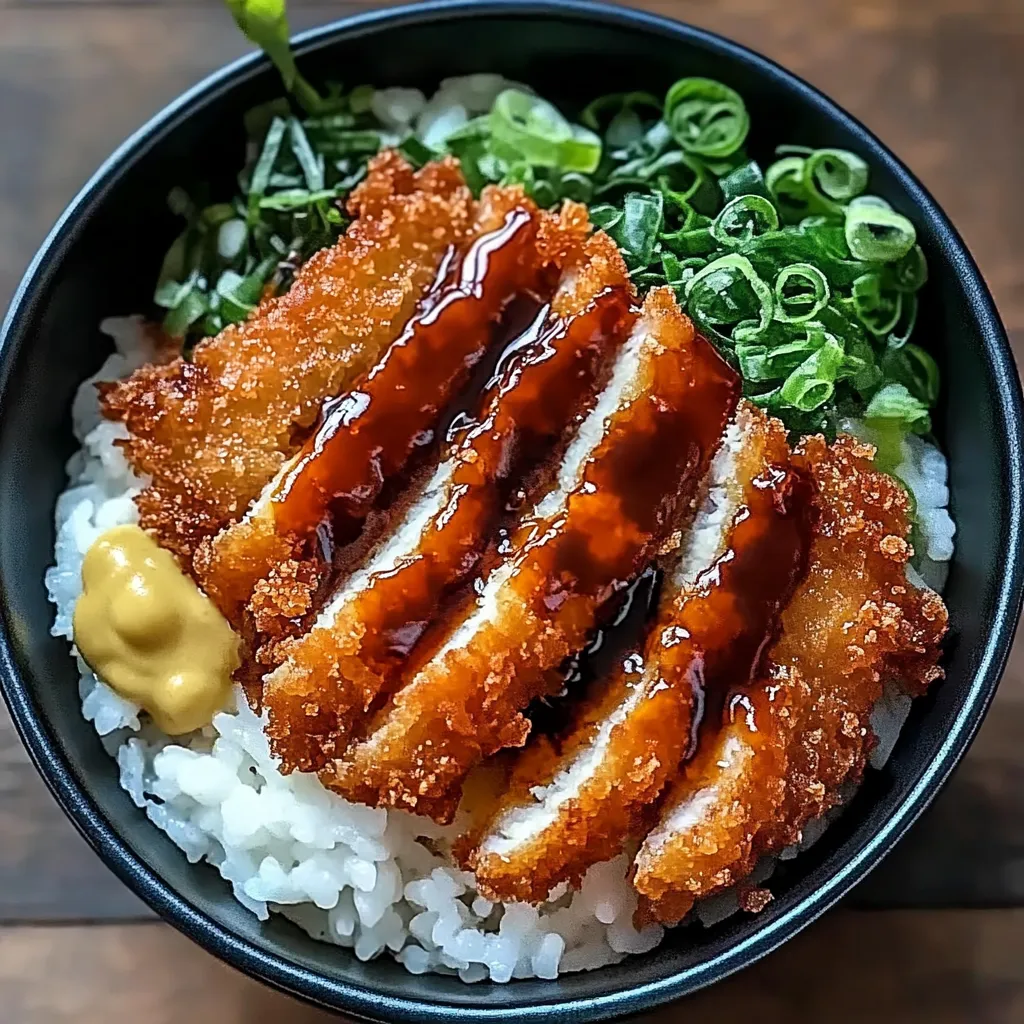
- Slice And Assemble:
- Allow fried cutlets to rest on a wire rack or paper towels for 2 minutes. Using a sharp knife, slice cutlets into 1/2inch strips against the grain. Fill serving bowls with hot steamed rice, arrange sliced katsu on top, and drizzle generously with tonkatsu sauce. Add a handful of shredded cabbage alongside and sprinkle with optional toppings like green onions or sesame seeds.
The panko breadcrumbs are truly the secret weapon in this recipe. Unlike regular breadcrumbs, panko is made from crustless bread that's processed into airy, larger flakes. This creates that signature ultra-crispy texture that stays crunchy longer, even when sauced. I learned this technique from a Japanese friend's mother who insisted on letting the breaded cutlets rest before frying, which truly makes all the difference.
Make-Ahead Options
Katsu bowls are surprisingly great for meal prep if you store components separately. The tonkatsu sauce can be made up to two weeks ahead and stored in an airtight container in the refrigerator. The sauce actually improves after a day as flavors meld together. For the cutlets, you can bread them and freeze uncooked for up to a month. When ready to eat, thaw in the refrigerator overnight and fry as directed. If you want to prepare fully cooked katsu ahead of time, allow them to cool completely before refrigerating, then reheat in a 350°F oven for 10 minutes to restore crispiness.
Perfect Pairings
Traditional Japanese katsu bowls are often served with simple sides that complement without overwhelming. Try serving with miso soup for a warming starter that primes the palate. For vegetables, cucumber sunomono provides a light, vinegary contrast to the rich katsu. If you want to expand your Japanese menu, add edamame sprinkled with sea salt as an easy appetizer. For a refreshing beverage, cold barley tea or a light Japanese beer like Sapporo perfectly balances the meal.
Air Fryer Adaptation
For a lighter version with less oil, your air fryer works beautifully with this recipe. Preheat your air fryer to 375°F while you bread the cutlets according to the regular instructions. Spray both sides of the breaded cutlets with cooking oil spray. Place in the air fryer basket without overlapping and cook for 8 minutes. Flip the cutlets and spray again lightly with oil, then cook for another 5-7 minutes until golden brown and cooked through. The texture will be slightly different but still deliciously crispy with significantly less oil.
Recipe FAQs
- → Can I make katsu bowls with something other than pork or chicken?
Absolutely! Tofu and eggplant make excellent vegetarian alternatives for katsu. Simply slice firm tofu or eggplant into cutlets, bread them using the same flour-egg-panko method, and fry until golden. The key is ensuring your alternative is sliced evenly and patted dry before breading for the best crispy texture.
- → How can I make katsu bowls healthier?
For a lighter version, you can bake or air-fry the breaded cutlets instead of deep-frying. When baking, arrange the breaded cutlets on a wire rack over a baking sheet and spray with cooking oil, then bake at 400°F for about 20 minutes, flipping halfway. In an air fryer, cook at 360°F for 12-15 minutes, flipping halfway. You can also use brown rice or cauliflower rice as a base.
- → What's the secret to really crispy katsu?
For extra-crispy katsu, ensure your meat is pounded to even thickness and thoroughly dried before breading. Use Japanese panko breadcrumbs rather than regular breadcrumbs for optimal crunch. Allow the breaded cutlets to rest for 5-10 minutes before frying to help the coating adhere. Maintain oil temperature between 340-350°F and avoid overcrowding the pan, which causes temperature drops and soggy results.
- → Can I make tonkatsu sauce ahead of time?
Yes! Tonkatsu sauce keeps very well in the refrigerator for up to 2 weeks in an airtight container. In fact, making it ahead allows the flavors to meld and develop further. Just give it a good stir before using, and warm gently if you prefer it served hot. You can also double the sauce recipe to have extra for other dishes.
- → What sides pair well with katsu bowls?
Traditional Japanese sides like miso soup, pickled vegetables (tsukemono), or a simple cucumber salad complement katsu bowls perfectly. For fusion options, try edamame, seaweed salad, or a light green salad with ginger dressing. If you want something heartier, consider gyoza (dumplings) or vegetable tempura. The key is balancing the rich, crispy katsu with something light, fresh, or acidic.
- → How do I store and reheat leftover katsu?
Store leftover katsu separate from the rice and sauce in an airtight container in the refrigerator for up to 2 days. To reheat, avoid the microwave which will make the breading soggy. Instead, place the katsu on a wire rack over a baking sheet and heat in a 350°F oven for 10-15 minutes until heated through and re-crisped. Assemble your bowl with fresh rice and sauce after reheating.