
 Save
Save
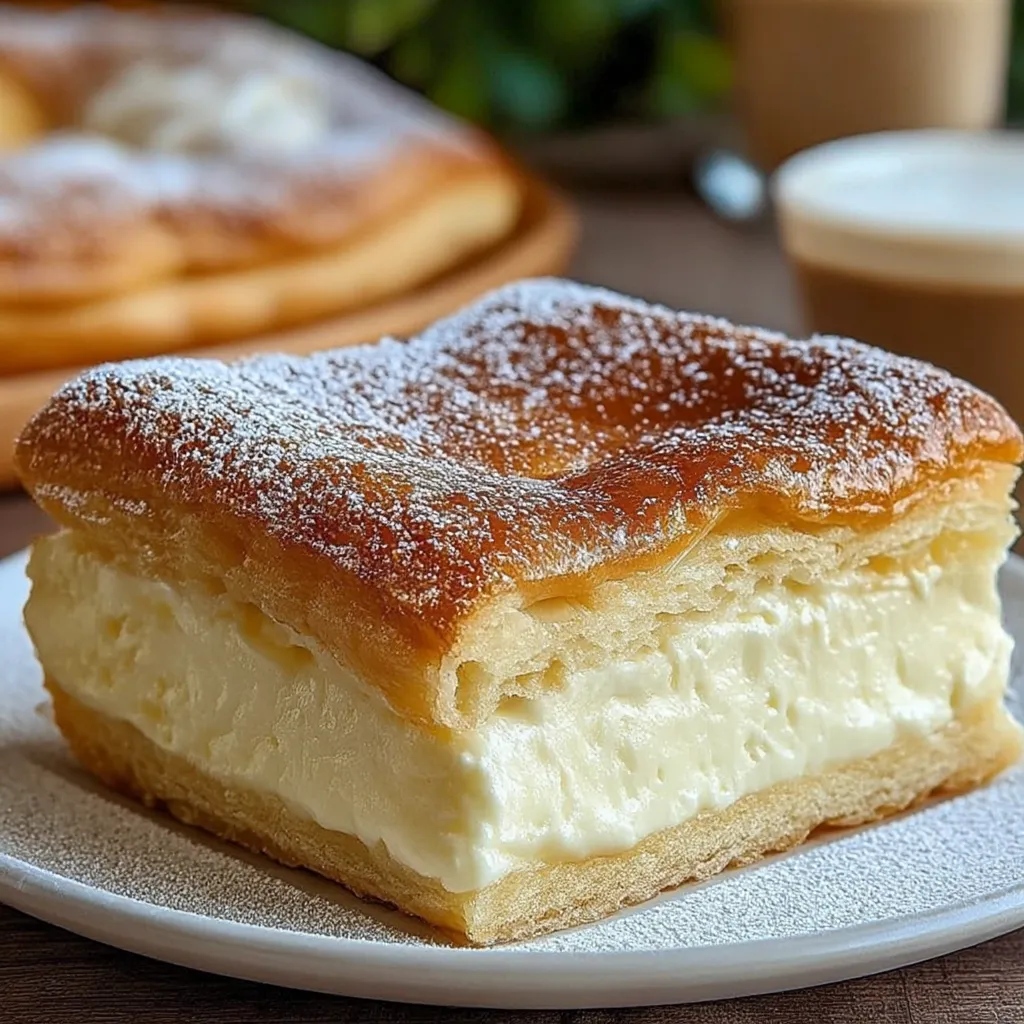
This Sopapilla Cheesecake transforms simple ingredients into an addictive dessert that combines flaky pastry with creamy cheesecake filling. The cinnamon sugar topping creates that classic sopapilla flavor without any of the frying traditionally needed.
I first made this for a Cinco de Mayo gathering and watched it disappear within minutes. Now it's my go-to potluck contribution when I need something guaranteed to impress without spending hours in the kitchen.
Ingredients
- Crescent roll dough: Two cans create the perfect flaky layers that mimic traditional sopapillas
- Cream cheese: Use full-fat for the richest texture and always make sure it's properly softened
- Granulated sugar: Divided between the filling and topping for balanced sweetness
- Vanilla extract: Adds depth to the filling look for pure vanilla not imitation
- Large egg: Helps bind the filling and creates the perfect cheesecake texture
- Butter: Melted butter creates that golden brown top and helps the cinnamon sugar adhere
- Ground cinnamon: Provides the classic sopapilla flavor profile use fresh for best aroma
- Honey: Optional in the filling but highly recommended for authentic flavor and moisture
Step-by-Step Instructions
- Prepare the baking dish:
- Preheat your oven to 350°F and thoroughly grease your 9x13 baking dish ensuring no spots are missed to prevent sticking
- Create the base layer:
- Carefully unroll the first can of crescent dough without tearing it and press it evenly into the bottom of the dish making sure to seal those perforated lines completely with your fingertips
- Prepare the base:
- Brush the dough with a thin layer of melted butter which creates a moisture barrier and adds richness consider adding a light honey brush for extra flavor
- Mix the filling:
- In a large bowl beat the softened cream cheese until completely smooth and free of lumps before adding sugar vanilla and egg beat until silky and uniform in texture
- Add the filling layer:
- Pour and spread the cream cheese mixture evenly over the first dough layer using an offset spatula to create a perfectly level surface
- Create the top layer:
- Carefully unroll the second can of dough and position it over the filling gently stretching as needed to cover completely and pressing seams together
- Finish the top:
- Brush the remaining melted butter generously over the entire top surface then evenly sprinkle with the cinnamon sugar mixture ensuring complete coverage
- Bake to perfection:
- Place in the preheated oven and bake for 25 to 30 minutes watching carefully until the top is evenly golden brown and slightly puffed
- Cool completely:
- Allow to cool at room temperature for at least an hour which allows the filling to set properly before cutting into squares
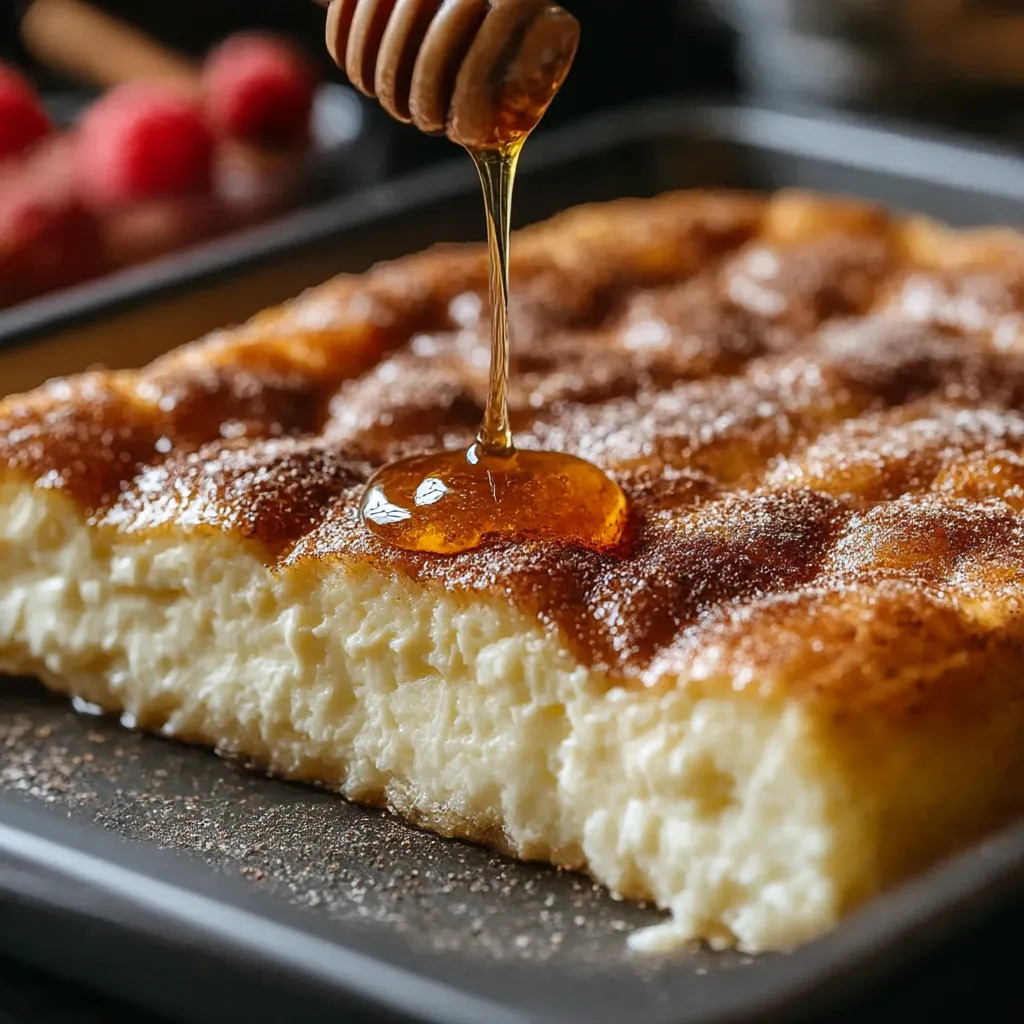
The honey drizzle is what truly transforms this dessert. My grandmother always said a good sopapilla needs honey, and she was right. I remember watching her drizzle warm honey in perfect zigzags across the top, and I still follow her technique every time I make this recipe.
Make-Ahead Tips
This cheesecake actually improves with time as the flavors meld together. You can prepare it up to 24 hours in advance and keep refrigerated until ready to serve. Just bring it to room temperature about 30 minutes before serving for the best texture and flavor. The crescent dough will maintain its texture surprisingly well even after refrigeration.
Seasonal Variations
During summer months, top with fresh berries and a mint garnish for a refreshing twist. In fall, try adding a touch of pumpkin puree and pumpkin spice to the filling. Winter holidays call for a sprinkle of crushed candy canes or a drizzle of chocolate. Spring celebrations might benefit from a light lemon zest addition to brighten the flavor profile.
Serving Suggestions
While delicious on its own, this Sopapilla Cheesecake reaches new heights when served slightly warm with a scoop of vanilla ice cream. The contrast between the warm, crispy pastry and cold, creamy ice cream creates an irresistible dessert experience. For brunch gatherings, pair with strong coffee to balance the sweetness. A small dollop of lightly whipped cream and fresh berries adds both visual appeal and textural contrast.
Cultural Background
Sopapillas originated in New Mexico as fried pastry pillows traditionally drizzled with honey. This cheesecake version maintains the spirit of the original dessert but transforms it into an accessible baked treat that anyone can make at home. While not authentic in preparation method, the flavor profile honors the original inspiration with its combination of pastry, sweetness, and honey notes.
Recipe FAQs
- → Can I make Sopapilla Cheesecake ahead of time?
Yes, you can prepare Sopapilla Cheesecake up to 2 days in advance. After baking and cooling completely, cover tightly and refrigerate. For best texture, bring to room temperature about 30 minutes before serving, or warm slightly in a 300°F oven for 10 minutes.
- → How should I store leftover Sopapilla Cheesecake?
Store leftovers in an airtight container in the refrigerator for up to 5 days. The dessert contains dairy, so refrigeration is necessary for food safety. For best flavor, allow to come to room temperature before serving.
- → Can I freeze Sopapilla Cheesecake?
Yes, Sopapilla Cheesecake freezes well. After cooling completely, cut into portions, wrap individually in plastic wrap, then aluminum foil, and freeze for up to 3 months. Thaw overnight in the refrigerator before serving.
- → What's the origin of Sopapilla Cheesecake?
Sopapilla Cheesecake is a fusion dessert that combines elements of traditional Mexican sopapillas (fried pastry pillows dusted with cinnamon sugar) with American-style cheesecake. It's a popular Tex-Mex inspired dessert that offers the flavors of sopapillas in a convenient baked form.
- → Can I use homemade dough instead of crescent rolls?
Yes, you can substitute homemade pastry dough for the crescent rolls. A basic pie crust or puff pastry works well. Roll the dough to approximately the same thickness as crescent roll dough, and follow the same assembly instructions.
- → Is there a way to make this dessert less sweet?
Absolutely. You can reduce the sugar in both the filling and topping by up to half for a less sweet version. You might also consider using Neufchâtel cheese instead of full-fat cream cheese for a lighter filling with less richness.