
 Save
Save
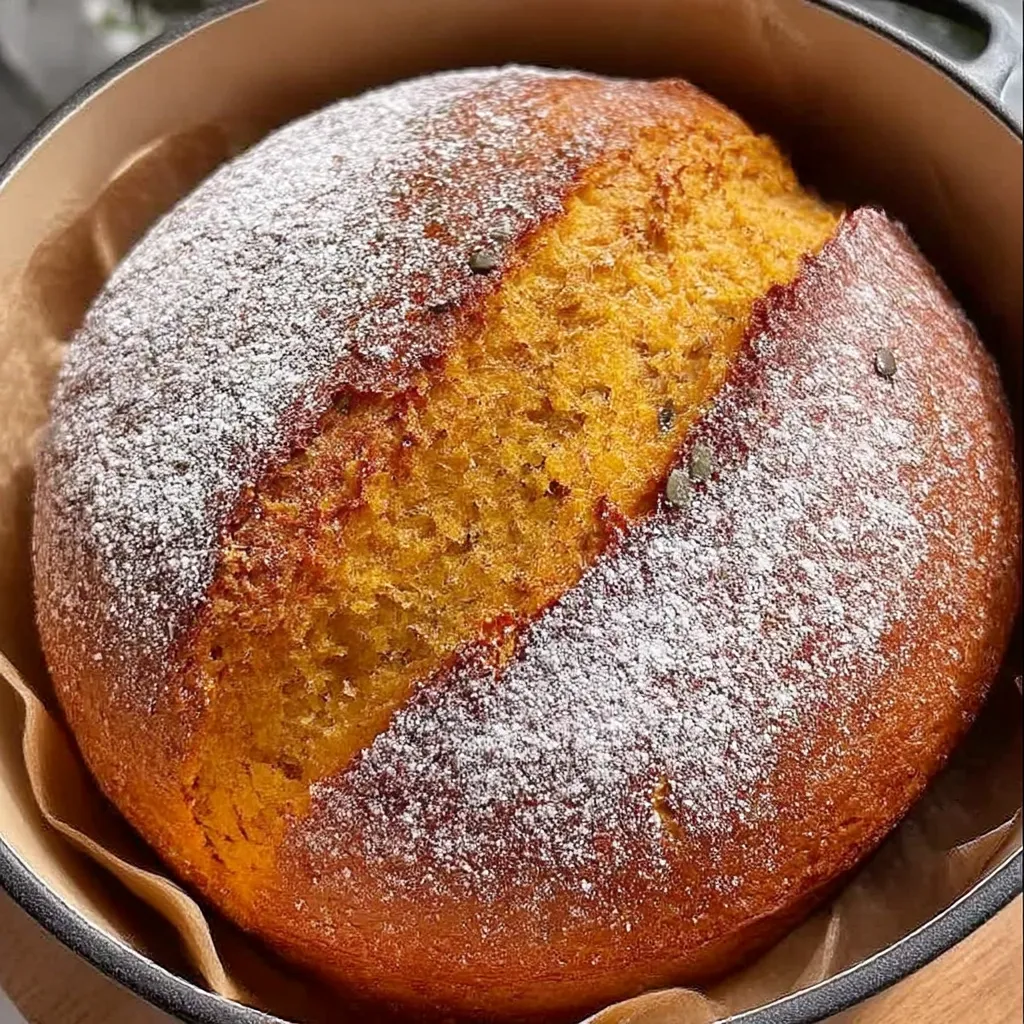
This pumpkin Dutch oven bread transforms simple ingredients into a spectacular artisanal loaf with minimal effort. The long fermentation creates incredible depth of flavor while the pumpkin adds moisture and a subtle earthy sweetness without overwhelming the bread's character.
I first developed this recipe after receiving my Dutch oven as a housewarming gift. That initial experimental loaf sparked countless variations and has become my signature contribution to dinner gatherings throughout fall and winter.
Ingredients
- Water: At cool room temperature ensures slow proper fermentation giving the dough time to develop flavor
- Active dry yeast: Only a small amount needed since we use a long fermentation method
- Pumpkin puree: Provides moisture natural sweetness and beautiful golden color to the bread
- Bread flour: Offers higher protein content than all purpose resulting in better structure and chewiness
- Fine sea salt: Enhances flavor and controls yeast activity use real sea salt not table salt for best results
Step-by-Step Instructions
- Activate the yeast:
- Pour cool water into your mixing bowl and sprinkle yeast over the surface. Stir gently until dissolved then allow it to sit for about 5 minutes until slightly foamy. Add pumpkin puree and whisk thoroughly until completely smooth ensuring no unmixed pockets remain that could create inconsistent texture in your final loaf.
- Mix the dough:
- Add bread flour and salt to your pumpkin mixture. Stir with a sturdy spatula until mostly combined then use your hands to squeeze and fold the ingredients together. The texture will be sticky but should fully incorporate all dry ingredients. No kneading is required here the long fermentation will develop the gluten structure naturally.
- First fermentation:
- Cover your bowl with plastic wrap and let sit at room temperature for an hour. After this initial rest perform a series of gentle folds by wetting your hands lifting edges of dough and folding over itself several times until it feels tighter. Cover again and allow to rise at room temperature for 3 to 4 more hours until increased in volume by about one third.
- Cold fermentation:
- Transfer your bowl to the refrigerator and let the dough rest for approximately 12 hours or overnight. This cold fermentation slows yeast activity while allowing enzymes to work on developing complex flavors and improving texture. The dough becomes easier to handle when chilled making shaping simpler.
- Shape and final rise:
- Remove chilled dough and transfer to a floured surface. With floured hands shape into a tight round by tucking edges underneath and using the sides of your hands to create tension on the surface. Place on parchment paper dust lightly with flour and cover with a clean kitchen towel. Allow to rise 3 to 4 hours until noticeably puffy.
- Baking:
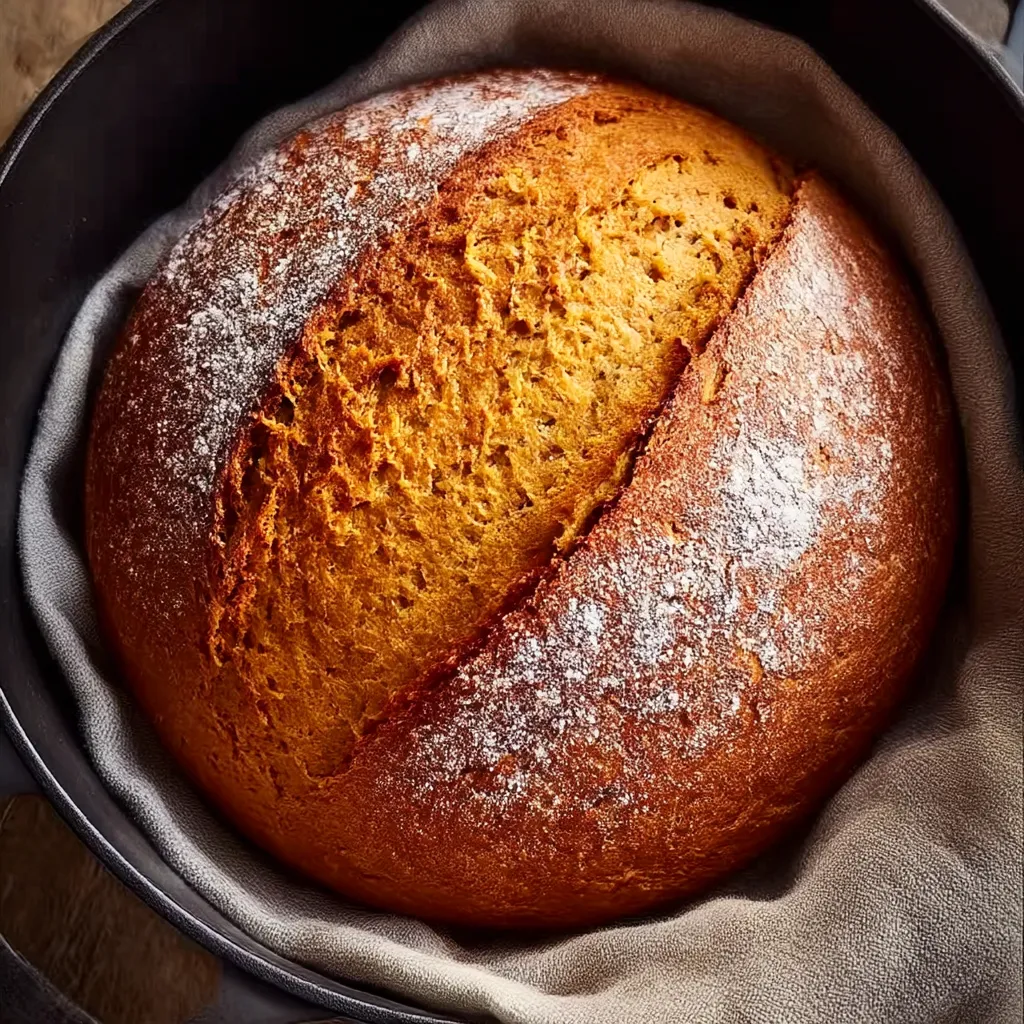
- Preheat your Dutch oven inside a 450°F oven for 20 minutes to ensure it reaches proper temperature throughout. Score the top of your risen dough with a quick confident slash using a very sharp knife. Transfer dough with parchment into the hot Dutch oven cover with lid and bake for 20 minutes. Remove lid and continue baking 20 to 25 minutes until deeply golden.
- Cooling:
- Place finished bread on a cooling rack for at least one hour before cutting. This resting period allows the interior structure to set properly and enhances flavor development. Cutting too early can compress the crumb and create gumminess.
This pumpkin bread became my signature contribution after bringing it to a neighborhood potluck years ago. The rich golden color always draws attention but it's the perfect texture that keeps people asking for the recipe. I've experimented with dozens of variations but this simple version remains the family favorite for its reliability and versatility.
Make Ahead Options
This bread dough can actually remain in your refrigerator for up to three days before baking allowing flexibility in your schedule. The flavor continues to develop becoming more complex with extended cold fermentation. Simply remove from the refrigerator shape as directed and allow slightly more time for the final rise if the dough is very cold.
Perfect Pairings
This bread makes an exceptional partner for fall and winter soups particularly butternut squash or roasted vegetable varieties. The subtle pumpkin flavor enhances without competing with hearty soups and stews. For an elevated breakfast experience toast thick slices and top with ricotta a drizzle of honey and cracked black pepper creating a perfect balance of sweet and savory.
Troubleshooting Tips
If your dough seems too sticky during shaping resist adding too much flour which can create a dense loaf. Instead use a light touch with flour on your hands and work surface. For a more pronounced pumpkin flavor add 1 teaspoon of pumpkin pie spice to the flour though I prefer the subtle version that lets good quality bread ingredients shine through on their own merits.
Storage Guidelines
Store completely cooled bread in a paper bag at room temperature for up to two days to maintain crust integrity. For longer storage wrap tightly in plastic and keep at room temperature for up to four days. This bread freezes beautifully when wrapped in plastic then foil for up to three months. Thaw at room temperature and refresh in a 350°F oven for 5 to 10 minutes to revive the crust.
Recipe FAQs
- → Can I substitute canned pumpkin for fresh pumpkin puree?
Yes, both canned pumpkin puree and homemade fresh puree work well. Just ensure you're using plain pumpkin puree, not pumpkin pie filling. If using homemade, strain excess liquid to match the consistency of canned pumpkin.
- → Why do I need to chill the dough overnight?
The overnight refrigeration (retarding) develops complex flavors through slow fermentation. It also makes the dough easier to handle and shape, while improving the bread's texture and shelf life. This step is crucial for the best taste.
- → Can I use all-purpose flour instead of bread flour?
While all-purpose flour can be substituted, bread flour is preferred because its higher protein content (12-14%) creates stronger gluten networks, resulting in better structure and chewier texture. If using all-purpose, you may need slightly less water.
- → Why is my dough so sticky?
The pumpkin puree adds significant moisture to this dough, making it naturally stickier than standard bread dough. This is normal and contributes to the bread's moist crumb. Use wet hands when handling, and resist the urge to add extra flour, which would make the bread dense.
- → Can I bake this without a Dutch oven?
While a Dutch oven provides the ideal environment by trapping steam to create a crispy crust, alternatives include: a covered ceramic baker, a baking stone with a large metal bowl as a cover, or a heavy baking sheet with a separate pan of water in the oven to create steam.
- → How should I store this bread?
Once completely cooled, store the bread cut-side down on a cutting board for up to 24 hours. For longer storage, wrap in a clean kitchen towel and place in a paper bag at room temperature for 2-3 days. For extended freshness, slice and freeze with parchment paper between slices.