
 Save
Save
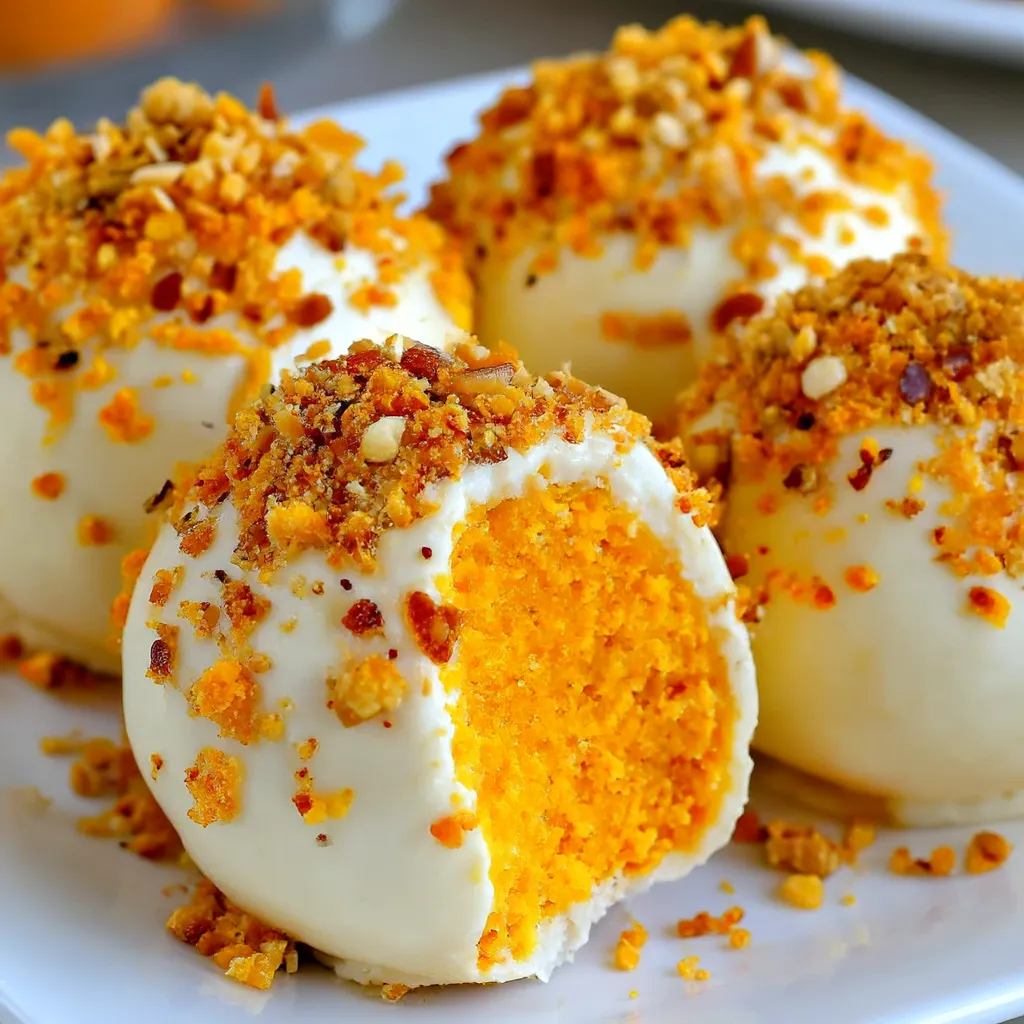
This pumpkin cheesecake ball recipe transforms classic fall flavors into bite-sized treats without ever turning on your oven. Perfect for holiday gatherings or when you need a quick dessert fix that still feels special.
I created these little gems when I needed a quick dessert for an impromptu fall gathering. The combination of spiced pumpkin and creamy cheesecake wrapped in chocolate quickly became my signature party treat that friends now request by name.
Ingredients
- Cream cheese: Softens the texture and provides that signature tangy cheesecake flavor. Always use full-fat for the best richness.
- Canned pumpkin puree: Adds authentic fall flavor and creates the perfect consistency. Be sure to use pure pumpkin not pumpkin pie filling.
- Powdered sugar: Sweetens without adding graininess that regular sugar might introduce.
- Vanilla extract: Enhances all the other flavors. Pure extract rather than imitation makes a noticeable difference.
- Warm spices (cinnamon, nutmeg, ginger, and cloves): Create that perfect pumpkin spice profile that makes these treats irresistible.
- Graham cracker crumbs: Provide structure and that classic cheesecake crust flavor throughout each bite.
- White or milk chocolate: For dipping creates a delicious protective shell and adds visual appeal.
Step-by-Step Instructions
- Prepare the Cheesecake Mixture:
- Beat the softened cream cheese until completely smooth with no lumps remaining. Add the pumpkin puree, powdered sugar, and vanilla extract, mixing thoroughly until the texture is uniform. The mixture should be smooth and slightly fluffy at this stage.
- Add the Spice Blend:
- Incorporate the cinnamon, nutmeg, ginger, and cloves, mixing until evenly distributed. Take time to smell the mixture as you work. The warm spice aromas will let you know if you need to adjust any amounts to suit your preference.
- Incorporate Graham Crackers:
- Gradually fold in the graham cracker crumbs, about half a cup at a time. The mixture will transform from a soft creamy texture to a more substantial dough that holds its shape. If it feels too sticky, add additional crumbs one tablespoon at a time.
- Shape Your Balls:
- Use a cookie scoop or tablespoon to portion mixture into equal amounts. Roll between your palms applying gentle pressure to create perfectly smooth spheres. If the mixture sticks to your hands, chill it for 15 minutes or lightly dust your palms with powdered sugar.
- Chill to Set:
- Arrange the balls on a parchment-lined baking sheet, ensuring they don't touch. Refrigerate for a full hour which allows them to firm up properly so they maintain their shape during the dipping process.
- Prepare the Chocolate Coating:
- Melt your chocolate slowly and carefully using 30-second microwave intervals, stirring between each. Stop heating when a few small pieces remain and stir until completely smooth. The residual heat will melt the remaining pieces while preventing overheating.
- Dip with Precision:
- Working with one ball at a time, balance it on a fork and lower it into the melted chocolate. Gently tap the fork against the bowl edge to remove excess chocolate ensuring an even thin coating that won't be too thick or crack later.
- Add Final Touches:
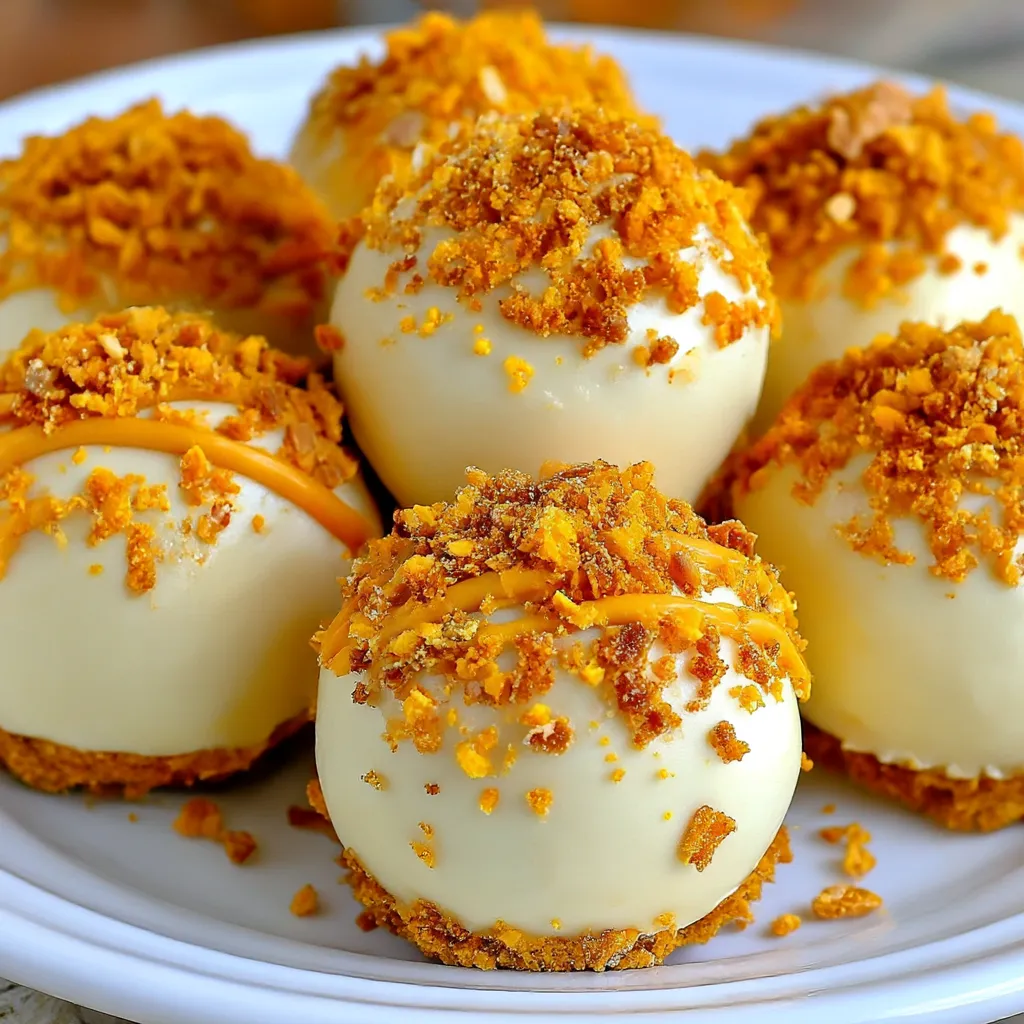
- Immediately after dipping, sprinkle your chosen toppings over the balls while the chocolate is still wet. Work quickly as the cold cheesecake ball will cause the chocolate to begin setting immediately.
- Final Setting Period:
- Return the decorated balls to the refrigerator, allowing the chocolate coating to fully harden which takes about 30 minutes. This final chilling ensures clean cuts and perfect presentation when served.
The cinnamon in this recipe is truly the star ingredient in my opinion. I once accidentally doubled the amount and discovered that extra punch of warmth created an even more memorable treat. My grandmother who claimed to dislike pumpkin desserts ate four of these in one sitting and then asked for the recipe.
Storage Solutions
These pumpkin cheesecake balls maintain their perfect texture when stored in an airtight container in the refrigerator for up to 5 days. For best results, place parchment paper between layers to prevent sticking. If you need to store them longer, they freeze beautifully for up to 3 months. Simply thaw in the refrigerator overnight before serving.
Clever Substitutions
This recipe welcomes creative adaptations based on what you have available. Gingersnap crumbs can replace graham crackers for an extra spicy kick. Dairy-free cream cheese works surprisingly well for those with lactose concerns. For a festive holiday version, try white chocolate with crushed candy canes or colored sprinkles on top. Even the pumpkin can be swapped for sweet potato puree in a pinch without sacrificing flavor.
Serving Suggestions
Present these cheesecake balls on a tiered dessert stand for an elegant presentation at holiday gatherings. For a dinner party, serve two per person on small dessert plates with a light dusting of cinnamon or a drizzle of caramel sauce. They pair beautifully with coffee, especially pumpkin spice lattes or chai tea. For a decadent dessert board, arrange them alongside candied pecans, fresh apple slices, and maple cookies.
Fall Traditions
These pumpkin treats connect to the centuries-old tradition of harvest celebrations when pumpkin was preserved and enjoyed throughout winter months. The spice blend dates back to early American colonial cooking when similar combinations were used to flavor pumpkin puddings. While traditional pumpkin desserts required long baking times, this no bake version honors those flavor traditions while adapting to our modern fast-paced lifestyle.
Recipe FAQs
- → Can I make these pumpkin cheesecake balls ahead of time?
Absolutely! These treats can be made up to 3 days in advance. Store them in an airtight container in the refrigerator until ready to serve. They actually taste even better after the flavors have had time to meld together.
- → How do I know if my mixture has the right consistency?
The mixture should be firm enough to roll into balls that hold their shape. If it's too sticky or soft, gradually add more graham cracker crumbs until you reach a consistency that's easy to work with. The mixture will also firm up more during chilling.
- → Can I freeze these pumpkin cheesecake balls?
Yes! These freeze beautifully for up to 2 months. Place them in a single layer on a baking sheet until frozen solid, then transfer to a freezer-safe container. Thaw in the refrigerator before serving.
- → What's the best way to dip the balls in chocolate?
For the cleanest results, use a fork to dip each chilled ball into the melted chocolate. Tap the fork gently against the bowl to remove excess chocolate, then slide the ball onto parchment paper using a toothpick. Keep the balls chilled until just before dipping for best results.
- → Can I use homemade pumpkin puree instead of canned?
Yes, but make sure to drain homemade pumpkin puree thoroughly before using to remove excess moisture. If your puree seems watery, place it in a fine-mesh sieve lined with cheesecloth and let it drain for several hours in the refrigerator.
- → What other toppings can I use besides graham cracker crumbs?
These balls are wonderfully versatile! Try crushed gingersnap cookies, chopped pecans, cinnamon sugar, fall-colored sprinkles, or a drizzle of caramel for festive alternatives. Each creates a different flavor profile and appearance.