
 Save
Save
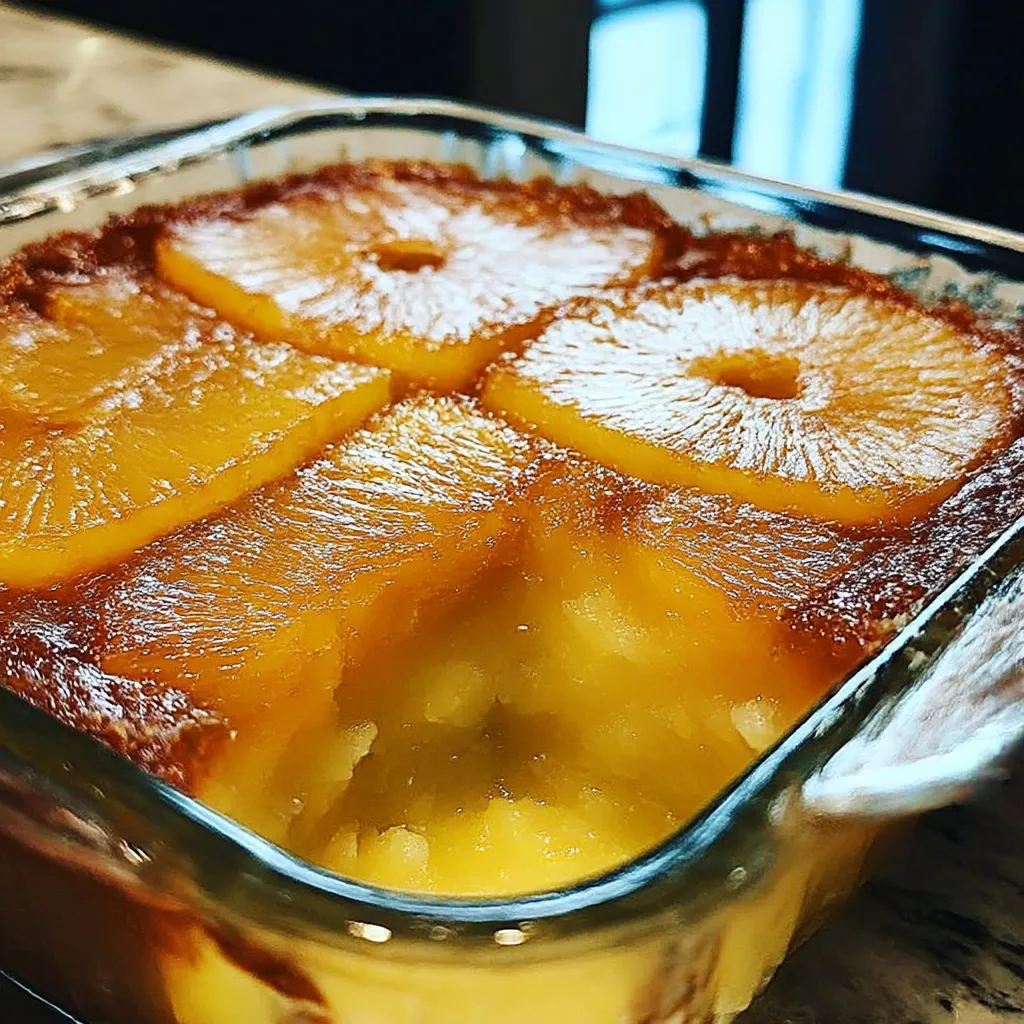
This tropical pineapple cake brings a taste of sunshine to any day with its moist crumb and sweet, tangy glaze. The crushed pineapple infuses every bite with fruity flavor while the sour cream ensures a tender texture that melts in your mouth.
I first made this cake during a particularly gloomy winter weekend, and the tropical aroma filled my kitchen with warmth. Since then, it's become my signature dessert for brightening up family gatherings.
Ingredients
- All purpose flour: forms the structure while remaining tender when properly measured
- Baking powder: provides the perfect rise without being overpowering
- Salt: balances the sweetness and enhances all other flavors
- Unsalted butter: adds richness and allows you to control the salt content
- Granulated sugar: sweetens while helping create that perfect crumb texture
- Large eggs: bind everything together and provide structure
- Vanilla extract: adds depth of flavor that complements the pineapple
- Sour cream: introduces moisture and tang while tenderizing the crumb
- Crushed pineapple: brings tropical flavor and juicy texture throughout the cake
- Powdered sugar: creates a smooth glaze that sets beautifully
- Pineapple juice: intensifies the tropical flavor in the glaze
Step-by-Step Instructions
- Prepare Your Oven and Pan:
- Heat your oven to 350°F and thoroughly grease your loaf pan before dusting it with flour. This preparation ensures your cake will release perfectly after baking without sticking to the sides.
- Mix Your Dry Ingredients:
- Whisk together flour, baking powder, and salt in a medium bowl until evenly distributed. This step prevents pockets of baking powder in your finished cake and ensures even rising.
- Cream Butter and Sugar:
- Beat the room temperature butter and sugar using an electric mixer for at least 3 minutes until truly light and fluffy. This incorporates air into the batter which gives your cake its tender texture.
- Add Wet Ingredients:
- Add eggs one at a time, fully incorporating the first before adding the second. Then mix in vanilla. This gradual approach prevents the batter from curdling and maintains a smooth consistency.
- Combine Wet and Dry Mixtures:
- Alternately add your dry ingredients and sour cream to the butter mixture, beginning and ending with flour. Use low speed and mix just until combined after each addition to prevent gluten development.
- Incorporate Pineapple and Bake:
- Gently fold in the well drained pineapple with a spatula until evenly distributed. Pour into prepared pan and bake for 50 to 60 minutes, checking with a toothpick for doneness.
- Glaze the Finished Cake:
- After the cake has completely cooled, mix powdered sugar with pineapple juice until smooth. Drizzle generously over the top, allowing it to run down the sides slightly.
The crushed pineapple is truly the star of this recipe. I discovered its magic when my grandmother shared her secret technique of thoroughly draining the fruit but saving the juice for the glaze. That small detail makes all the difference between a good cake and a memorable one.
Storing Your Pineapple Cake
This cake maintains its moisture beautifully for several days when stored properly. Keep it covered at room temperature for up to three days or refrigerate for up to a week. The flavors actually develop and improve after the first day as the pineapple essence permeates throughout. If you want to freeze portions, wrap individual slices tightly in plastic wrap and then aluminum foil before freezing for up to three months. Thaw at room temperature when ready to enjoy.
Smart Substitutions
If you are looking to make adjustments to this recipe, there are several options. Greek yogurt works wonderfully in place of sour cream for a slightly tangier result with added protein. For a coconut tropical twist, replace a quarter cup of the all purpose flour with coconut flour and add half a cup of toasted coconut flakes to the batter. Those avoiding refined sugar can substitute coconut sugar for the granulated sugar, though the cake will have a deeper color and more caramel notes.
Serving Suggestions
This versatile cake shines in multiple settings. For a simple dessert, serve slices with a dollop of lightly whipped cream and fresh pineapple chunks. To elevate it for company, warm individual slices slightly and top with vanilla bean ice cream and a sprinkle of toasted macadamia nuts. The cake also pairs beautifully with morning coffee or afternoon tea, making it perfect for brunch gatherings or coffee dates with friends.

Recipe FAQs
- → Can I use canned pineapple for this cake?
Yes, canned crushed pineapple works perfectly for this cake. Just ensure it's very well drained to prevent excess moisture from making the cake soggy. You can even save the drained juice for making the glaze.
- → Why do ingredients need to be at room temperature?
Room temperature ingredients create a smooth, evenly incorporated batter. Cold ingredients don't combine as well, potentially resulting in a dense cake with uneven texture. Let butter, eggs, and sour cream sit out for about 30-60 minutes before baking.
- → Can I make this cake ahead of time?
Absolutely! This cake actually develops more flavor after a day. You can make it 1-2 days ahead and store it in an airtight container at room temperature. Add the glaze just before serving for the best presentation.
- → What can I substitute for sour cream?
Greek yogurt makes an excellent substitute for sour cream in this cake. You'll maintain the same moisture and tangy flavor. In a pinch, you could also use buttermilk, though you may need to reduce the amount slightly as it's thinner.
- → How do I know when the cake is done baking?
Insert a toothpick or thin knife into the center of the cake. If it comes out clean or with just a few crumbs (not wet batter), the cake is done. The top should also be golden brown, and the cake may begin to pull away slightly from the sides of the pan.
- → Can this cake be frozen?
Yes, this cake freezes beautifully! Cool completely, then wrap tightly in plastic wrap followed by foil or place in an airtight container. Freeze for up to 3 months. Thaw overnight at room temperature and add the glaze after thawing.