
 Save
Save
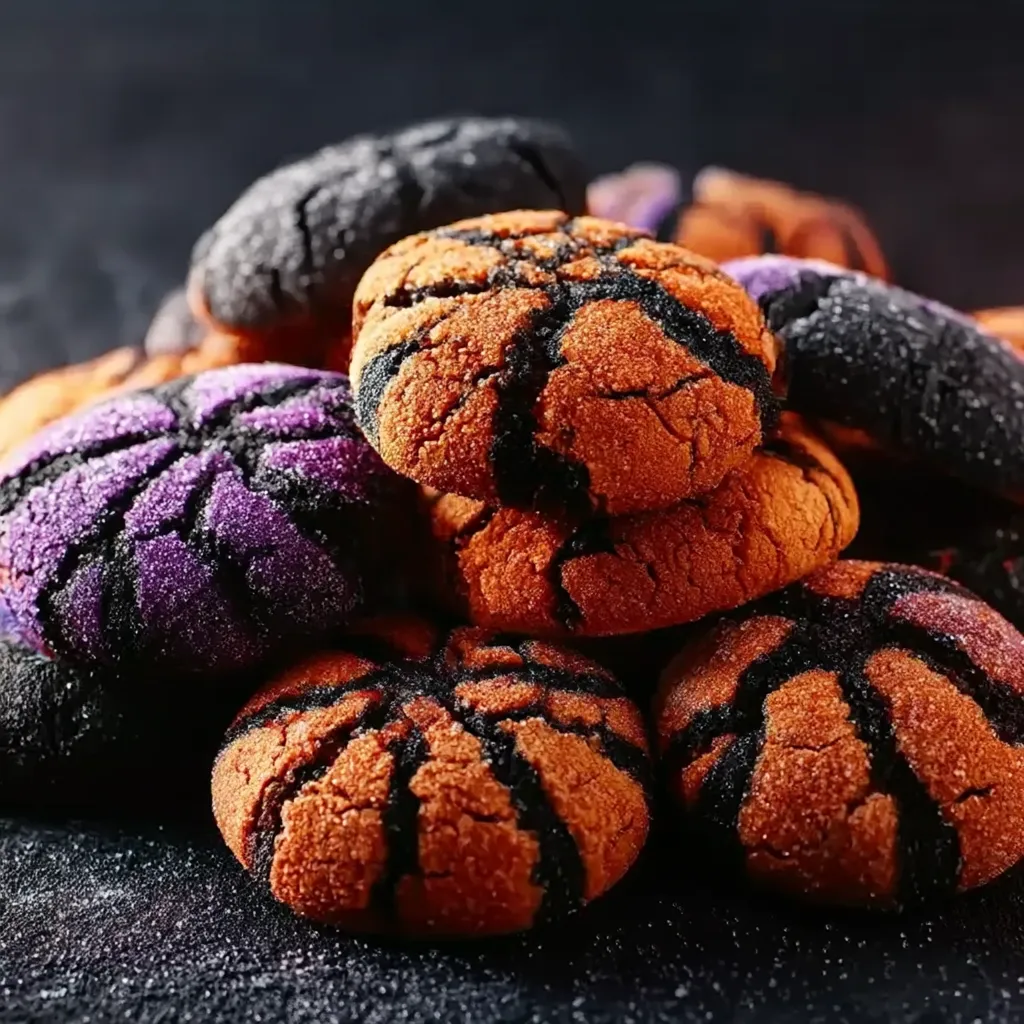
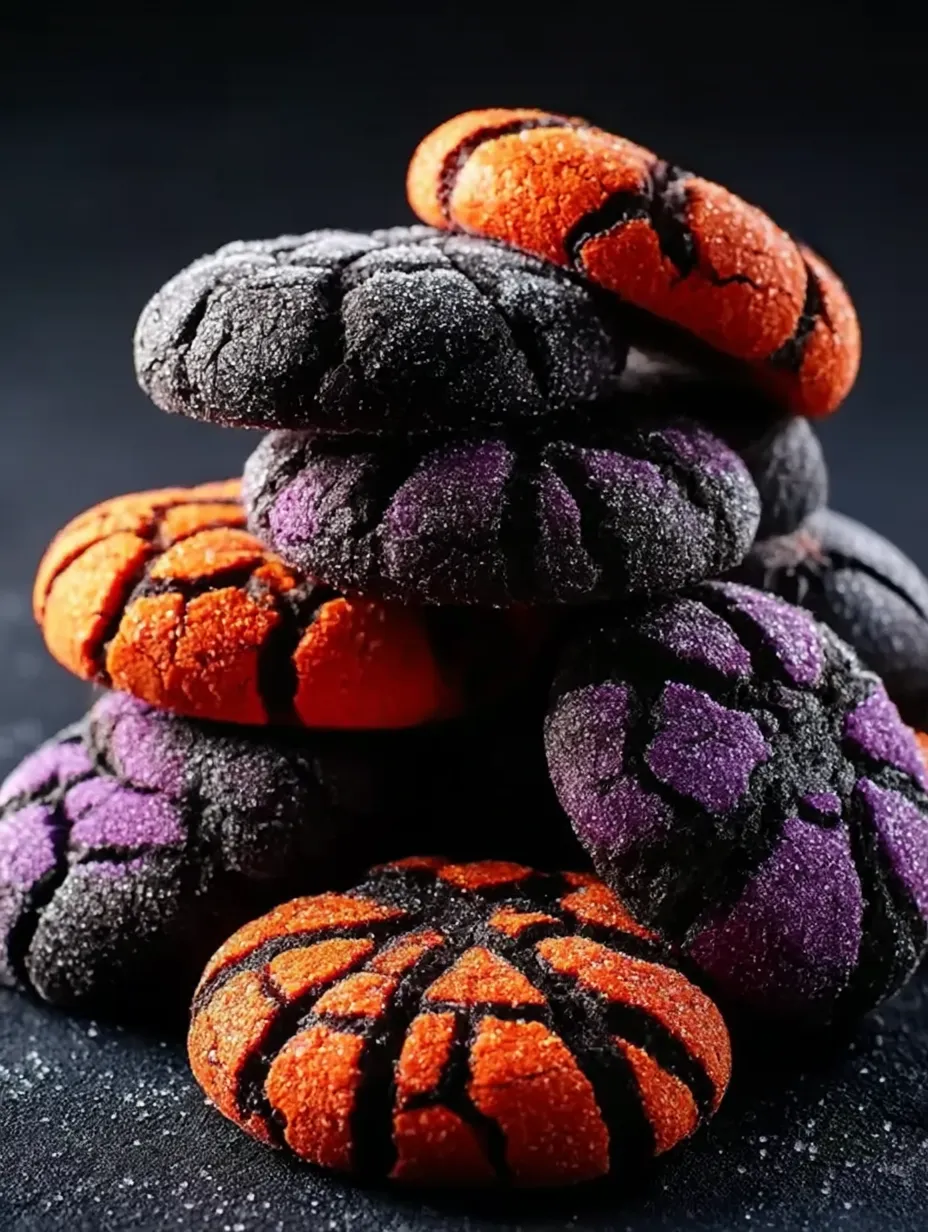
This decadent Halloween Crinkle Cookie recipe transforms classic chocolate crinkles into festive spooky treats perfect for your Halloween celebrations or fall gatherings. The vibrant colors create a stunning contrast against the powdered sugar coating, making them as visually impressive as they are delicious.
I first created these for my daughter's classroom Halloween party, and they were such a hit that they've become our annual tradition. The joy on children's faces when they see these vibrantly colored cookies never gets old!
Ingredients
- All-purpose flour: Forms the foundation for these tender cookies
- Unsweetened cocoa powder: Gives rich chocolate flavor while allowing the colors to shine through
- Baking powder: Ensures the perfect rise and characteristic crackled surface
- Salt: Balances the sweetness and enhances the chocolate flavor
- Granulated sugar: Provides sweetness and helps create the crisp exterior
- Vegetable oil: Keeps these cookies moist and chewy for days
- Large eggs: Bind the ingredients while adding richness
- Vanilla extract: Complements the chocolate with warm aromatic notes
- Gel food coloring: Delivers vibrant Halloween hues without affecting texture
- Powdered sugar: Creates the dramatic crackled effect that makes these cookies special
Step-by-Step Instructions
- Combine Dry Ingredients:
- Whisk together flour, cocoa powder, baking powder, and salt until evenly distributed. This ensures even leavening and prevents bitter cocoa pockets in your finished cookies.
- Create The Base:
- Beat sugar, vegetable oil, eggs, and vanilla in a large bowl until the mixture becomes smooth and slightly thickened. The oil creates a moister cookie than butter would, while the eggs provide structure.
- Add Color:
- Stir in your chosen gel food coloring until you achieve vibrant Halloween shades. Orange creates classic pumpkin vibes, purple adds mystical flair, and black delivers dramatic spooky impact. Add color gradually until you reach your desired intensity.
- Form The Dough:
- Gradually fold the dry ingredients into the colored mixture, stirring just until combined. Overmixing will develop gluten and result in tough cookies. The dough will be quite sticky at this stage.
- Chill Thoroughly:
- Cover the dough and refrigerate for at least one hour. This crucial step firms up the dough, making it easier to handle and helping the cookies maintain their shape during baking.
- Shape And Coat:
- Roll the chilled dough into 1-inch balls, then generously coat in powdered sugar. Ensure complete coverage for the most dramatic crackle effect. The contrast between the bright dough and white sugar creates the Halloween magic.
- Bake To Perfection:
- Place cookies on parchment-lined baking sheets and bake until they develop cracks but remain soft in the center. The cookies will continue setting up as they cool, so avoid overbaking to maintain their fudgy interior.
My absolute favorite version uses orange gel coloring with a tiny drop of brown to create a true pumpkin shade. Last Halloween, my son insisted we make purple ones and add candy eyes after baking for monster cookies that became the talk of his school party!
Storage Tips
These Halloween crinkles actually taste better on day two when the flavors have had time to meld. Store them in an airtight container with parchment paper between layers to prevent sticking. Keep at room temperature for up to 5 days, though they rarely last that long in my house! For longer storage, freeze the baked cookies in a freezer bag for up to 3 months and thaw at room temperature when ready to enjoy.
Troubleshooting Guide
If your cookies spread too much, your dough likely wasn't chilled enough. Return it to the refrigerator for another 30 minutes before continuing. For cookies that don't crackle properly, make sure you're generously coating them in powdered sugar and using fresh baking powder. The contrast between the hot exterior and cooler interior during baking is what creates those beautiful cracks.
Festive Variations
Transform these cookies into even more Halloween fun by pressing a chocolate candy kiss into the center immediately after baking for "witch hats." You can also add 1/2 cup of Halloween-colored sprinkles to the dough for confetti cookies, or mix in 1/3 cup of mini chocolate chips for extra chocolate impact. For more intense flavor, add 1/4 teaspoon of espresso powder to the dry ingredients to enhance the chocolate notes.
Recipe FAQs
- → Can I make these cookies ahead of time?
Yes! You can prepare the dough up to 3 days in advance and keep it refrigerated. You can also freeze the baked cookies in an airtight container for up to 1 month. Let them come to room temperature before serving.
- → Why do I need to chill the dough?
Chilling the dough is essential as it firms up the sticky dough, making it easier to handle and roll into balls. It also prevents the cookies from spreading too much during baking, which helps maintain the crinkle effect.
- → What if I don't have gel food coloring?
Liquid food coloring can work as a substitute, but you may need to use more to achieve vibrant colors. This could slightly alter the dough consistency. Gel coloring is recommended for the most vivid results without affecting texture.
- → How do I know when the cookies are done baking?
The cookies are done when they have a crackled appearance on top but still feel slightly soft in the center. The edges should be set but not hard. They will continue to firm up as they cool on the baking sheet.
- → Can I make these cookies without cocoa powder?
The cocoa powder is essential for the classic crinkle cookie texture and flavor. For a non-chocolate version, you would need a different recipe entirely that's formulated without cocoa powder.
- → What makes the crinkle or crackle effect on the cookies?
The crinkle effect comes from rolling the dough balls in powdered sugar before baking. As the cookies spread and rise in the oven, the surface cracks, revealing the dark cookie beneath the white sugar coating.