
 Save
Save
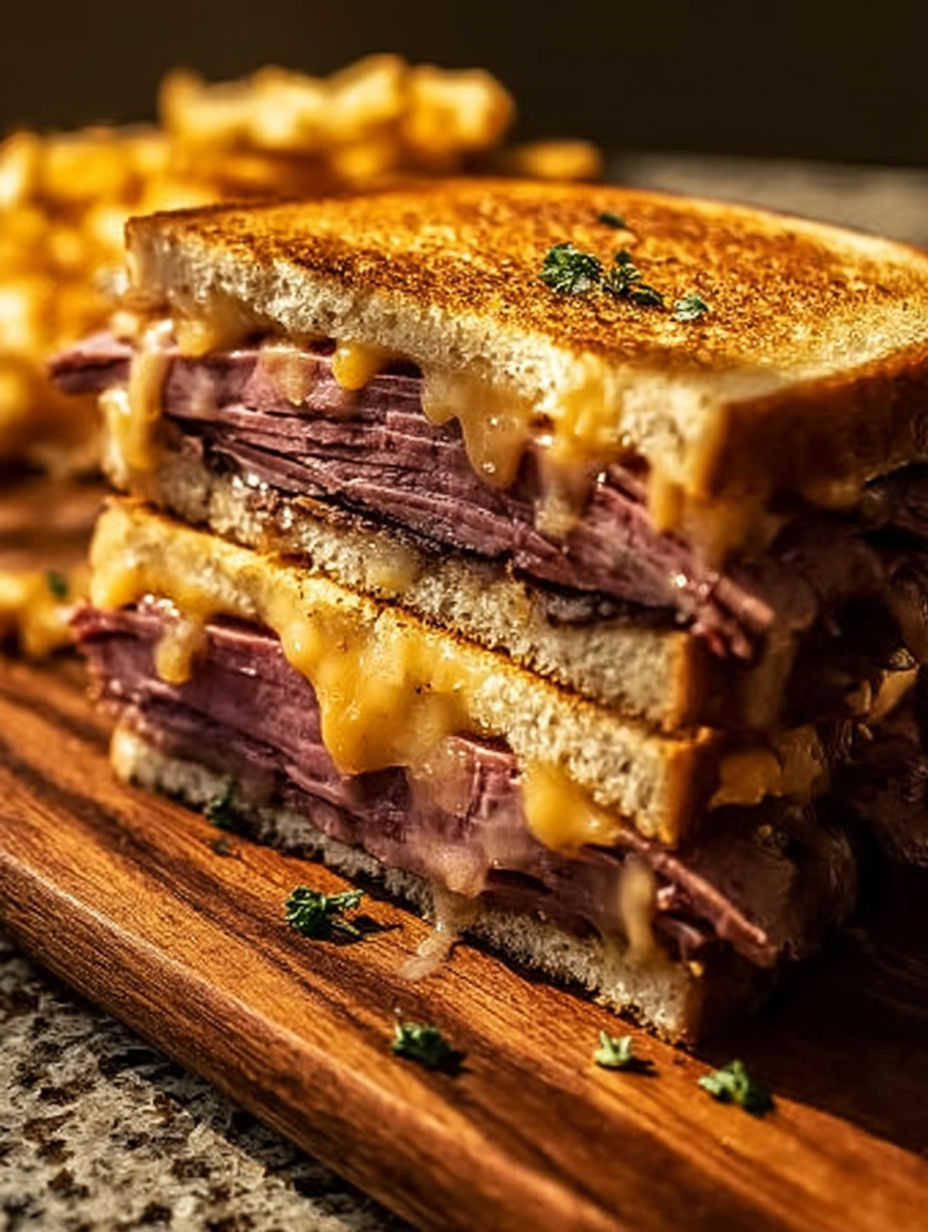
This melty roast beef and cheddar sandwich is a fast comfort food favorite that solves lunch or dinner in minutes with just a skillet. The cheese pulls and buttery crisp bread make this perfect for cozy weekends or hectic weekdays.
My kids watch that cheddar melt and cannot wait for a bite. I made this first for a Sunday movie night and now it is our weeknight treat anytime we need something fast and filling.
Ingredients
- Sourdough bread: adds tang and crunch. Go for a bakery loaf for best flavor
- Thinly sliced roast beef: provides savory richness. Ask for freshly sliced at the deli for tenderness
- Sharp cheddar cheese: brings classic melt and sharp bite. Use a good quality block for best results
- Unsalted butter: creates perfect toasty bread. Always use room temp butter for easy spreading
- Dijon mustard (optional): adds a subtle tang. A little goes a long way and can boost depth
- Salt and pepper to taste: brings everything together. Season lightly to avoid overpowering the beef
- Fresh arugula or spinach (optional, for garnish): Lends peppery freshness and extra color. Choose baby greens for tenderness
Instructions
- Preheat the Skillet:
- Set a nonstick skillet on medium heat and let it warm fully for even toasting which ensures the bread will crisp but not burn
- Butter the Bread:
- Spread butter evenly on one side of each slice of bread. Take time to cover every edge for ultimate crispness and no dry spots
- Layer the Base:
- Place one slice of bread butter side down onto your skillet. The buttered side needs direct contact with heat for golden color
- Add Flavors and Layering:
- If using Dijon, spread a thin layer on the unbuttered side. Add a generous mound of roast beef then place two slices of cheddar right on top. This order lets the cheese melt into the beef and bread
- Top and Finish Building:
- Set another slice of bread on top, buttered side up. Double-check the layers align for even melting and crisp sides
- Cook Until First Side is Golden:
- Let the sandwich grill for about three to five minutes over medium so the bread gets golden and the cheese starts to pool at the edges
- Flip with Care:
- Slide a wide spatula gently under the sandwich and flip. The second side needs another three to five minutes. Until both sides are a deep golden brown and crisp
- Check Melt and Doneness:
- Peek inside to make sure the cheese is fully melted. If needed, lower the heat or add a lid for a minute to ensure extra gooeyness without burning the bread
- Cool Slightly:
- Transfer the grilled sandwich to a cutting board and let it cool for just a minute. This helps the cheese set a bit before slicing
- Slice and Enjoy:
- With a sharp knife, cut the sandwich in half or quarters for easy handling. Serve right away for maximum crunch and melt

I always reach for a sharp farmhouse cheddar because it holds up so well to the beef. The way it melts and gets a little crisp at the edges makes every bite irresistible. Once my son and I raced to see who could make the crispest sandwich and that crunch is now a family measure of success.
Storage Tips
Wrap cooled sandwiches tightly in foil and store in the refrigerator for up to two days. Reheat in a skillet on low to bring back the crunchy crust. Avoid microwaving as it can make the bread soggy.
Ingredient Substitutions
Swap sourdough for rye or multigrain if you prefer more flavor. Provolone or Swiss cheese melts beautifully in place of cheddar. Leftover roast chicken or turkey works well if you have it in the fridge.
Serving Suggestions
Pair with a simple tomato soup for dunking. Serve alongside a crisp pickle and kettle chips. A little horseradish sauce or extra mustard on the side makes it pop.
Cultural and Historical Notes
The classic hot beef and cheddar melts are diner favorites across America. Inspired by deli counter sandwiches but easy to craft at home. Sourdough bread gives a nod to San Francisco traditions known for the best tangy crumb and crunch.
Seasonal Adaptations
Fresh tomato slices add juiciness in summertime. Switch to roasted root veggies on the side for winter comfort. Use baby spinach in spring for a milder green addition.
Success Stories
This sandwich saved the day the time we had a fridge full of holiday roast leftovers. It has become our fallback for quick meals and never disappoints. Everyone who takes a bite wants the secret to getting the bread so crisp. The answer is always real butter and patient heat.
Freezer Meal Conversion
If you need to prep ahead, make the sandwiches up to the cooking step. Double wrap in parchment and foil then freeze. To cook, pop right into the skillet from frozen on low heat. Let cook longer so the cheese melts through. They retain their crunch best when grilled from frozen, not thawed.
Make this sandwich your own and enjoy the golden crisp and gooey cheddar every single time. There is nothing cozier or quicker for a family lunch or busy weeknight dinner.
Recipe FAQs
- → Can other cheeses be used instead of cheddar?
Absolutely! Swiss, provolone, or gouda melt well and pair nicely with roast beef. Choose your favorite cheese for different flavor profiles.
- → What bread works best for this sandwich?
Sourdough is ideal for its sturdy texture and tangy flavor, but rustic white or multigrain bread will also hold up well and toast beautifully.
- → Is mustard required for this melt?
Mustard is optional and adds a tangy kick. It can be omitted or replaced with horseradish or a creamy spread to suit your taste.
- → How can I keep the sandwich crispy when serving later?
Let the sandwiches cool slightly on a wire rack to prevent sogginess, and reheat gently in a toaster oven for best results.
- → What are good garnishes or accompaniments?
Fresh arugula or spinach adds peppery freshness; pair with pickles, chips, or tomato soup for a more complete meal.