
 Save
Save
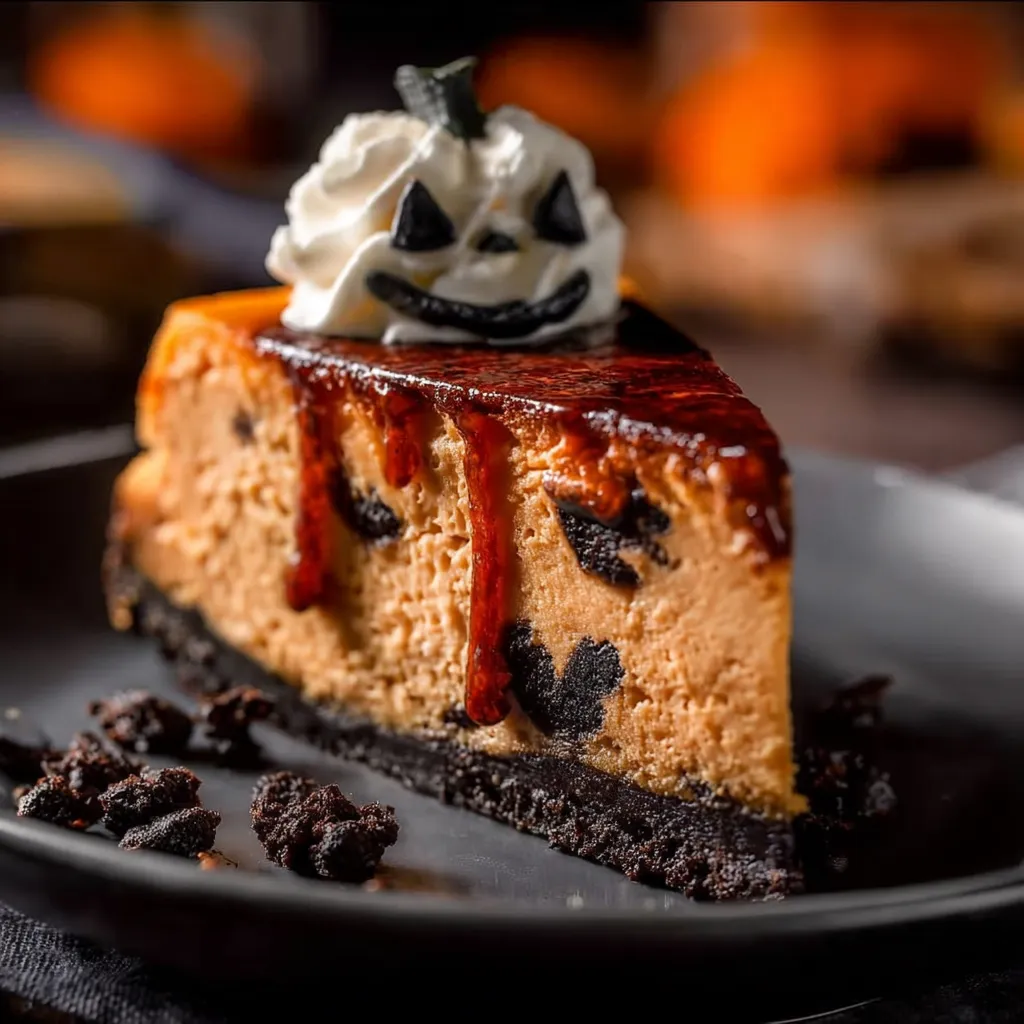
This spooky Halloween cheesecake transforms a classic dessert into a festive treat perfect for your October gatherings. The vibrant orange color and adorable whipped cream ghosts make it as fun to look at as it is delicious to eat.
I first made this for my neighborhood Halloween potluck and it was the first dessert to disappear. Now my friends request it every year, and I love seeing their faces light up when I bring it out.
Ingredients
- Full fat cream cheese: ensures the richest, creamiest texture possible. Always use brick-style, never the spreadable kind in tubs
- Greek yogurt or sour cream: adds tanginess that balances the sweetness perfectly
- Halloween Oreos: create festive orange flecks in the crust, but regular Oreos work beautifully too
- Heavy whipping cream: helps create that silky smooth texture you want in a perfect cheesecake
- Orange food coloring: transforms this into a Halloween masterpiece. Gel coloring gives the most vibrant results
- Candy eyes: turn simple whipped cream dollops into adorable ghosts with minimal effort
Step-by-Step Instructions
- Prepare the Crust:
- Crush Oreos until they become fine crumbs, either in a food processor or in a sealed bag with a rolling pin. Mix thoroughly with melted butter until the mixture resembles wet sand. Press firmly into the springform pan, creating an even layer across the bottom. Prebaking for 8-10 minutes sets the crust perfectly and prevents sogginess.
- Create the Filling:
- Beat cream cheese until completely smooth before adding any other ingredients. This crucial step prevents lumps in your final cheesecake. Add sugar and continue beating until the mixture becomes silky and slightly fluffy. The room temperature ingredients are absolutely essential here to achieve the perfect texture.
- Mix in Remaining Ingredients:
- Reduce your mixer speed to prevent incorporating too much air, which causes cracks. Add cream, yogurt, vanilla, and food coloring until fully combined. Then add eggs one at a time, mixing just until incorporated. Fold in chopped Oreos gently with a spatula to maintain their texture. The orange batter with dark Oreo pieces creates a perfect Halloween look.
- Bake with Water Bath:
- The triple-pan water bath method is genius for preventing cracks without the hassle of foil wrapping. The gentle, moist heat ensures even baking throughout. The internal temperature of 145°F indicates perfect doneness, while still maintaining that slight center jiggle that results in the creamiest texture.
- Cooling Process:
- The gradual cooling process prevents the dreaded center sink and cracking. Leaving it in the turned-off oven, then on a rack, and finally refrigerating overnight allows the structure to set properly while maintaining that perfect creamy texture. Patience is truly rewarded here.
- Add Ghost Decorations:
- Pipe homemade whipped cream into ghost shapes on the chilled cheesecake. Add candy eyes to create the spooky faces. The white ghosts against the orange cheesecake creates a striking Halloween presentation that will impress everyone at your party.

The Halloween Oreos add a fun twist with their orange filling, but I discovered that removing some filling creates the perfect butter-to-cookie ratio in the crust. My daughter always helps place the candy eyes on the ghosts, and watching her carefully position each one has become our special Halloween tradition.
Perfect Texture Tips
The key to a crack-free cheesecake is patience at every step. Room temperature ingredients blend more smoothly, and the slow cooling process prevents the surface tension that causes cracks. If you do get a small crack, don't worry. Your ghost decorations will cover it perfectly!
Make-Ahead and Storage
This cheesecake actually improves with time in the refrigerator, making it perfect for busy holiday preparation. Make it up to 3 days before your event and store covered in the refrigerator. For longer storage, freeze individual slices wrapped tightly in plastic wrap and placed in freezer bags. They thaw beautifully overnight in the refrigerator, allowing you to enjoy Halloween treats well into November.
Variation Ideas
- For a less sweet version, use bittersweet chocolate ganache drizzled between the ghosts
- Add a teaspoon of pumpkin pie spice to the batter for autumn flavor notes
- Substitute chocolate graham crackers for the Oreo crust for a different texture
- For a Nightmare Before Christmas theme, add black food coloring instead of orange
Recipe FAQs
- → Can I make this Halloween cheesecake ahead of time?
Yes! This cheesecake is perfect for making ahead. It needs at least 6 hours of chilling time (preferably overnight), making it ideal for preparing 1-2 days before your event. Add the whipped cream ghosts shortly before serving for the best presentation.
- → Why use a water bath when baking cheesecake?
A water bath provides gentle, even heat and humidity, which helps prevent cracks and ensures a creamy, smooth texture throughout. The triple-pan method described eliminates the need for foil wrapping and prevents water from seeping into your cheesecake.
- → Can I freeze leftover Halloween cheesecake?
Absolutely! Cheesecake freezes exceptionally well for up to 3 months. Wrap individual slices or the whole cheesecake (without decorations) tightly in plastic wrap and foil. Thaw overnight in the refrigerator before serving and add fresh whipped cream ghosts.
- → What if I don't have orange food coloring?
You can either leave the cheesecake its natural color or create orange by mixing red and yellow food coloring. The Halloween theme will still come through with the Oreo crust and ghost decorations, even without the orange tint.
- → How do I make the whipped cream ghost decorations?
Prepare homemade whipped cream (heavy cream whipped with sugar and vanilla) and transfer it to a piping bag fitted with a round tip. Pipe tall mounds in ghost shapes on top of the chilled cheesecake, then gently press candy eyes into each ghost to complete the spooky look.
- → Can I use regular Oreos instead of Halloween ones?
Yes! Regular Oreos work perfectly in this recipe. Since Halloween Oreos are typically Double Stuf, the recipe suggests removing some filling when using them. With regular Oreos, you can keep all the filling intact for both the crust and the filling mix-ins.