
 Save
Save
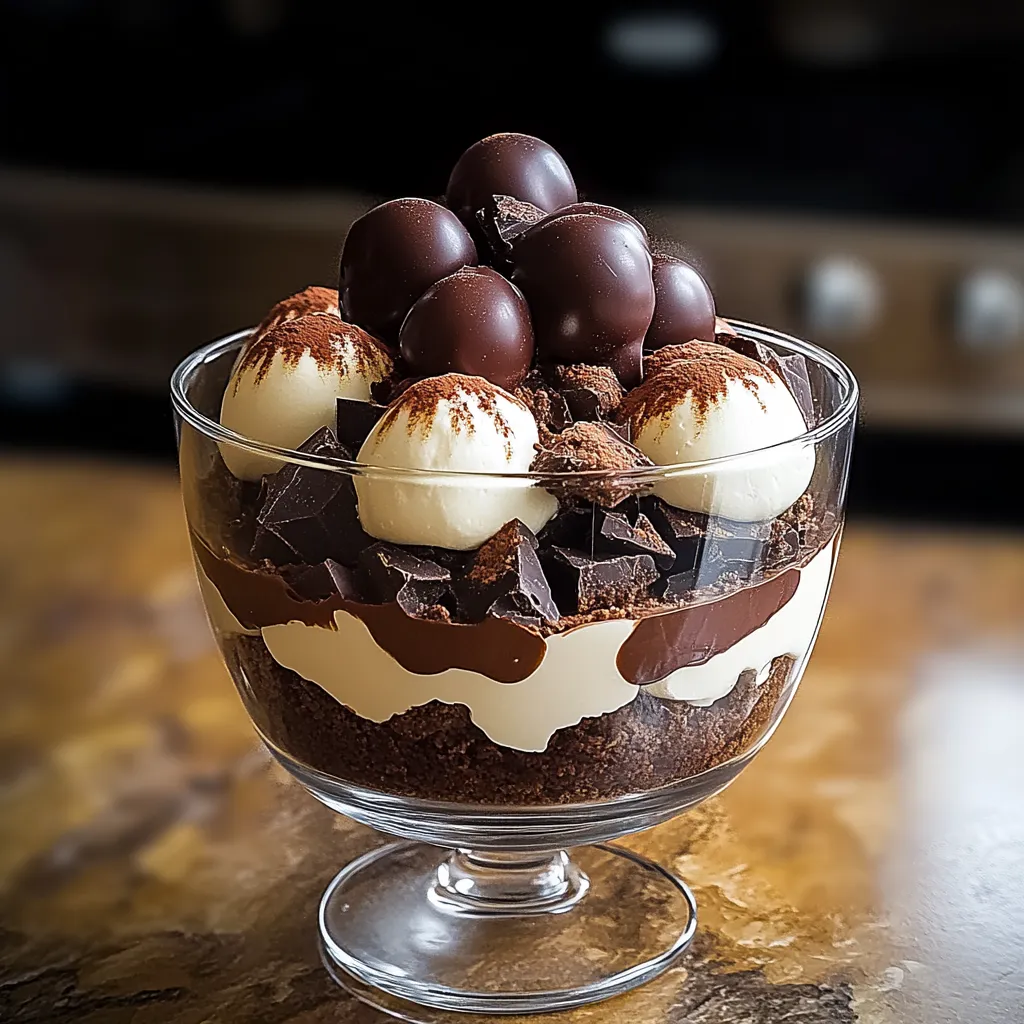
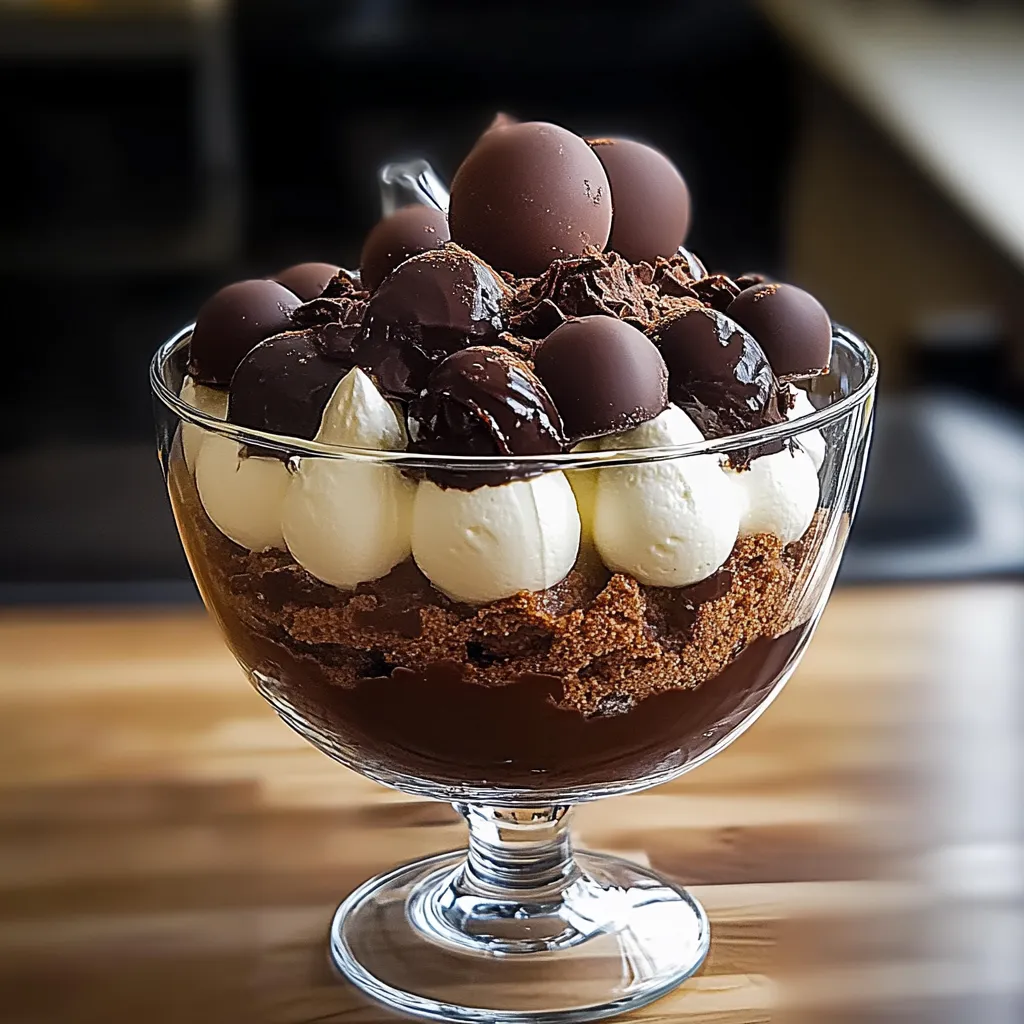
This heavenly chocolate cheesecake trifle has become my signature showstopper dessert for gatherings, combining the decadence of chocolate cake with creamy cheesecake layers for an irresistible treat that disappears within minutes of serving.
I first created this trifle when my daughter requested "something chocolatey" for her birthday instead of traditional cake. Five years later, our family celebrations aren't complete without this layered delight.
Ingredients
- 1 package chocolate cake baked and crumbled: provides the perfect foundation and can be homemade or store-bought for convenience
- 1 package cream cheese softened: is essential for that tangy cheesecake flavor that balances the sweetness
- 1 cup powdered sugar: creates silky smoothness without graininess in the cheesecake layer
- 1 teaspoon vanilla extract: enhances all the chocolate flavors without overwhelming
- 1 container whipped topping: gives ethereal lightness to contrast with the rich elements
- 2 cups chocolate pudding: adds another layer of chocolate intensity and silky texture
- 1 cup chocolate sauce or ganache: creates dramatic drips and pockets of intense flavor
- Chocolate truffles: for garnish elevate the presentation from homey to elegant
- Chocolate shavings: add professional-looking finishing touches and texture contrast
Step-by-Step Instructions
- Prepare the Cheesecake Layer:
- Beat the softened cream cheese, powdered sugar, and vanilla extract using an electric mixer until completely smooth with no lumps whatsoever. This typically takes about 3 minutes on medium speed. The mixture should be light and airy but still hold its shape. Carefully fold in half of the whipped topping using a rubber spatula with gentle cutting and folding motions to maintain maximum fluffiness.
- Create the Base Layer:
- Spread approximately one-third of the crumbled chocolate cake at the bottom of a trifle dish or large glass bowl, pressing down slightly to create an even foundation. The cake pieces should be roughly the size of a dime to a nickel for the perfect texture when eating.
- Add First Cheesecake Layer:
- Spoon about one-third of the cream cheese mixture over the chocolate cake crumbs, carefully spreading it to the edges of the dish. Use the back of a spoon to smooth the surface completely, ensuring it reaches the glass sides for visual impact.
- Build the Pudding Layer:
- Add a generous layer of chocolate pudding over the cheesecake layer, again smoothing carefully to create distinct visual layers. The pudding should be fully set before using to prevent bleeding between layers.
- Drizzle with Chocolate:
- Using a spoon, artfully drizzle chocolate sauce or ganache over the pudding. Allow some to run down the sides of the bowl for dramatic effect. The chocolate should be cool enough not to melt the pudding but still pourable.
- Complete the Layers:
- Repeat the layering process with remaining ingredients, creating at least two complete sets of layers. Each layer should be clearly visible through the glass for maximum visual impact.
- Top and Garnish:
- Crown your creation with the remaining whipped topping, swirling decoratively with the back of a spoon. Place chocolate truffles strategically around the perimeter and sprinkle generously with chocolate shavings for a professional finish.
- Chill to Perfection:
- Cover with plastic wrap without touching the surface and refrigerate for at least one hour, though overnight is ideal as the flavors meld beautifully with time.
The chocolate sauce layer is my secret weapon in this recipe. I discovered by accident that allowing some sauce to run down the inside of the glass creates those beautiful drips that make everyone think you spent hours on presentation, when it's actually the easiest part of assembly.
Make It Your Own
This trifle welcomes creative adaptations based on your preferences or what you have on hand. Try brownies instead of cake for a fudgier base texture. Replace regular chocolate cake with chocolate pound cake for a denser, more substantial layer that holds up beautifully overnight. Experiment with flavored chocolate puddings like chocolate mint or chocolate hazelnut for subtle flavor variations that surprise and delight.
Storage Wisdom
This chocolate cheesecake trifle maintains its glory in the refrigerator for up to three days. Cover tightly with plastic wrap to prevent the top from drying out or absorbing refrigerator odors. Individual servings can be prepared in advance in small glasses or jars with lids for perfect portion control and easy transport to potlucks or picnics. The texture actually improves after the first day as the cake absorbs moisture from surrounding layers.
Serving Suggestions
Present this showstopper in a clear glass bowl or trifle dish to showcase the beautiful layers. For elegant individual servings, portion into stemmed glasses or crystal dessert cups. Offer small dessert spoons that can reach all the way to the bottom of the dish to ensure guests get every delicious layer in each bite. A small pitcher of additional warm chocolate sauce on the side allows chocolate lovers to add even more decadence.
Recipe FAQs
- → Can I make this chocolate cheesecake trifle ahead of time?
Yes! This trifle actually benefits from being made ahead. Prepare it up to 24 hours in advance and keep refrigerated. The flavors meld beautifully as it chills, creating an even more decadent dessert. Just add the final garnishes right before serving for the freshest presentation.
- → What can I substitute for Cool Whip in this trifle?
Fresh homemade whipped cream makes an excellent substitute. Simply whip 2 cups of heavy cream with 1/4 cup powdered sugar and 1 teaspoon vanilla extract until stiff peaks form. This gives you approximately the same amount as an 8-oz container of Cool Whip with a more natural flavor.
- → Can I use homemade chocolate cake instead of store-bought?
Absolutely! Homemade chocolate cake works wonderfully and adds a personal touch. You can use your favorite chocolate cake recipe, or even brownies for a denser, fudgier base. Just make sure the cake is completely cooled before crumbling it for the trifle layers.
- → How do I create clean, visible layers in my trifle?
For pristine layers, use a clean spoon for each component and gently spread each layer to the edge of the glass before adding the next. Wipe any smudges from the inside of the glass with a clean paper towel between layers. Chilling the trifle for 15-20 minutes between layers can also help maintain definition.
- → What other garnishes work well for this chocolate cheesecake trifle?
Fresh berries like raspberries or strawberries provide beautiful color contrast and complement the chocolate flavors. Crushed chocolate cookies, edible gold dust, mint leaves, or chocolate-covered espresso beans are also excellent garnish options that enhance both presentation and flavor profile.
- → Can I make individual servings instead of one large trifle?
Yes! This dessert looks stunning in individual glasses or mason jars. Follow the same layering technique but in smaller vessels. This approach is perfect for dinner parties as it eliminates the need for scooping and preserves the beautiful layers when serving.