
 Save
Save
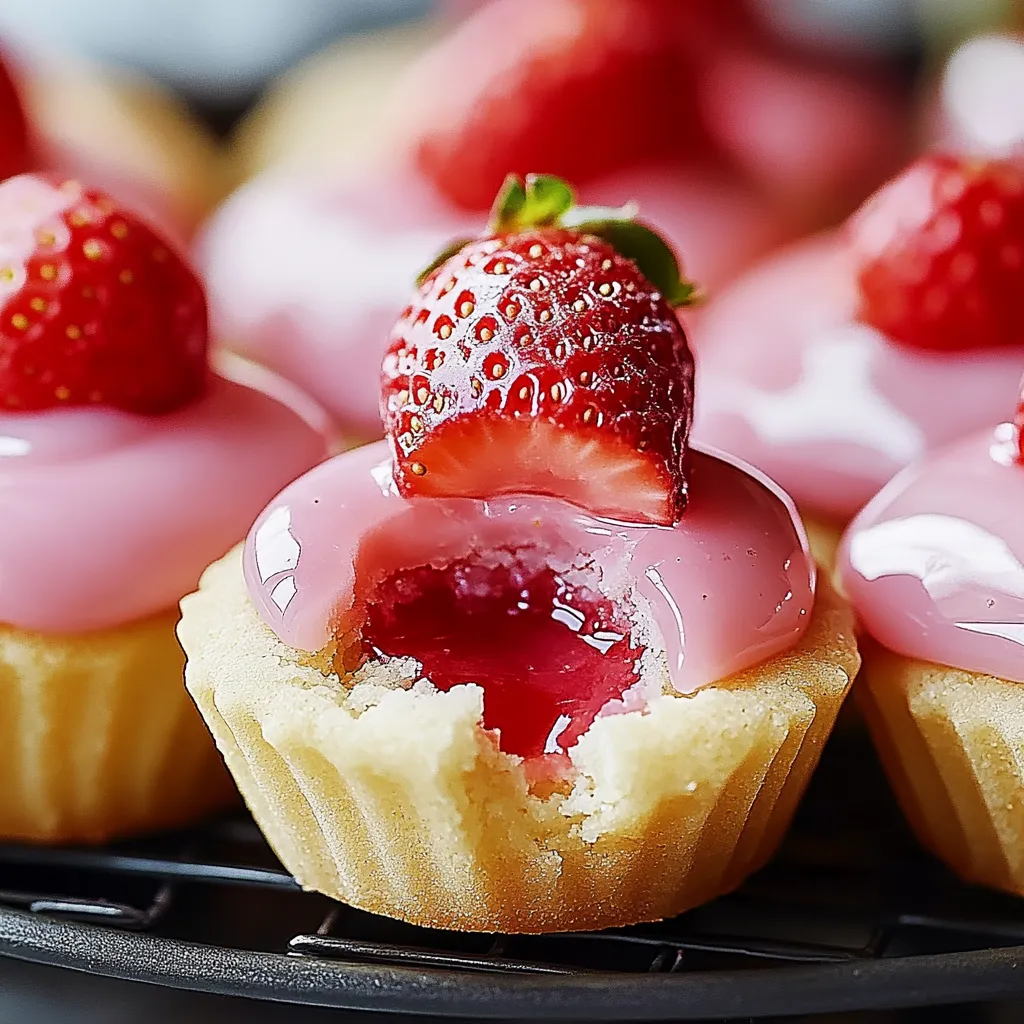
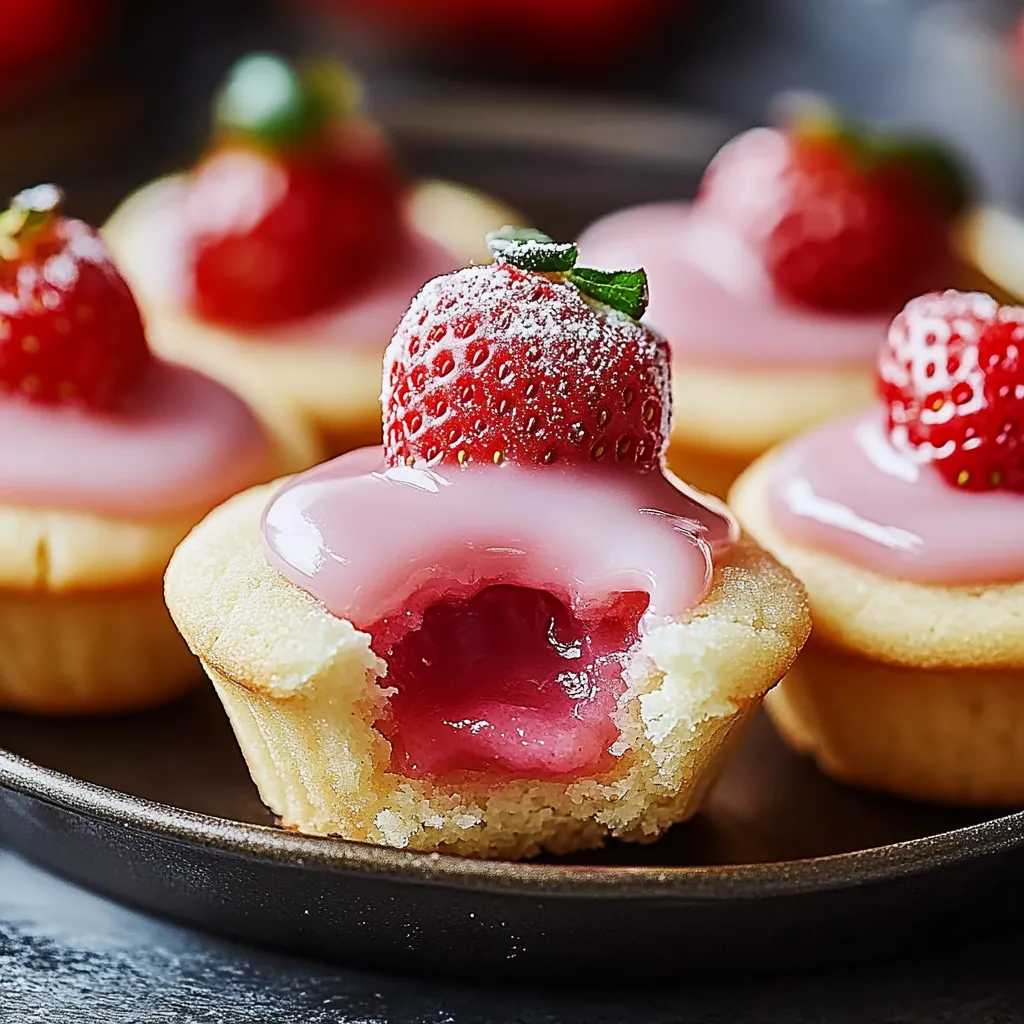
This elegant strawberry sugar cookie cup recipe transforms basic ingredients into a showstopper dessert that always impresses guests. The buttery cookie cups cradle a luscious strawberry cream filling for a perfect balance of textures and flavors in each bite.
I first created these for my daughter's birthday party when I needed something elegant yet kid-friendly. The adults kept sneaking them from the dessert table long after the children had moved on to other activities. Now they're requested at every family gathering.
Ingredients
- All purpose flour: provides structure to the cookie cups without making them tough. Look for unbleached flour for best results
- Baking powder: gives a slight rise while maintaining the cup shape
- Salt: balances the sweetness and enhances flavor. Use fine sea salt for best distribution
- Unsalted butter: creates a rich tender cookie base. Make sure it's properly softened at room temperature
- Granulated sugar: sweetens the cookie cups while providing crucial structure
- Large egg: binds the ingredients and adds moisture. Room temperature eggs incorporate better
- Vanilla extract: adds classic warmth to both components. Use pure extract rather than imitation
- Strawberry jam: infuses authentic berry flavor. Choose a high quality preserve with visible fruit pieces
- Heavy cream: whips into a light airy texture that balances the richness of the cream cheese
- Cream cheese: adds tanginess and stability to the filling. Full fat works best here
- Powdered sugar: sweetens without graininess. Sift first if you notice any lumps
- Fresh strawberries: provide bright color and flavor contrast. Look for vibrant red berries without white shoulders
Step-by-Step Instructions
- Prepare the Oven and Pan:
- Begin by preheating your oven to 350°F which ensures even baking from the start. Thoroughly grease each cup of your mini muffin tin making sure to coat the sides as well as the bottoms. This crucial step prevents the delicate cookie cups from sticking after baking.
- Mix the Dry Ingredients:
- Whisk the flour baking powder and salt together in a medium bowl until thoroughly combined. This distributes the leavening agent evenly throughout the flour ensuring consistent texture in every cookie cup. Set this mixture aside while you prepare the wet ingredients.
- Cream Butter and Sugar:
- In a large mixing bowl beat the softened butter and granulated sugar together for at least 3 minutes until the mixture becomes noticeably lighter in both color and texture. This incorporates air into the dough resulting in tender cookie cups rather than dense ones.
- Add Wet Ingredients:
- Beat in the egg and vanilla extract until the mixture appears smooth and uniform with no streaks of egg visible. The vanilla adds a warm aromatic note that complements the strawberry filling perfectly.
- Combine Wet and Dry:
- Gradually add the flour mixture to your butter mixture about one third at a time mixing gently between additions. Stop mixing as soon as the dough comes together to avoid developing too much gluten which would make the cookies tough.
- Shape the Cookie Cups:
- Take approximately one tablespoon of dough for each cup rolling it between your palms to form a smooth ball. Place each ball into the prepared mini muffin tin then use your thumb or the back of a measuring teaspoon to create a well in the center pushing gently down and slightly up the sides.
- Bake to Golden Perfection:
- Bake for precisely 10 to 12 minutes watching carefully toward the end. The cookie cups are ready when the edges turn a light golden color while the centers remain slightly pale. They will firm up as they cool so avoid overbaking which would make them brittle.
- Cool Completely:
- Allow the cookie cups to cool in the tin for about 10 minutes before attempting to remove them. This resting period allows them to set properly. Then carefully loosen the edges with a thin knife before gently lifting them out to cool completely on a wire rack.
- Create the Cream Cheese Base:
- Beat the softened cream cheese powdered sugar and vanilla extract together until completely smooth with no lumps remaining. This forms the stable base of your filling that will hold its shape when piped.
- Whip the Cream:
- In a separate clean bowl with clean beaters whip the cold heavy cream until it forms stiff peaks that stand upright when the beaters are lifted. The cream should be firm enough to hold its shape but still glossy not dry or curdled.
- Combine the Filling Components:
- Gently fold the whipped cream into the cream cheese mixture using a spatula and a light hand. Maintain as much air as possible using a figure eight motion from the bottom up. Then delicately swirl in the strawberry jam creating beautiful pink marble streaks throughout the filling.
- Fill and Garnish:
- Transfer the finished filling to a piping bag fitted with a star tip or simply use a small spoon to fill each cooled cookie cup with a generous amount of the strawberry cream. Top each with a fresh strawberry piece positioned at a slight angle for visual appeal and add a tiny mint leaf if desired.
I consider the strawberry jam the secret hero of this recipe. While many similar recipes use artificial strawberry flavoring my grandmother always insisted on using real preserves. She would gather strawberries from her garden each summer making small batches of jam specifically for baking. The first time I made these with her homemade preserves the difference was remarkable vibrant and authentic in a way that store bought versions rarely achieve.
Make Ahead Options
These cookie cups offer excellent make ahead potential for busy hosts. The unfilled cookie cups can be baked up to three days before your event when stored in an airtight container at room temperature. For longer storage freeze the baked unfilled cups for up to one month then thaw at room temperature before filling.
The cream filling can be prepared up to 24 hours ahead and kept refrigerated in a sealed container. When ready to serve simply pipe the filling into the cups and add the fresh garnishes. The fully assembled cookie cups will maintain their best quality for about 4 hours in the refrigerator making them perfect for preparing earlier on the day of your gathering.
Perfect Pairings
These strawberry cookie cups pair beautifully with both beverages and complementary desserts. Serve alongside a chilled glass of prosecco or champagne for an elegant adult dessert experience. For family gatherings consider serving with fresh lemonade or a light Earl Grey tea.
Create a dessert grazing board by arranging these cookie cups alongside chocolate dipped strawberries dark chocolate truffles and vanilla bean macarons. The varying textures and complementary flavors create a memorable dessert experience that encourages guests to sample multiple sweet bites.
Troubleshooting Tips
If your cookie cups puff up too much during baking and lose their well shape immediately press the centers back down with the back of a measuring spoon while they are still hot from the oven.
Should your whipped cream filling appear too soft it likely needs more whipping time. Return it to the mixer for additional beating making sure your bowl and beaters are cold. Conversely if your filling looks curdled or grainy you may have overwhipped the cream. Fold in a small amount of additional liquid cream to rescue it.
Recipe FAQs
- → Can I make these cookie cups ahead of time?
Yes! You can bake the cookie cups up to 3 days ahead and store them in an airtight container. For best results, fill them with the strawberry cream mixture shortly before serving to maintain the texture contrast.
- → Can I use a different fruit instead of strawberries?
Absolutely! This versatile dessert works well with raspberry, blueberry, or peach preserves. Simply substitute the jam and fresh fruit topping with your preferred flavor while keeping the measurements the same.
- → How do I prevent the cookie cups from sticking to the pan?
Make sure to properly grease your mini muffin tin. After baking, allow the cookie cups to cool completely in the tin before attempting to remove them. Using a non-stick pan and gently loosening the edges with a butter knife can also help.
- → Can I freeze these cookie cups?
Yes, but it's best to freeze only the unfilled cookie cups. Freeze in an airtight container for up to 1 month. Thaw at room temperature before filling with the fresh strawberry cream mixture.
- → What can I use if I don't have a mini muffin tin?
You can use a regular-sized muffin tin for larger cookie cups, just increase the baking time by 2-3 minutes. Alternatively, you could shape the cookies on a regular baking sheet and create an indentation in the center for a more rustic look.
- → How do I know when the cookie cups are done baking?
The cookie cups are done when the edges turn lightly golden but the centers still look slightly soft. They will continue to firm up as they cool in the tin. Overbaking can make them too crisp and difficult to remove intact.