
 Save
Save
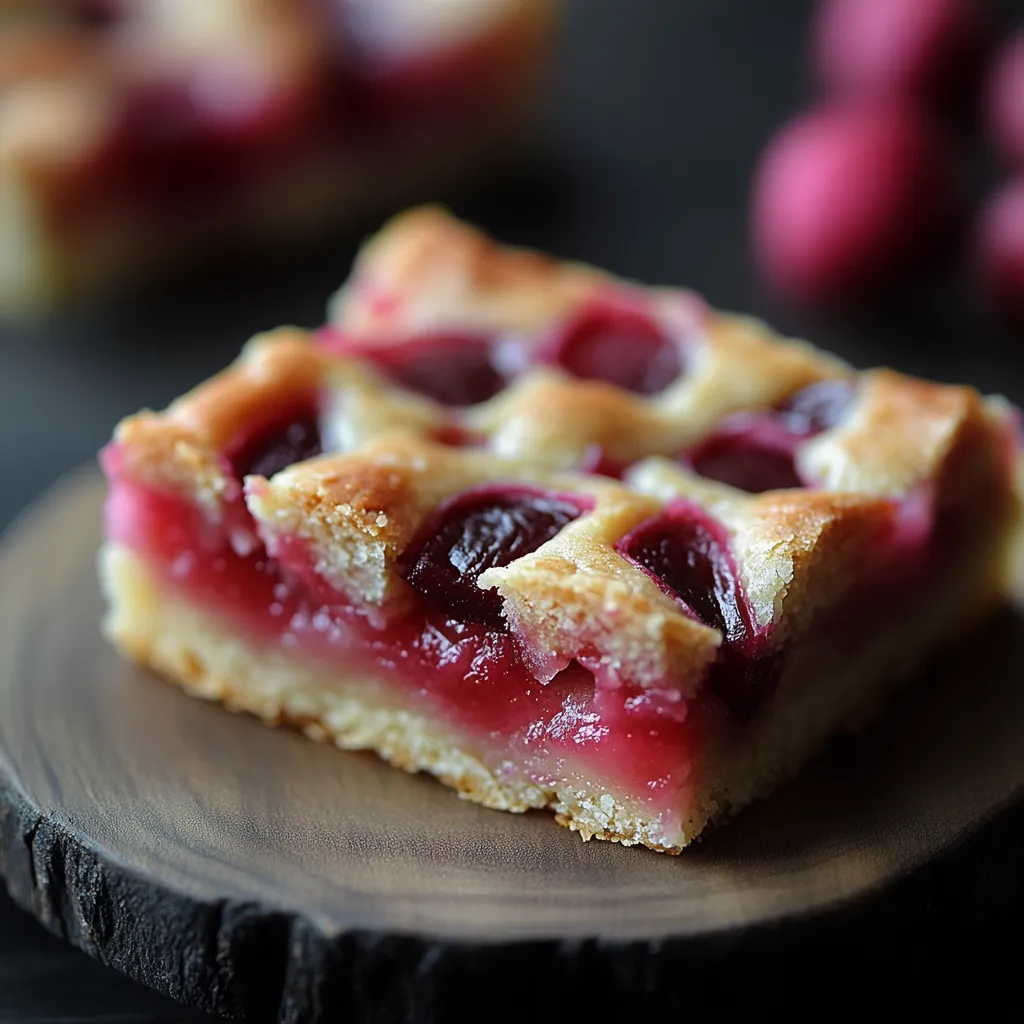
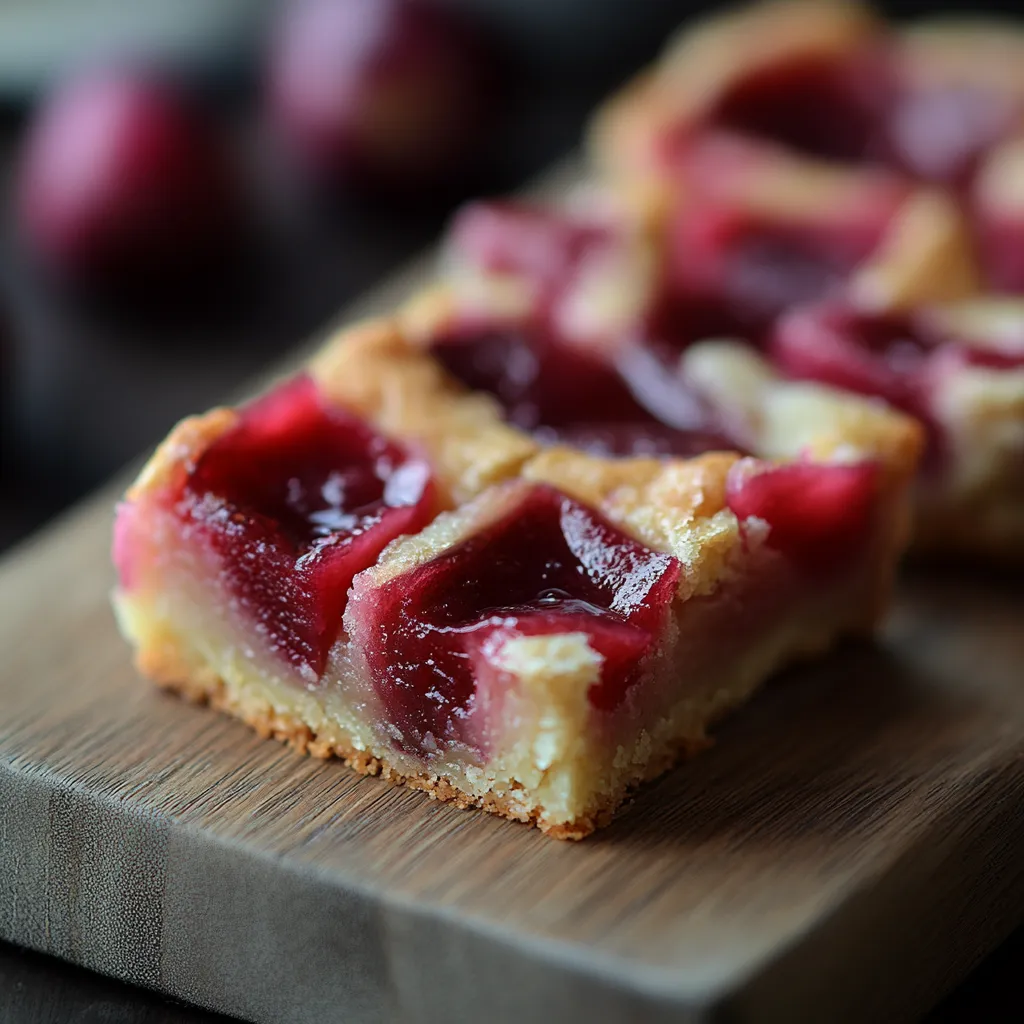
This rhubarb dream bar recipe transforms tart spring rhubarb into a dessert that perfectly balances sweet and tangy flavors. The buttery shortbread crust provides the ideal foundation for the luscious rhubarb filling, creating a treat that disappears quickly at any gathering.
I first made these bars for a spring garden party and they were the unexpected star of the dessert table. Even guests who claimed they didn't like rhubarb came back for seconds and asked for the recipe.
Ingredients
- Fresh rhubarb: the star ingredient that provides a bright tanginess. Look for firm stalks with vibrant color
- Unsalted butter: creates a rich shortbread base. Make sure it's properly softened for easy mixing
- All-purpose flour: gives structure to both the crust and filling. Measure carefully for best results
- Granulated sugar: balances the tartness of the rhubarb. The amount may seem high but is necessary
- Large eggs: bind the filling and create a custard-like texture
- Vanilla extract: adds warmth and depth to complement the rhubarb's brightness
Step-by-Step Instructions
- Prepare the Baking Pan:
- Preheat your oven to 350°F and line a 9×13-inch pan with parchment paper leaving overhang on two sides. This preparation ensures your bars will release cleanly after baking and makes cleanup much easier.
- Make the Shortbread Crust:
- Cream together softened butter and sugar until light and fluffy, about 2 minutes. Add flour and salt, mixing until the mixture resembles coarse crumbs. Press this mixture firmly and evenly into your prepared pan, using the bottom of a measuring cup to create a smooth compact base.
- Prebake the Crust:
- Bake the crust for 15 to 18 minutes until the edges just begin to turn golden. This partial baking ensures the crust will remain crisp even after adding the wet filling and prevents sogginess.
- Prepare the Filling:
- Whisk eggs vigorously until frothy to incorporate air into the filling. Add sugar, flour, and vanilla, whisking until completely smooth. Gently fold in the finely chopped rhubarb, ensuring pieces are evenly distributed throughout the mixture.
- Combine and Bake:
- Pour the rhubarb filling over the warm prebaked crust, spreading it evenly to the edges. Return to the oven and bake for 35 to 40 minutes until the filling is set in the center and lightly golden on top.
- Cool and Chill:
- Allow the bars to cool completely at room temperature before transferring to the refrigerator for at least one hour. This cooling process is essential for the filling to set properly and develop its full flavor profile.
The first time I served these bars to my family, my grandfather who grew rhubarb in his garden for decades declared them better than his cherished rhubarb pie. Now I make them every spring as a tradition to honor his memory and celebrate the season.
Storage Tips
These rhubarb dream bars actually taste better the day after baking, making them perfect for advance preparation. Store them in an airtight container in the refrigerator for up to 5 days. For longer storage, cut the cooled bars and place them in a freezer-safe container with parchment between layers. They'll keep for up to 3 months. Thaw overnight in the refrigerator before serving.
Variations to Try
While traditional rhubarb dream bars shine on their own, you can create delicious variations with a few simple additions. Try adding 1 cup of sliced strawberries to complement the rhubarb, or mix in 1 teaspoon of ground ginger or cinnamon to the filling for a warm spice note. For a special occasion, top the cooled bars with a simple glaze made from powdered sugar and lemon juice for an extra layer of sweetness and tang.
Serving Suggestions
These versatile bars can be dressed up or down depending on the occasion. For a casual family dessert, serve them chilled straight from the refrigerator. For a more elegant presentation, plate individual bars with a dollop of freshly whipped cream and a small sprig of mint. They pair beautifully with afternoon tea or coffee, and make a lovely addition to spring brunches or Mother's Day celebrations.
Recipe FAQs
- → Can I use frozen rhubarb instead of fresh?
Yes, frozen rhubarb works well in this recipe. Thaw it completely first and drain any excess liquid to prevent the filling from becoming too wet. You may need to increase the flour in the filling by 1-2 tablespoons to compensate for additional moisture.
- → How do I store these rhubarb bars?
Store the bars in an airtight container in the refrigerator for up to 5 days. The cool temperature helps maintain their texture and enhances the flavors. You can also freeze them in a single layer, then transfer to a container with parchment between layers for up to 3 months.
- → Can I add strawberries to this dessert?
Absolutely! Strawberry and rhubarb are classic companions. Replace up to half of the rhubarb with diced strawberries. Keep the total fruit amount at 3 cups, and be aware that strawberries release more moisture, so you might add an extra tablespoon of flour to the filling.
- → Why did my filling turn out runny?
Runny filling usually happens when the bars haven't baked long enough or cooled properly. Ensure they bake until the center is set (no jiggle when gently shaken), and allow them to cool completely at room temperature before refrigerating for at least an hour. Also check that your rhubarb wasn't excessively wet before adding it to the filling.
- → Can I reduce the sugar in this recipe?
You can reduce the sugar in the filling by up to 1/4 cup, but not much more since rhubarb is naturally very tart. The sugar also helps with the setting properties of the filling. Consider using a sugar substitute specifically designed for baking if you need to make a more significant reduction.
- → What's the best way to cut these bars neatly?
For the cleanest cuts, make sure the bars are thoroughly chilled. Use a sharp knife and wipe it clean between cuts. For extra precision, dip the knife in hot water and dry it before each cut. Removing the entire slab from the pan using the parchment paper overhang before cutting also makes the process easier.