
 Save
Save
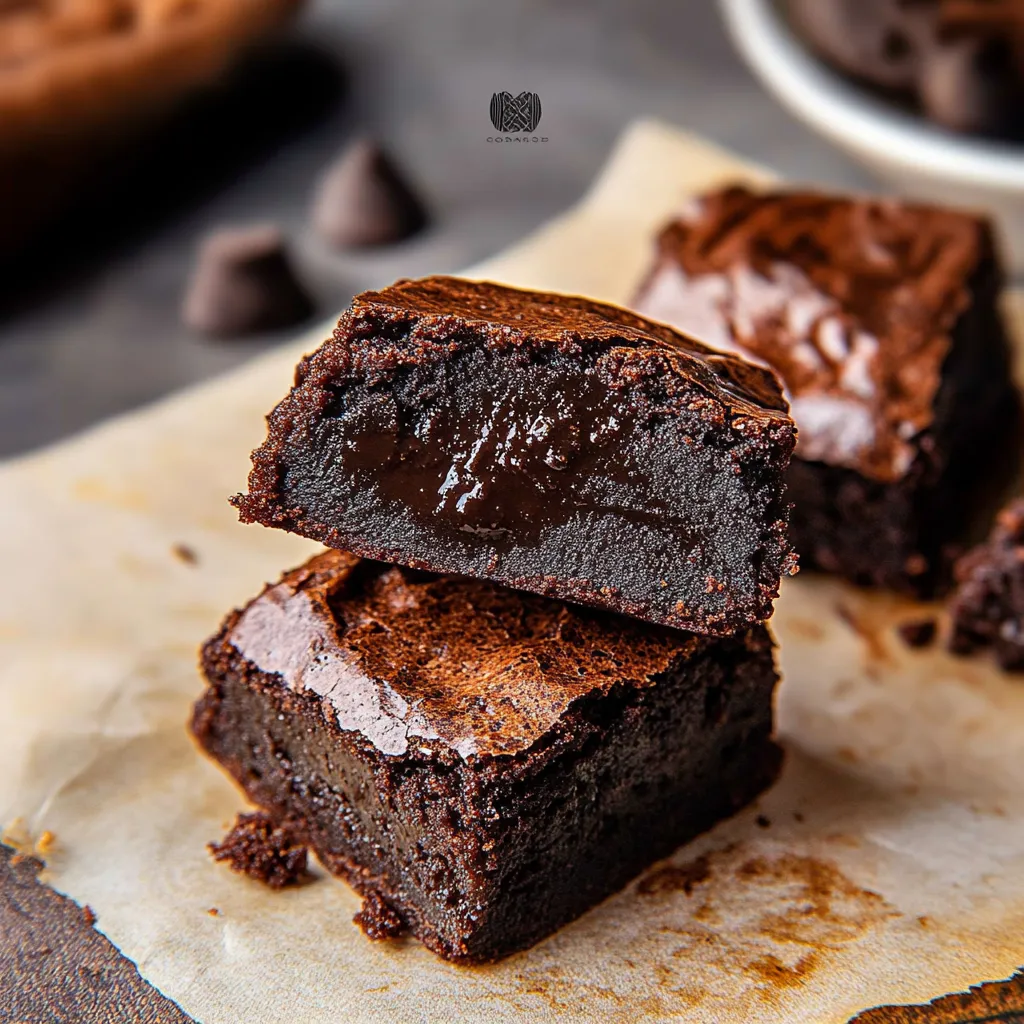
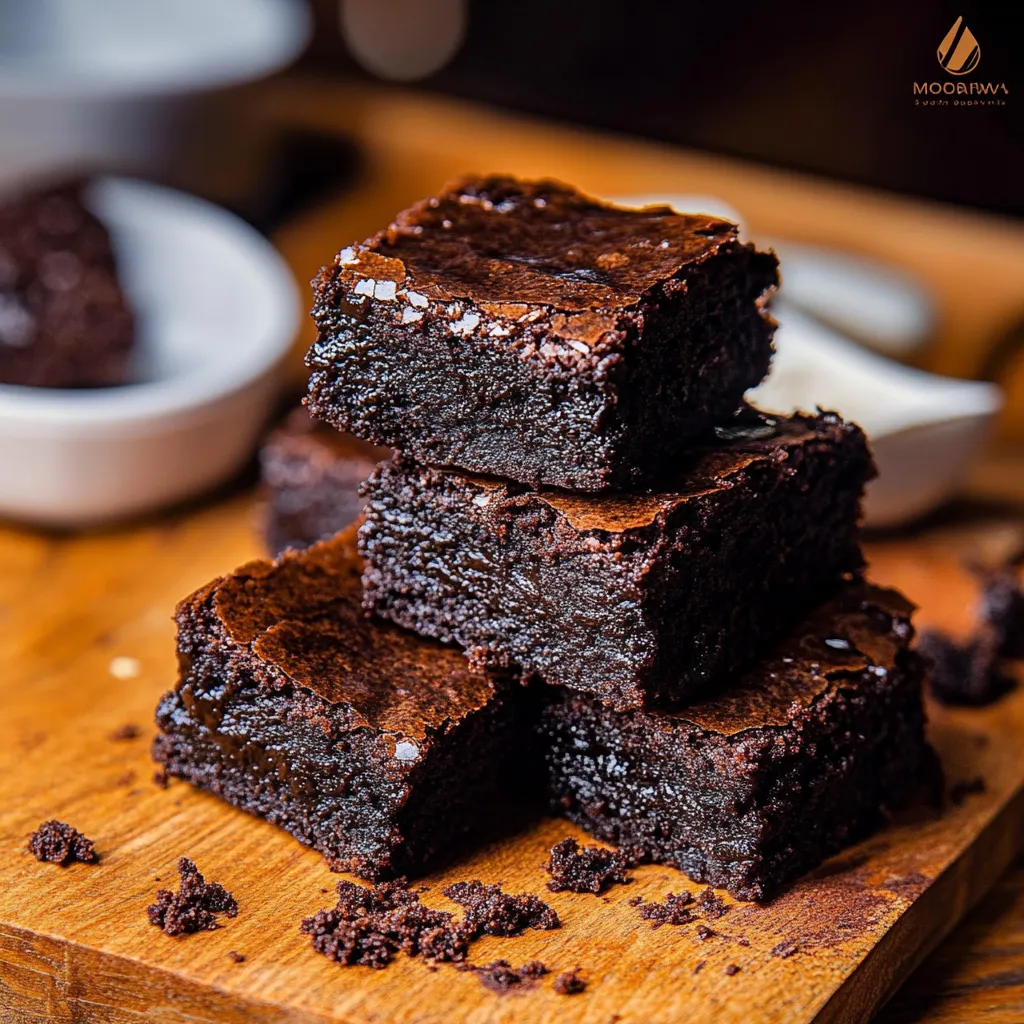
This mochi brownie recipe delivers the perfect fusion of chocolate richness and chewy mochi texture. The glutinous rice flour creates that distinctive stretchy quality that makes these treats uniquely satisfying while still delivering that deep chocolate flavor we all crave in a good brownie.
I discovered these mochi brownies during a virtual baking exchange with friends during lockdown and they quickly became my signature dessert. The first time I served them at a family gathering, my chocolate loving nephew declared them better than regular brownies which is high praise from a picky eater.
Ingredients
- Glutinous rice flour: Creates that signature chewy mochi texture. Look for brands specifically labeled glutinous or sweet rice flour
- Dark chocolate: Forms the flavor foundation. Choose 70% cocoa content for best results
- Cocoa powder: Intensifies the chocolate flavor. Dutch processed gives the deepest color
- Unsalted butter: Allows you to control the salt content precisely
- Eggs: Bind everything together and provide structure
- Milk: Adds moisture and helps create the perfect texture
- Sugar: Balances the bitterness of dark chocolate
- Baking powder: Provides just enough lift without making them cakey
- Vanilla extract: Enhances the chocolate flavor. Use pure extract not imitation
- Salt: Enhances all the flavors. Even a small amount makes a big difference
- Chocolate chunks: Create pockets of melty goodness throughout the brownies
Step-by-Step Instructions
- Preparation:
- Preheat your oven to exactly 320°F. This lower temperature ensures slower baking which develops the mochi texture properly. Line your baking pan meticulously with baking paper making sure to cover all sides to prevent sticking.
- Melt Chocolate and Butter:
- Create a double boiler by placing a heat safe bowl over a pot of simmering water. Combine dark chocolate and butter in the bowl stirring constantly until completely melted and glossy. Remove from heat and let cool for about 5 minutes so it won’t cook the eggs.
- Prepare Wet Ingredients:
- In a large bowl whisk the eggs until slightly frothy then add vanilla extract mixing until fully incorporated. Pour in the milk slowly while whisking to ensure everything blends together smoothly without lumps.
- Combine Chocolate Mixture:
- Gradually pour the cooled chocolate butter mixture into the egg mixture stirring continuously. The mixture should become smooth and silky with a beautiful chocolate color.
- Mix Dry Ingredients:
- In a separate bowl thoroughly combine the glutinous rice flour cocoa powder baking powder salt and sugar. Whisk well to distribute all components evenly especially the baking powder to avoid uneven rising.
- Create the Batter:
- Pour the wet chocolate mixture into the dry ingredients. Fold gently but thoroughly until no dry spots remain. The batter will be quite thick but still pourable.
- Sift and Pour:
- Pour the batter through a sieve into the prepared pan to eliminate any potential lumps. This extra step ensures perfectly smooth brownies. Use a spatula to spread evenly into the corners.
- Add Toppings:
- Sprinkle chocolate chunks across the surface pressing them lightly into the batter. Distribute evenly for consistent chocolate pockets throughout.
- Bake to Perfection:
- Bake for 55 to 60 minutes until the edges pull slightly away from the pan and the center is set but still slightly soft when gently pressed. A toothpick test will come out with a few moist crumbs.
- Cooling Process:
- Allow the brownies to cool completely in the pan for at least 30 minutes then transfer to a wire rack for another 30 minutes before cutting. This patience results in cleaner cuts and better texture.
My favorite aspect of these brownies is watching people take their first bite. The surprise when they experience that unique mochi pull and chew always brings a smile to my face. My grandmother who rarely enjoys sweets asks for these whenever I visit.
Storage Solutions
These mochi brownies maintain their quality remarkably well in airtight containers at room temperature for up to three days. For longer storage refrigerate for up to a week though the texture will become slightly firmer. When refrigerated allow them to come to room temperature before serving to restore their perfect chewiness. You can also freeze individual wrapped pieces for up to three months just thaw overnight in the refrigerator for an instant treat.
Flavor Variations
While this classic chocolate version is outstanding you can customize these mochi brownies in numerous delicious ways. Try folding in a half cup of peanut butter chips or swirling peanut butter through the batter before baking. For mint chocolate lovers add a quarter teaspoon of peppermint extract to the wet ingredients. Coffee enthusiasts can replace two tablespoons of milk with strong espresso to enhance the chocolate flavor. During fall try adding a teaspoon of cinnamon and a pinch of cayenne for Mexican hot chocolate inspired brownies.
Serving Suggestions
These mochi brownies are wonderful on their own but become an elegant dessert when slightly warmed and topped with a scoop of vanilla ice cream or fresh berries. For an indulgent presentation dust with powdered sugar just before serving or drizzle with warm caramel sauce. They pair beautifully with coffee tea or a glass of cold milk. For special occasions create a brownie sundae bar with various toppings like whipped cream crushed cookies and fresh fruit allowing guests to create their own perfect dessert.
Cultural Context
Mochi brownies represent a delightful fusion of Japanese mochi tradition and Western brownie indulgence. Traditional mochi dates back centuries in Japanese cuisine where glutinous rice is pounded into a sticky sweet treat. This modern interpretation maintains the chewy texture of mochi while incorporating the rich chocolate flavor beloved in American desserts. This cross cultural creation has become particularly popular in Hawaii where Japanese and American culinary influences naturally blend. The beauty of these brownies lies in honoring both traditions while creating something uniquely delicious.
Recipe FAQs
- → Can I substitute regular flour for glutinous rice flour?
No, regular flour won't work as a substitute because glutinous rice flour is essential for creating the distinctive chewy mochi texture. Using wheat flour would result in traditional brownies instead of mochi brownies.
- → Why are my mochi brownies too sticky?
Excessive stickiness usually indicates they're slightly undercooked. Try baking them a few minutes longer next time. Always allow them to cool completely before cutting, and use an oiled knife for cleaner slices.
- → Can I add other mix-ins besides chocolate chunks?
Absolutely! Chopped nuts, shredded coconut, or even swirls of peanut butter work wonderfully. Just be mindful that very heavy additions might affect the distinctive chewy texture.
- → How should I store these brownies?
Store in an airtight container at room temperature for 2-3 days. For longer storage, refrigerate for up to a week. They can also be frozen for up to 3 months. The texture might become slightly firmer when chilled.
- → Why do mochi brownies need to bake longer than regular brownies?
Glutinous rice flour requires more cooking time than wheat flour to fully hydrate and set properly. The longer baking time ensures the proper chewy texture develops while preventing a gummy, undercooked center.
- → Can I make these dairy-free?
Yes, substitute the butter with coconut oil and use a plant-based milk like coconut milk. The flavor profile will change slightly, but the texture should remain similar if the proportions stay the same.