
 Save
Save
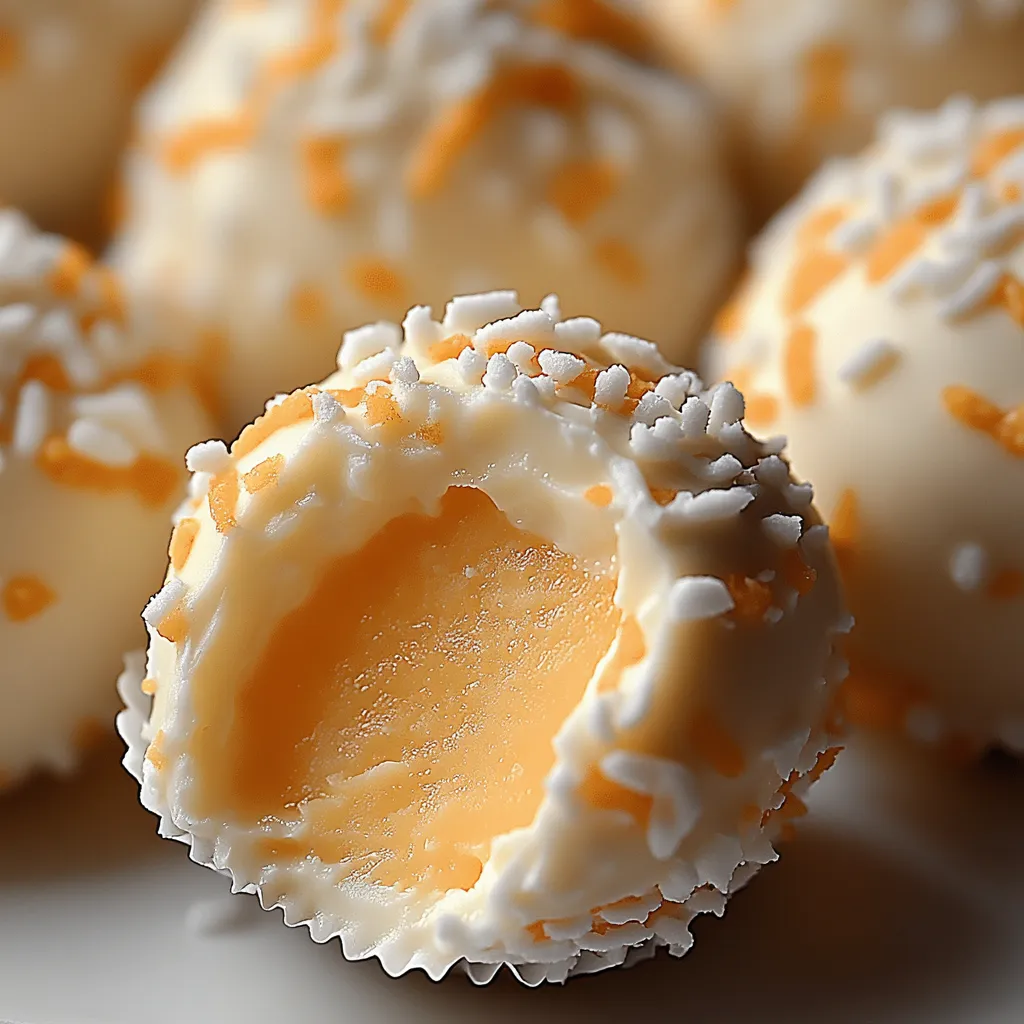
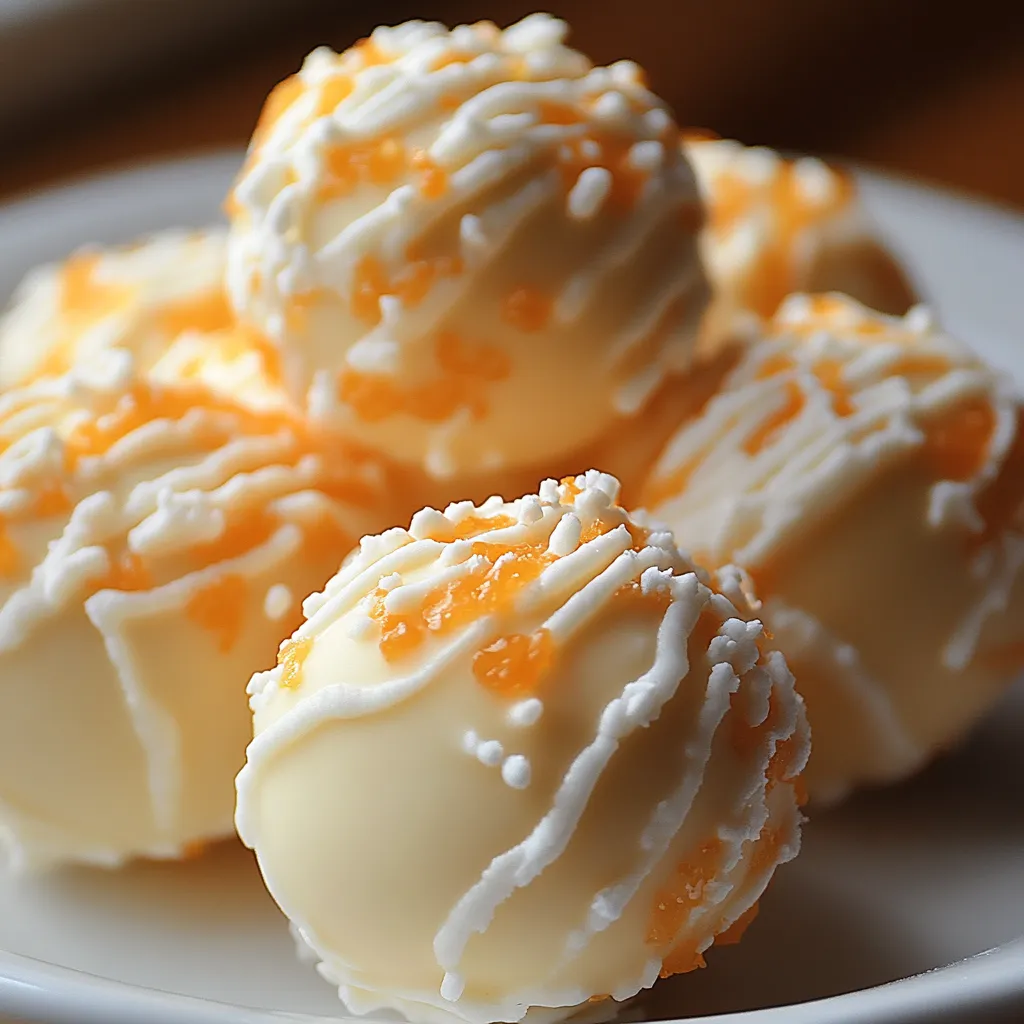
This citrus-infused confection will transport you back to childhood summers with its creamy orange and vanilla flavors. These delightful no-bake truffles combine the nostalgic taste of orange creamsicles in an elegant bite-sized treat that's perfect for parties, gift-giving, or satisfying your sweet tooth.
I first made these for my daughter's birthday party, and they disappeared faster than any other dessert on the table. Now they're requested at every family gathering, especially during citrus season when fresh oranges are at their peak.
Ingredients
- Powdered sugar: creates the smooth sweet base for these truffles
- Unsalted butter: adds richness and helps bind everything together
- Vanilla wafers: provide texture and a complementary vanilla flavor
- Orange juice concentrate: delivers intense citrus flavor without excess liquid
- Orange zest: amplifies the fresh citrus aroma use organic oranges for best results
- Vanilla extract: balances the tangy orange with warm vanilla notes
- White chocolate for coating: creates a beautiful finish and seals in moisture
- Optional garnishes: like sprinkles or extra zest add visual appeal and flavor intensity
Step-by-Step Instructions
- Prepare the Truffle Mixture:
- Beat the softened butter and powdered sugar together until completely smooth and fluffy, about 2 minutes. The mixture should lighten in color and texture. Make sure your butter is truly at room temperature for easy incorporation without lumps.
- Add Flavorings:
- Pour in the thawed orange juice concentrate, orange zest, and vanilla extract. Mix thoroughly until the citrus is evenly distributed. The mixture will become slightly looser but will firm up in the next step.
- Incorporate Wafer Crumbs:
- Add the crushed vanilla wafers and fold until a cohesive dough forms. The mixture should be soft but moldable. If it feels too sticky, refrigerate for 10 minutes before proceeding.
- Shape the Truffles:
- Scoop tablespoon portions of the dough and roll between your palms to create smooth, uniform balls. Slightly dampening your hands can prevent sticking. Place each finished truffle on a parchment-lined baking sheet, leaving space between each.
- Chill for Stability:
- Refrigerate the shaped truffles for a full 30 minutes. This crucial step ensures they hold their shape during dipping and results in a cleaner final appearance.
- Melt White Chocolate:
- Heat white chocolate in a microwave-safe bowl using 20-second intervals, stirring thoroughly between each. White chocolate burns easily, so be patient and attentive. The final texture should be completely smooth and glossy.
- Coat with Chocolate:
- Working with one chilled truffle at a time, drop it into the melted chocolate. Use a fork to gently roll it until completely covered, then lift and tap the fork against the bowl edge to remove excess coating. Place coated truffles back on parchment paper.
- Add Decorative Touches:
- Immediately sprinkle desired toppings over each truffle while the chocolate is still wet. Work quickly as white chocolate sets faster than dark varieties.
The orange juice concentrate is truly the secret ingredient here. I discovered its effectiveness after trying fresh juice, which made the mixture too wet. The concentrate provides intense flavor without compromising texture, recreating that authentic creamsicle experience that takes me back to chasing the ice cream truck as a child.
Make-Ahead Magic
These truffles actually improve after resting overnight in the refrigerator, allowing the flavors to meld beautifully. You can prepare them up to three days before serving, making them perfect for entertaining. The chilled truffles maintain their shape beautifully even when set out on a dessert table for several hours, though they're best enjoyed slightly cool.
Creative Variations
The basic recipe serves as a wonderful template for customization. Try substituting lemon juice concentrate and lemon zest for a lemon cream version. For chocolate orange lovers, use dark chocolate coating instead of white. During the holidays, adding a tiny pinch of cinnamon to the filling creates a festive winter flavor profile that pairs beautifully with spiced cider or hot chocolate.
Troubleshooting Tips
If your truffle mixture feels too soft to roll, add additional crushed vanilla wafers, one tablespoon at a time, until you reach a moldable consistency. Conversely, if the mixture seems too dry, a few drops of orange juice can add moisture. For the smoothest coating, make sure truffles are thoroughly chilled before dipping, and if the white chocolate begins to thicken during the coating process, reheat it briefly to maintain proper consistency.
Recipe FAQs
- → Can I use a different type of cookie for the base?
Yes, graham cracker crumbs make an excellent substitute for vanilla wafers. You could also experiment with shortbread cookies or golden Oreos for different flavor profiles while maintaining a similar texture.
- → How do I get the smoothest white chocolate coating?
For the smoothest coating, make sure your truffles are thoroughly chilled before dipping. Melt your white chocolate slowly in 20-second microwave intervals, stirring well between each. Adding a teaspoon of coconut oil or shortening to the melted chocolate can also help achieve a smoother consistency.
- → Can I make these with a different flavor instead of orange?
Absolutely! You can substitute the orange juice concentrate with other fruit concentrates or purees like lemon, raspberry, or mango. Just adjust the amount to taste, as some fruits have stronger flavors than others.
- → How far in advance can I make these truffles?
These truffles can be made up to a week in advance and stored in the refrigerator. They also freeze beautifully for up to 3 months, making them perfect for advance preparation for special events.
- → Why did my truffle mixture turn out too soft to roll?
If your mixture is too soft, it's likely due to warm butter or not enough crushed wafers. Simply add more crushed vanilla wafers, a tablespoon at a time, until the consistency allows for rolling. Chilling the mixture for 15-20 minutes before shaping can also help.
- → What's the best way to add the orange zest as a garnish?
For the best presentation, add fresh orange zest immediately after dipping each truffle while the chocolate is still wet. Use a microplane grater for the finest zest that will adhere well to the surface without overwhelming the truffle.