
 Save
Save
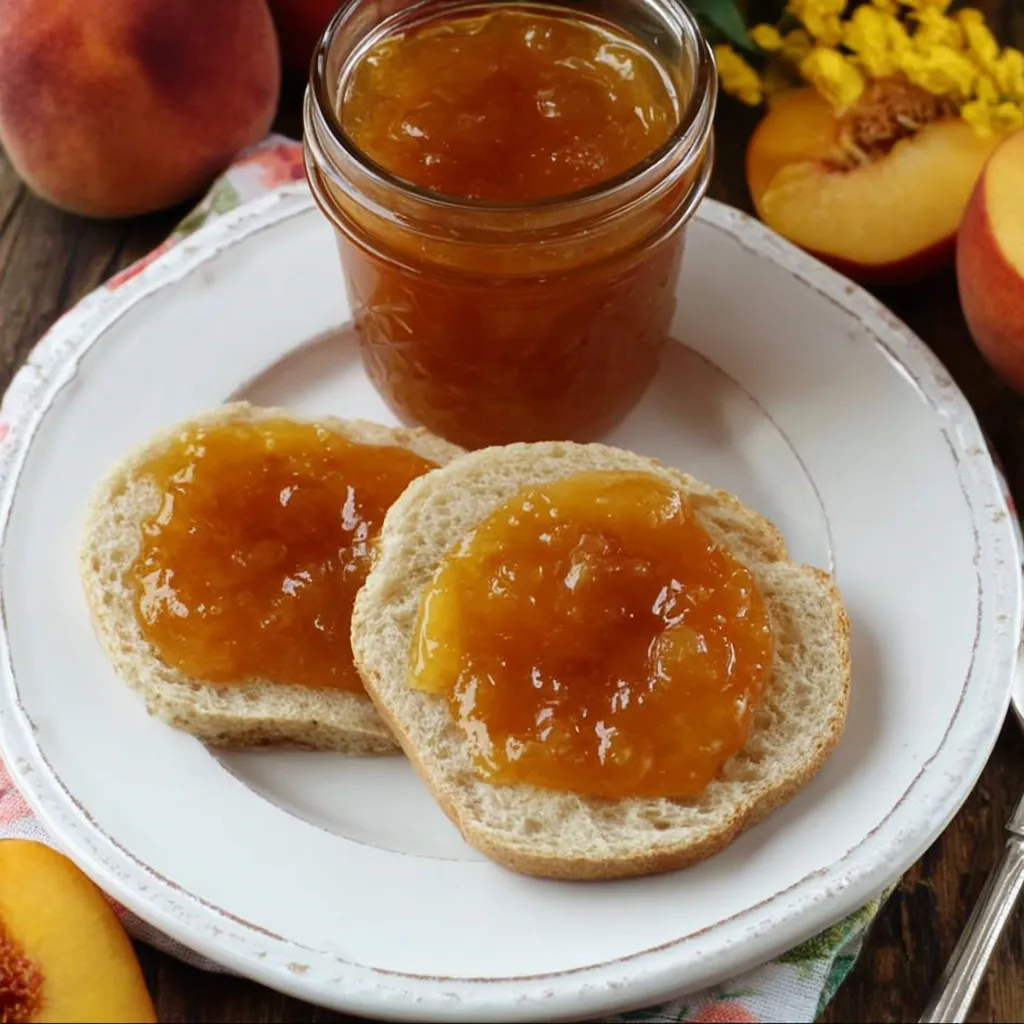
This summertime peach jam recipe captures the essence of ripe, juicy peaches in a spreadable form that brings sunshine to your morning toast all year long. A perfect beginner canning project, this recipe transforms fresh seasonal peaches into a pantry staple that preserves summer's bounty well into winter.
I discovered this recipe during a particularly bountiful peach season when my neighbor's tree was drooping with fruit. After making my first batch, I was hooked on the process and the incredible flavor that store bought jam simply can't match.
Ingredients
- Fresh peaches: preferably freestone varieties at peak ripeness for the sweetest flavor
- Lemon juice: adds necessary acidity for safe canning and brightens the flavor
- Butter: helps reduce foaming during the cooking process for clearer jam
- Powdered pectin: ensures your jam sets properly without extended cooking times
- Granulated sugar: not only sweetens but acts as a preservative for long term storage
Step-by-Step Instructions
- Prepare Your Equipment:
- Thoroughly wash all jars and prepare your water bath canner by filling it halfway with water. This preparation step is crucial for food safety. Place a metal spoon in your freezer for testing jam consistency later, a trick I learned that works better than any other testing method.
- Prepare The Peaches:
- Blanch your peaches in boiling water for just 30 to 45 seconds before plunging them into ice water. This quick temperature shock makes the skins slip right off without cooking the fruit. Chop the peeled peaches into uniform pieces and toss with some sugar to prevent browning. The Vidalia Chop Wizard mentioned creates perfect dice sizes that cook evenly.
- Cook The Jam:
- Combine your prepped peaches with lemon juice and butter in a large pot. The butter is my secret ingredient that prevents excessive foaming. Decide on your preferred texture now by using a masher for chunky jam or an immersion blender for smoother consistency. Add the pectin gradually while stirring constantly to prevent clumping before bringing to a full rolling boil.
- Add Sugar And Test:
- Once boiling, add all remaining sugar at once and return to a full boil for exactly one minute. This timing is critical for proper setting. Test your jam using the frozen spoon method by dipping the cold spoon into the hot jam and running your finger through it. The line should remain clear if the jam is ready to set.
- Fill And Process:
- Working quickly while the jam is hot, fill your prepared jars leaving proper headspace. Wipe each rim carefully as any residue can prevent proper sealing. Process in the boiling water bath according to your altitude specifications. The satisfying pop of sealing lids is your reward for a job well done.
This recipe reminds me of summer mornings at my grandmother's house, where toast with homemade jam was a daily ritual. She taught me that the quality of your peaches determines everything about your final jam. I can still picture her carefully selecting each peach at the farmers market, teaching me to look for fruit that yields gently to pressure and smells intensely fragrant.
Storing Your Homemade Jam
Properly sealed jars of peach jam can be stored in a cool, dark place for up to two years. The flavor is best in the first year, though the jam remains safe to eat beyond that. Once opened, refrigerate your jam and use it within three weeks. The natural color may darken slightly over time, but this doesn't affect the taste or safety of your preserved peaches.
Flavor Variations
Consider this recipe your canvas for creativity. Add a cinnamon stick during cooking for warm spice notes, or include a splash of bourbon in the final minute of cooking for a sophisticated adult version. Vanilla bean seeds make an incredible addition, as does a pinch of cardamom or ginger. My personal favorite variation includes a few sprigs of fresh thyme which pairs beautifully with the sweet peaches.
Troubleshooting Common Issues
If your jam seems too runny after processing, remember that pectin needs time to fully set, sometimes up to two weeks. For jam that's too thick, consider using it as a delicious filling for thumbprint cookies or layer cakes. Overcooking can create a caramelized flavor, which isn't traditional but makes an excellent glaze for grilled meats. If you experience sugar crystallization, usually caused by undissolved sugar, try warming the jam gently and stirring before serving.
Recipe FAQs
- → Can I reduce the amount of sugar in this peach jam?
While sugar acts as a preservative and helps with setting, you can reduce it slightly. However, for proper setting and preservation, don't cut it by more than 1/4 of the original amount. Alternatively, look for low-sugar pectin varieties which are specifically formulated for reduced sugar preserves.
- → How do I know if my jars have sealed properly?
Properly sealed jars will make a 'popping' sound as they cool, and the center of the lid will be pulled downward and won't flex when pressed. If you can press the center and it makes a clicking sound, the jar hasn't sealed and should be refrigerated or reprocessed.
- → Can I use frozen peaches instead of fresh?
Yes, frozen peaches can work well. Thaw them completely, drain excess liquid (you may need to adjust the pectin slightly), and proceed with the recipe. Frozen peaches are often already peeled, which saves time on the blanching step.
- → Why add butter to the jam mixture?
The tablespoon of butter helps reduce foaming during the boiling process. This is optional but recommended as it makes skimming unnecessary and results in a clearer finished jam.
- → How can I test if my jam will set properly?
The frozen spoon test mentioned in the instructions is the best method. Place a metal spoon in the freezer before starting. When you think the jam is ready, dip the cold spoon into the hot mixture, then run your finger through it. If the line remains clear and the jam doesn't immediately flow back together, it will set properly when cooled.
- → Can I make this jam without a water bath canner?
While a proper water bath canner is recommended for safety, you can use a large, deep pot with a rack in the bottom to keep jars off direct heat. Ensure the pot is deep enough to cover jars with at least 2 inches of water. However, for long-term storage safety, following proper canning protocols is essential.