
 Save
Save
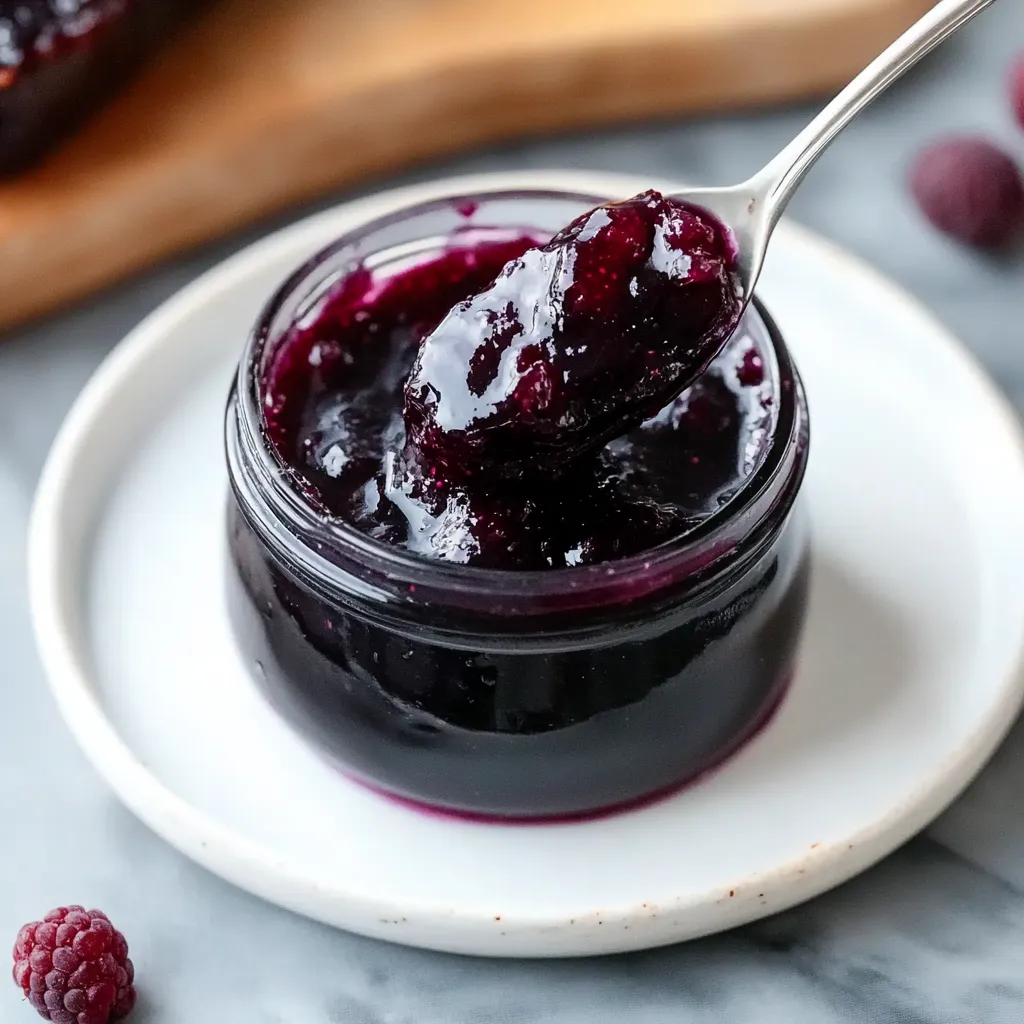
This rustic mulberry jam recipe transforms freshly picked berries into a vibrant, spreadable treasure that brightens morning toast and desserts alike. The deep purple sweetness captures summer's essence in every spoonful, making ordinary breakfasts extraordinary all year round.
I discovered this recipe after our backyard mulberry tree produced an overwhelming harvest one summer. What started as a practical solution to fruit abundance has become our family's most anticipated annual tradition, with my children now eagerly watching for the first berries to ripen.
Ingredients
- Fresh or frozen mulberries: provide the foundation for this jam with their unique sweet tart flavor profile use the darkest most ripe berries for maximum sweetness
- White sugar: not only sweetens but acts as a preservative giving your jam its lengthy shelf life
- Fresh lemon juice: adds necessary acidity for safe canning while brightening the flavor never substitute bottled juice as the acidity level may vary
- Ground nutmeg: introduces a warm subtle spice note that complements the berries perfectly a little goes a long way
- Liquid pectin: ensures your jam reaches the perfect consistency look for pouches rather than powder for this recipe
Step-by-Step Instructions
- Prepare Ingredients and Begin Cooking:
- Combine mulberries sugar and lemon juice in a large nonreactive pot preferably stainless steel or enameled cast iron. The mixture will bubble up significantly during cooking so choose a pot with high sides. Bring to a boil over high heat stirring constantly to prevent the sugar from scorching at the bottom which can happen quickly if left unattended.
- Add Nutmeg and Pectin:
- Once sugar has dissolved completely introduce the pinch of nutmeg which releases aromatic oils when heated. Pour in the liquid pectin and return to a rolling boil for exactly one minute. This precise timing activates the pectin properly ensuring your jam sets with the perfect consistency not too runny and not too firm.
- Cool the Jam Mixture:
- Remove from heat allowing the mixture to settle slightly. This cooling period is crucial as it gives you time to skim off any foam which can affect the clarity and appearance of your finished jam. Stir occasionally to distribute the fruit evenly throughout the mixture as it begins to thicken.
- Sterilize and Fill the Jars:
- While jam cools slightly prepare jars in boiling water ensuring complete sterilization. Carefully ladle hot jam into hot jars leaving exactly half an inch headspace which allows for expansion during processing. Wipe rims meticulously as any residue can prevent a proper seal.
- Seal and Process the Jars:
- Apply lids and process in boiling water ensuring water covers jars by at least one inch. The five minute processing time starts when water returns to a full boil. The gradual cooling period afterward is essential for proper vacuum formation inside each jar do not disturb jars during this time.
- Check Seals and Store:
- Test each seal by pressing the center of cooled lids looking for that satisfying concave depression that indicates a proper vacuum seal. Any jars that fail to seal should be refrigerated and used first within 2 3 months.
The nutmeg in this recipe was my grandmother's secret addition. She insisted it brought out the berries' natural sweetness without overpowering their delicate flavor. Years later when I recreated her recipe from memory that hint of nutmeg immediately transported me back to her kitchen where I first learned to appreciate the art of preserving seasonal abundance.
Storage Wisdom
Proper storage dramatically affects the longevity and quality of your homemade mulberry jam. For unopened jars store in a cool dark location like a basement pantry or cabinet away from heating vents or sunny windows. Temperature fluctuations can compromise the seal over time so consistency matters. Check jars occasionally for any signs of seal failure which would be indicated by lids that have popped up.
Serving Suggestions
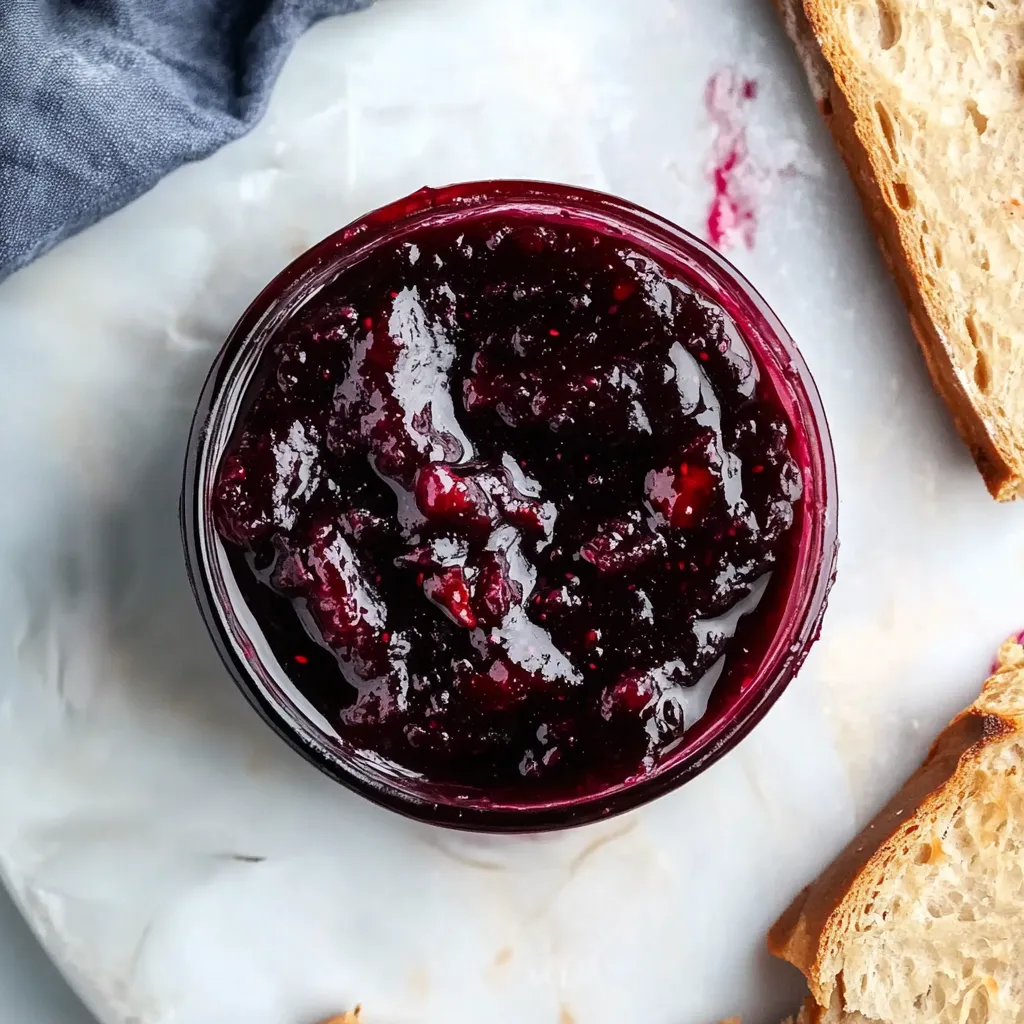
Mulberry jam transcends the breakfast table. Warm it slightly and drizzle over vanilla ice cream for an instant dessert transformation. Spoon between cake layers as an unexpected filling that pairs beautifully with cream cheese frosting. For savory applications try a small dollop alongside a cheese board particularly with tangy goat cheese or aged cheddar where the sweet berry notes create perfect balance against the savory richness.
Troubleshooting Tips
Achieving the perfect set can sometimes be challenging with mulberries due to their naturally lower pectin content. If your jam remains runny after cooling completely you can recook it with additional pectin following package directions for reprocessing. Conversely if your jam becomes too firm gently warm it and stir in a tablespoon of water at a time until reaching desired consistency. Remember that jam continues to set as it cools so what seems slightly loose in the pot often reaches perfect consistency after cooling completely.
Recipe FAQs
- → Can I reduce the amount of sugar in this mulberry jam?
While you can reduce the sugar somewhat, it's important to maintain a certain sugar-to-fruit ratio for proper setting and preservation. If you prefer a less sweet jam, consider using a low-sugar pectin and following its specific instructions. Reducing sugar by more than 25% may affect both the set and shelf-life of your jam.
- → How do I know when my mulberry jam is properly set?
The jam should reach 220°F (104°C) on a candy thermometer. Alternatively, place a small plate in the freezer before you begin cooking. To test for doneness, put a small dollop of jam on the cold plate and return it to the freezer for one minute. Run your finger through the jam - if it wrinkles and doesn't immediately flow back together, it's ready.
- → Why did my jam turn out runny despite using pectin?
Several factors can cause runny jam: underripe mulberries (which have less natural pectin), expired or improperly stored pectin, insufficient acid (lemon juice), or not reaching the proper temperature during cooking. Make sure to follow the recipe exactly, particularly the 1-minute full boil after adding pectin, which is crucial for proper setting.
- → Can I use frozen mulberries instead of fresh?
Yes, frozen mulberries work excellently for jam-making! There's no need to thaw them first - simply add them frozen directly to your pot. The cooking process will thaw and break them down. Frozen berries sometimes yield a slightly looser set, so you might need to cook the jam slightly longer to achieve the desired consistency.
- → Do I need special equipment for canning this jam?
While not absolutely required, basic canning equipment makes the process much easier: a large pot for the water bath, a jar lifter for safe handling, a canning funnel for filling jars, and proper canning jars with new lids. If you don't have canning equipment, you can still make the jam and store it in the refrigerator for up to 3 months or freeze it for longer storage.
- → How can I tell if my sealed jars of mulberry jam have gone bad?
Check for signs of spoilage before opening: bulging or leaking lids, an off smell when opened, mold, fermentation bubbles, or significant color changes. Good jam should maintain its vibrant color and pleasant aroma. When in doubt, throw it out - food safety should always be the priority with home preserves.