
 Save
Save
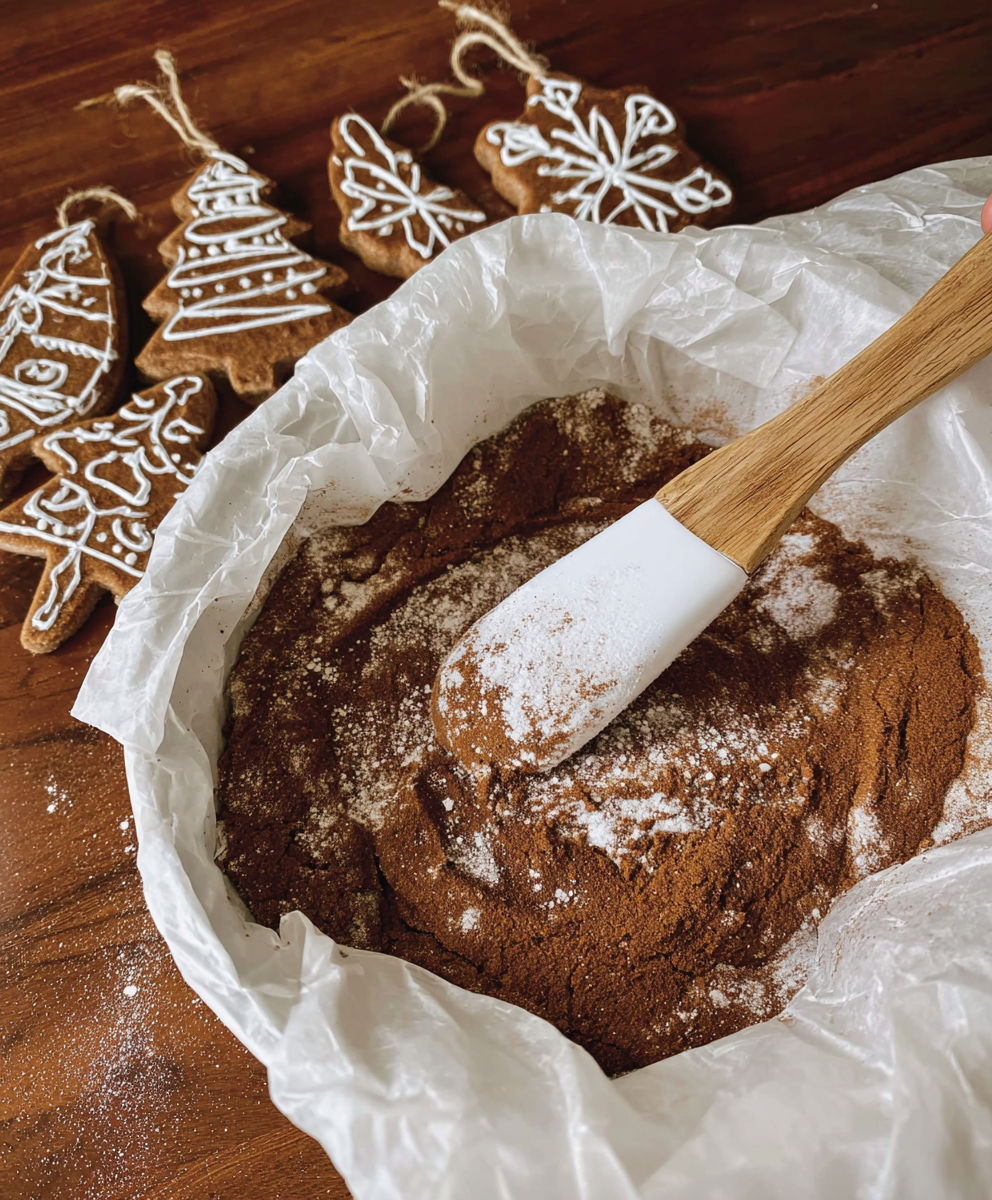
Cinnamon salt dough ornaments are the best blend of homemade holiday cheer with cozy scents and creativity. Every December my kids and I set up at the kitchen table to make these together. They look just like gingerbread cookies, but last for years. These ornaments instantly make the whole house smell warm, spicy, and completely festive.
I first tried these during a snow day when the kids were restless and begging for something to do. Now every year they get excited to design their own ornaments and the tradition has stuck around because these decorations never get old.
Ingredients
- All purpose flour: three cups gives the dough structure and makes it easy to roll out go for a standard unbleached flour for best results
- Ground cinnamon: one cup scents the dough and gives it that gingerbread color always use fresh cinnamon for the strongest aroma
- Table salt: one cup preserves the dough and helps it bake up firm fine salt dissolves well
- Essential oil of your choice: just a few drops makes the aroma pop picks like peppermint or clove add a personalized twist make sure to use a good quality oil without synthetic fragrances
- Water: one and three fourths cups pulls the dough together filtered water is best if possible
- Parchment paper or cooking spray: prevents sticking while baking
- Fun cookie cutters: let you play with shapes popular picks for Christmas include stars snowflakes and gingerbread folks choose metal cutters for crisp edges
- Toothpick: used for poking holes in the dough for stringing the finished ornaments
- White puffy craft paint: makes “icing” details stand out it dries to a raised finish that looks just like real cookie icing
- Bakers string jute twine or ornament hooks: make hanging easy go for natural fibers for a rustic look
Instructions
- Mix Dry Ingredients:
- Combine the flour cinnamon and salt in a large bowl. Whisk well so everything is even. Scoop out half a cup of this dry mix and set it aside for dusting your rolling surface later to prevent sticking.
- Add Essential Oil in Water:
- Drop around ten to twelve drops of your chosen essential oil into the measured water. Swirl or whisk gently so the scent distributes throughout. Even if you do not have cinnamon oil peppermint or orange are great wintery substitutes. The right oil makes all the difference in fragrance payoff.
- Add Water and Oil to Dry Ingredients:
- Pour a little of the scented water into the dry ingredients to start. Use a big spoon or your hand to incorporate the liquid so there are no dry spots. Continue adding water little by little just enough to form a thick dough similar to cookie dough. You might not need quite all the water or you might need a touch more depending on humidity and flour type.
- Mix:
- Once most of the flour is absorbed switch to kneading by hand in the bowl or on a clean surface. Work the dough until smooth and pliable but not sticky. If it’s too dry sprinkle in a tablespoon of water at a time. If it is sticky dust with some reserved dry mix.
- Cut Out Dough:
- Scatter the saved dry mixture over your board or counter. Place the dough in the center and roll it out evenly with a rolling pin to about a quarter inch thickness. Press cookie cutters firmly through the dough and transfer shapes to a parchment lined or greased baking sheet with a spatula so the designs do not stretch or warp.
- Poke a Hole for String:
- For each cut out ornament use a toothpick to make a hole near the top for hanging later. Make sure the hole is large enough for your chosen string or ribbon. Let kids help with this step it is not about perfection just fun.
- Bake:
- Slide the sheet into an oven preheated to three hundred degrees Fahrenheit. Bake for thirty to forty minutes. The ornaments should feel dry and hard to the touch and smell absolutely amazing. Let them cool completely on a wire rack before handling.
- Pipe Icing Paint:
- Once cool set up your painting area. Use white puffy craft paint to pipe on details like zigzags dots or outlines to mimic icing on gingerbread cookies. Let each ornament dry undisturbed so the paint sets up firm and dimensional.
- String Up:
- Cut a bit of string twine or use an ornament hook and thread it through each hole. Tie off well. The ornaments are ready to hang on the tree mantle or anywhere you want that cozy spiced scent and handmade look.
I absolutely love the punch of cinnamon in this dough. The whole process reminds me of helping my grandmother bake as a kid even if these are not for eating. One year my daughter dotted all her ornaments with blue spots and every time I see them I smile and remember her sticky little fingers grabbing the rolling pin.
Storage tips
Let the ornaments cool and dry completely before storing to prevent any lingering moisture from softening them. Place in a tin or sturdy box with a layer of tissue between each piece to protect the paint. Store in a cool dry place away from heat and sunlight to prevent fading or warping. If you ever spot a soft patch just re-bake in a low oven to dry them out again.
Ingredient substitutions
No cinnamon or want to mix it up try ground nutmeg cloves or even unsweetened cocoa powder for scent and color. If you are out of essential oil just up the spice for natural aroma. Whole wheat flour gives a more rustic look but will change the color slightly.
Serving suggestions
Use these on the tree to create a spiced gingerbread effect in the living room. Tie to gifts or holiday cards for a homemade touch. They look stunning strung along a garland or tied to napkins for a festive holiday table setting. Kids love adding faces or year numbers with paint too.
Cultural and historical context
Salt dough crafts like these have been a handmade home tradition around the world for centuries especially in Eastern Europe and Scandinavia. Adding cinnamon is a modern twist for holiday sparkle and scent.
Seasonal Adaptations
Try other spices like cardamom for a warming change in winter. Use springy shapes and pastel paint for Easter ornaments. Make name tags with alphabet cookie cutters for personalized gifts.
Success Stories
A friend of mine uses this recipe for her classroom every year. The kids love bringing home a handmade ornament with their name and a splash of paint. Another neighbor made a tiny handprint version for her baby's first Christmas and keeps it on display every December.
Freezer Meal Conversion
Unlike food these cannot be frozen but you can premix the dry ingredients and store in an airtight jar to save time when you are ready to craft. Just add the water and oil when you are set to go.

Enjoy crafting these cinnamon salt dough ornaments with your family. Every handmade piece will fill your holiday with warmth and happy memories.
Recipe FAQs
- → How do I make the dough aromatic?
Add a few drops of your favorite essential oils, such as cinnamon, peppermint, clove, or orange, to the water before mixing with dry ingredients. This gives the ornaments a wonderful festive scent that lasts.
- → Can I use any type of flour?
All-purpose flour works best for a smooth texture. Alternative flours can be used but may affect consistency and scent.
- → What thickness should I roll the dough?
Roll the dough to about 1/4 inch thick for sturdy ornaments that bake evenly and hold their shape.
- → How do I decorate the ornaments?
Once baked and cooled, use white puffy paint to mimic icing, or let children paint with other colors for added fun and creativity.
- → How long will these ornaments last?
When fully baked and stored in a dry place, cinnamon salt dough ornaments can last for years as cherished holiday decor.
- → Is it safe to use these as gifts?
Absolutely! Handmade cinnamon ornaments make thoughtful, aromatic gifts, especially when customized with different shapes or names.