
 Save
Save
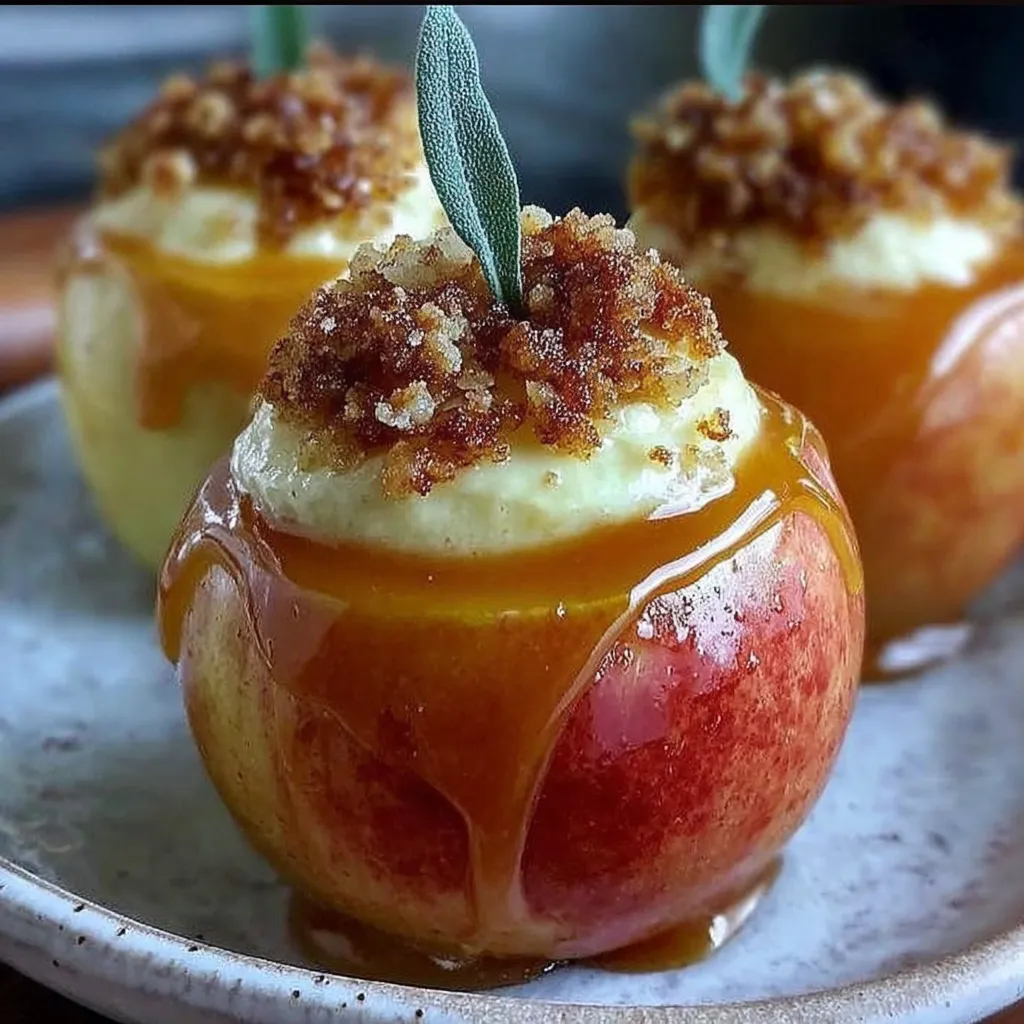
This cheesecake stuffed apple recipe transforms ordinary apples into an extraordinary dessert that perfectly balances tangy cream cheese filling with sweet, tender fruit. I discovered this treat during apple picking season and it quickly became my signature fall dessert for gatherings.
I first made these for my daughter's birthday as an alternative to traditional cake, and the look on her face when she took that first bite made them an instant family tradition.
Ingredients
- Granny Smith or Honeycrisp apples: provide the perfect tartness to balance the sweet filling
- Cream cheese: creates that signature cheesecake tang and velvety texture
- Granulated sugar: sweetens the filling to perfection
- Brown sugar: adds depth and caramel notes to complement the apples
- Vanilla extract: enhances the cheesecake flavor profile
- Ground cinnamon: brings warmth and classic apple pie notes
- Sour cream: makes the filling extra creamy and adds subtle tanginess
- Graham crackers: give that authentic cheesecake crust experience in every bite
- Chopped nuts: add wonderful textural contrast and toasty flavor
- Caramel sauce: creates a decadent finishing touch that ties everything together
Step-by-Step Instructions
- Prepare the Apples:
- Preheat oven to 350°F and wash apples thoroughly. Core each apple carefully leaving the bottom intact to create a natural bowl. This is crucial for holding the filling. Brush the insides with lemon juice to prevent that unappealing browning.
- Create the Cheesecake Filling:
- Beat softened cream cheese and granulated sugar until luxuriously smooth, about 2 to 3 minutes. The cream cheese must be truly room temperature to avoid lumps. Add brown sugar, vanilla, cinnamon and salt, mixing until well combined. The brown sugar adds caramel notes that perfectly complement the apples.
- Complete the Filling:
- Fold in sour cream until fully incorporated for that classic cheesecake tanginess. Gently mix in graham cracker crumbs and nuts if using. The graham crackers give that authentic cheesecake crust experience in each bite.
- Fill and Bake:
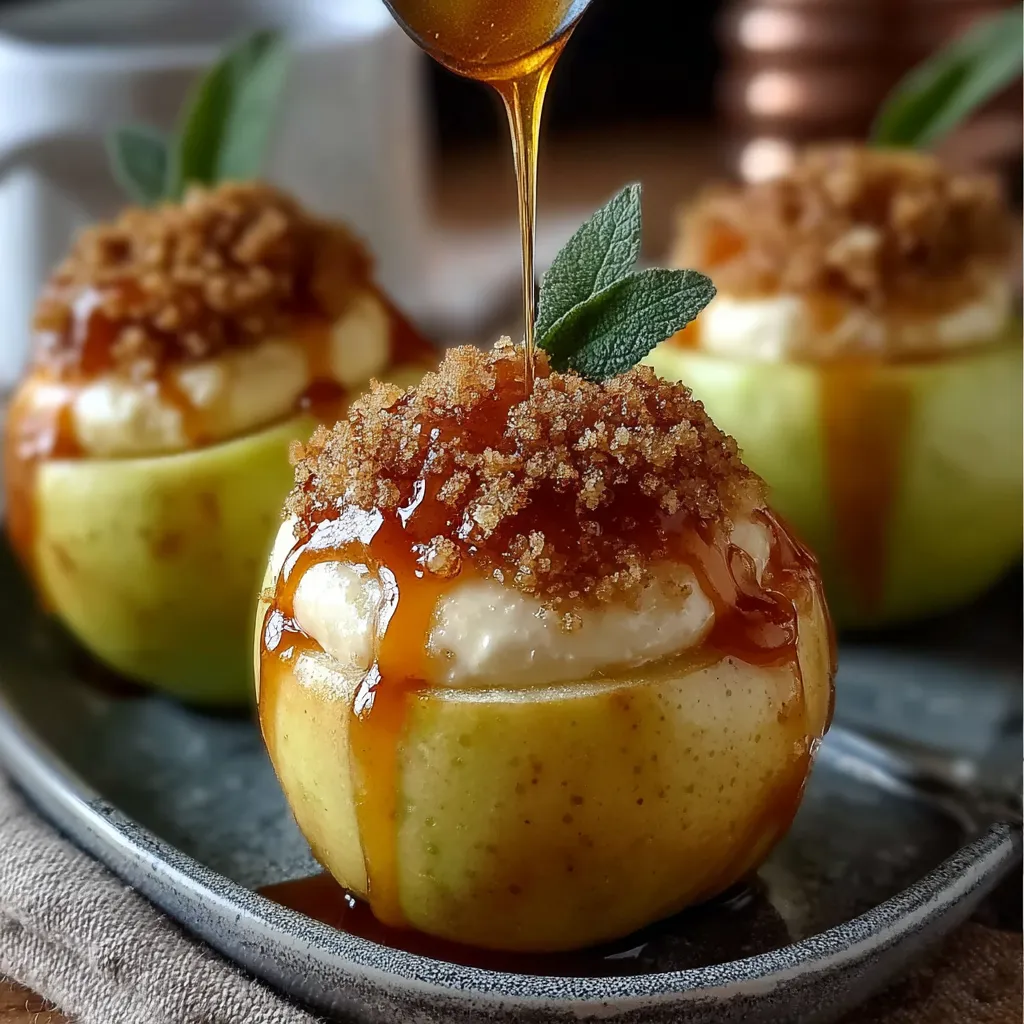
- Spoon the filling generously into each apple cavity, slightly mounding at the top. Arrange apples in a baking dish, standing upright. Cover with foil and bake for 25 to 30 minutes until apples are tender when pierced with a knife. Remove foil and bake 10 to 15 minutes more to achieve that lovely golden top.
- Serve with Style:
- Let cool slightly before drizzling with caramel sauce. The contrast between the warm apples and cool topping creates a delightful sensory experience. A scoop of vanilla ice cream alongside makes this dessert truly restaurant worthy.
The graham cracker element is my favorite part of this recipe. It reminds me of the first cheesecake I ever made with my grandmother, who insisted that the crust was the most important part. Whenever I add them to this filling, I think of her kitchen and how she taught me to appreciate those little textural details.
Make Ahead Magic
These stuffed apples can be prepared up to 24 hours in advance and stored in the refrigerator before baking. Simply cover the filled apples tightly with plastic wrap, then remove from the refrigerator about 30 minutes before baking to take the chill off. This makes them perfect for entertaining when you want to enjoy time with guests instead of being stuck in the kitchen.
Perfect Pairings
While these apples are divine on their own, they truly shine when served with complementary flavors. Try serving with a dollop of bourbon whipped cream for adults or a sprinkle of cinnamon sugar for kids. For the ultimate dessert experience, add a small scoop of vanilla bean ice cream that slowly melts into the warm apple, creating a creamy sauce that mingles with the caramel drizzle.
Seasonal Variations
In summer, try adding fresh berries to the filling for bright pops of color and flavor. During holiday season, incorporate cranberries and orange zest for a festive twist. For autumn gatherings, a pinch of nutmeg and allspice in the filling evokes all the cozy feelings of the season. The versatility of this recipe makes it perfect for customizing throughout the year.
Recipe FAQs
- → What type of apples work best for this dessert?
Granny Smith or Honeycrisp apples are recommended because they hold their shape well during baking while providing complementary flavor profiles. Granny Smith offers tartness that balances the sweet filling, while Honeycrisp provides a sweeter, crisp texture. Other firm varieties like Braeburn or Pink Lady would also work nicely.
- → Can I prepare these stuffed apples ahead of time?
Yes! You can prepare the apples and filling up to 24 hours ahead and store them covered in the refrigerator before baking. You may need to add 5-10 minutes to the baking time if cooking directly from the refrigerator. Alternatively, fully baked apples can be refrigerated for 2-3 days and reheated in a 300°F oven for 15 minutes.
- → How do I know when the apples are perfectly baked?
The apples should be tender when pierced with a fork but still holding their shape intact. They shouldn't collapse or become mushy. The filling should be set and slightly golden on top, and the apple skin may have slight wrinkles but shouldn't be completely shriveled.
- → Can I make these without graham crackers for a gluten-free option?
Absolutely! For a gluten-free version, substitute the graham crackers with gluten-free cookies, crushed gluten-free cereal, or even a mixture of crushed nuts and oats with a touch of honey. This maintains the textural contrast while keeping the dessert gluten-free.
- → What can I serve with these cheesecake stuffed apples?
These stuffed apples pair wonderfully with vanilla ice cream, whipped cream, or Greek yogurt for added creaminess. For extra indulgence, add more warm caramel sauce, a sprinkle of cinnamon, or even some toasted nuts. They make an excellent standalone dessert but also work well alongside coffee or hot apple cider.
- → How should I store leftover stuffed apples?
Allow any leftovers to cool completely, then store them in an airtight container in the refrigerator for up to 3 days. Reheat individual apples in the microwave for 1-2 minutes or in a 300°F oven for about 15 minutes until warmed through. The texture is best when served warm.