
 Save
Save
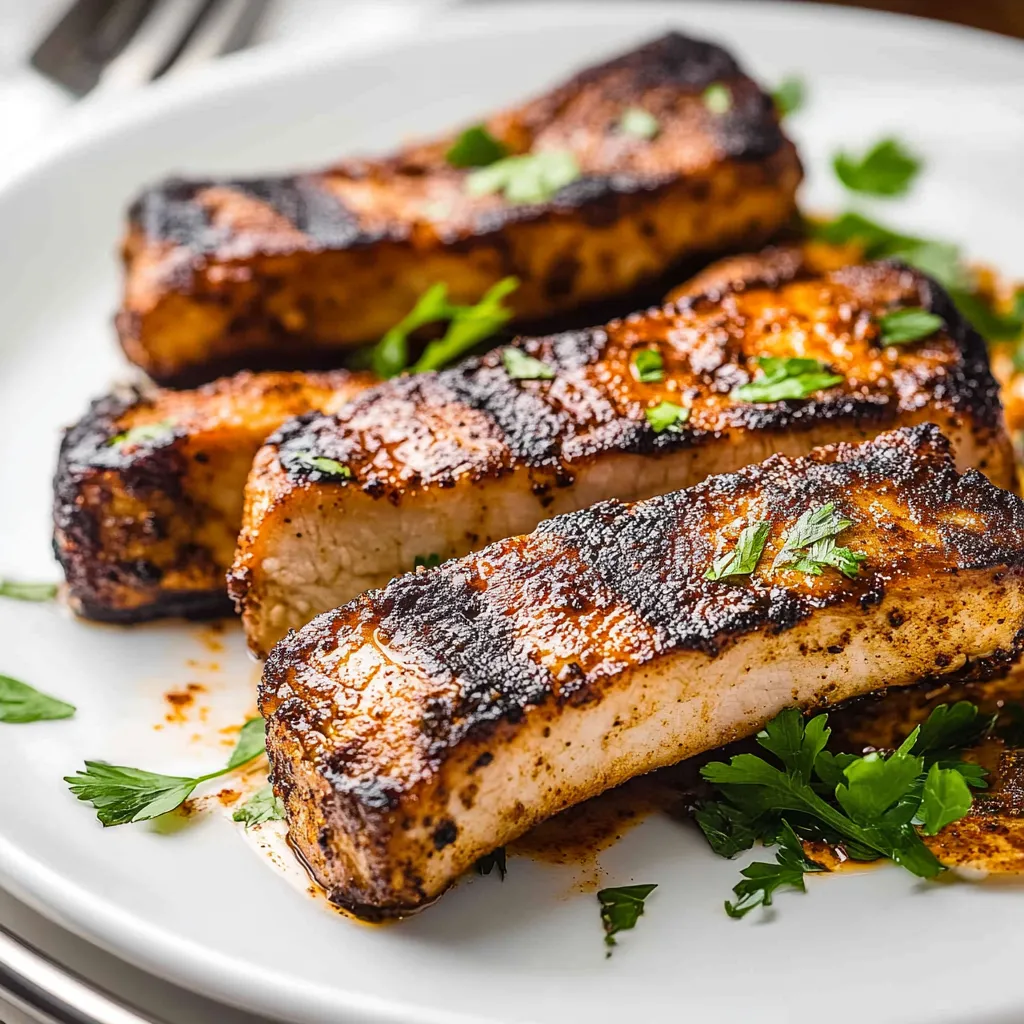
This blackened pork chop recipe transforms ordinary chops into a flavor-packed meal that delivers restaurant-quality results right on your Blackstone griddle. The combination of smoky, spicy seasoning and the perfect sear creates juicy pork chops with a beautiful crust that will impress everyone at your table.
I discovered this technique after years of struggling with dry pork chops. After experimenting with different cooking methods, I found that the high heat of the Blackstone combined with this spice blend creates the perfect texture contrast between the caramelized exterior and tender interior.
Ingredients
- Boneless pork chops: Choose 1 inch thick chops for best results as thinner cuts tend to dry out quickly
- Butter: Adds richness and helps create that beautiful crust when searing
- Smoked paprika: The foundation of blackened seasoning providing smoky depth
- Onion powder: Adds savory notes without the texture of fresh onions
- Garlic powder: Creates aromatic base flavor that complements pork perfectly
- Dried oregano: Mediterranean herb that adds complexity to the seasoning blend
- Dried thyme: Earthy notes that balance the heat from cayenne
- Ground black pepper: Fresh cracked offers better flavor than pre ground
- Kosher salt: Coarser texture adheres better to the meat than table salt
- Cayenne pepper: Adjustable heat element customize based on your preference
Step-by-Step Instructions
- Preheat the Blackstone:
- Turn your Blackstone griddle to high heat and allow it to fully preheat for at least 10 minutes. A properly heated surface is crucial for achieving that perfect blackened crust without overcooking the interior.
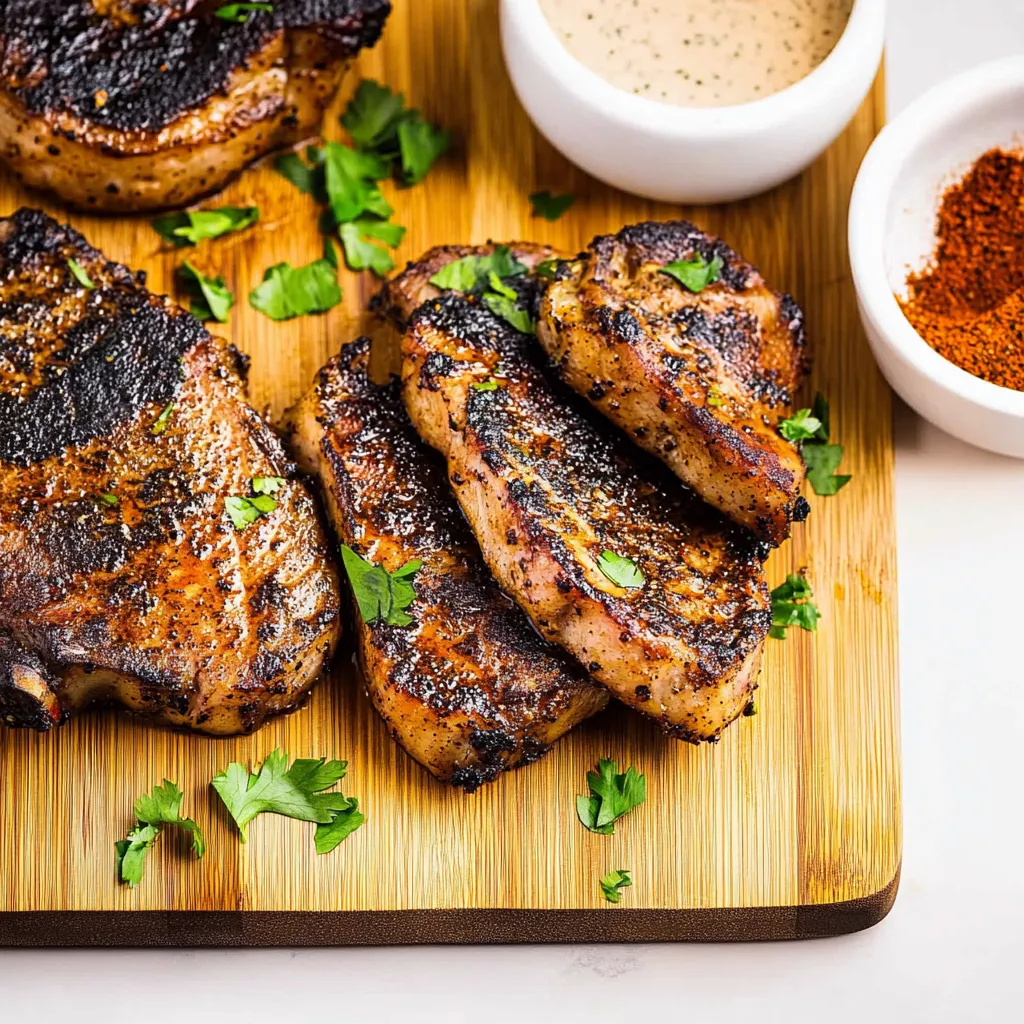
- Create the Blackened Rub:
- Combine all spices in a small bowl and mix thoroughly to ensure even distribution of flavors. This custom blend balances smoky, savory, and spicy elements that will create a complex flavor profile on your pork chops.
- Prepare the Pork Chops:
- Pat the pork chops completely dry with paper towels. Moisture is the enemy of a good sear, so removing surface moisture ensures you get that perfect crust. Melt 3 tablespoons of butter and brush generously on both sides of the chops.
- Season the Meat:
- Sprinkle the blackened seasoning liberally on one side of the buttered pork chops, gently pressing the spices into the meat. Flip and repeat on the other side, ensuring complete coverage. The butter helps the seasonings adhere while adding richness.
- Begin Cooking:
- Melt the remaining 3 tablespoons of butter on the preheated Blackstone surface. Place the seasoned pork chops directly in the melted butter. You should hear an immediate sizzle when the meat hits the cooking surface.
- Develop the Crust:
- Allow the pork chops to cook undisturbed for 4 to 5 minutes. Resist the urge to move them around as this prevents proper crust development. When properly blackened, the spices create a dark, flavorful crust that seals in juices.
- Flip and Continue Cooking:
- Turn the pork chops over and cook the second side for another 4 to 5 minutes until similarly charred. The high heat caramelizes the spices and creates that signature blackened appearance and flavor.
- Finish with Gentle Heat:
- Reduce the Blackstone temperature to medium, group the pork chops together, and cover with a dome. This gentler heat allows the chops to finish cooking through without burning the exterior. Cook until they reach an internal temperature of 145°F, approximately 5 to 6 minutes depending on thickness.
- Rest Before Serving:
- Remove the pork chops from the griddle and let them rest for 3 to 5 minutes before serving. This critical step allows the juices to redistribute throughout the meat, ensuring moist, tender results.
The smoked paprika is truly the secret weapon in this recipe. I discovered its transformative power years ago when my uncle a former restaurant chef showed me how it adds depth without overwhelming the natural flavor of the pork. Every time I make these chops, I remember that lesson about balancing bold flavors.
The Perfect Crust Secret
The key to achieving the ideal blackened crust lies in the combination of butter and high heat. The milk solids in butter brown quickly, creating a foundation for the spices to bloom and develop their flavors. Many recipes skip the butter step, but I've found it makes a significant difference in both flavor development and how well the seasonings adhere to the meat. The initial sear on high heat quickly forms a crust that seals in moisture, while finishing at a lower temperature with the dome prevents the dreaded dry pork chop.
Adjusting Heat Levels
The cayenne pepper in this recipe provides customizable heat. For family meals with children, I often reduce it to ¼ teaspoon or even omit it entirely, compensating with a bit more black pepper for depth. For spice lovers, increasing to a full teaspoon creates a more assertive heat that still allows the other flavors to shine through. Remember that the blackening process intensifies the spices, so even a small amount of cayenne will be noticeable in the final dish. Testing different levels over several preparations will help you find your perfect balance.
Serving Suggestions
These blackened pork chops pair beautifully with sides that complement their bold flavor profile. Creamy mashed potatoes or macaroni and cheese provide a cooling counterpoint to the spices. For a lighter option, a crisp coleslaw with a vinegar-based dressing cuts through the richness perfectly. Roasted vegetables like asparagus, Brussels sprouts, or sweet potatoes add a caramelized sweetness that enhances the savory notes in the pork. For a complete Southern-inspired meal, serve with cornbread and collard greens to embrace the cajun inspiration behind blackened cooking techniques.
Make Ahead Options
The blackened seasoning blend can be made in larger batches and stored in an airtight container for up to three months. Having this pre-mixed blend on hand makes weeknight cooking significantly faster. You can also prepare the pork chops through the seasoning step and refrigerate them covered for up to 24 hours before cooking. This not only saves time but allows the flavors to penetrate the meat more deeply, resulting in even more flavorful chops. For busy weeks, fully cook the chops, slice them after cooling, and refrigerate for quick protein additions to salads, grain bowls, or wraps throughout the week.
Recipe FAQs
- → How do I know when the pork chops are done cooking?
The pork chops are done when they reach an internal temperature of 145°F (63°C). After cooking on high heat for about 4-5 minutes per side to get a good char, reduce to medium heat, cover with a dome, and cook for an additional 5-6 minutes depending on thickness. Always use a meat thermometer for accuracy.
- → Can I adjust the spice level of the blackened seasoning?
Yes, you can easily adjust the spice level by modifying the amount of cayenne pepper in the blackened rub. For a milder flavor, reduce the cayenne to 1/4 teaspoon or less. For extra heat, increase to 1 teaspoon or more according to your preference.
- → What can I serve with these blackened pork chops?
These pork chops pair wonderfully with sides like roasted vegetables, mashed potatoes, rice pilaf, mac and cheese, coleslaw, or a simple green salad. The versatile flavor profile works with many accompaniments.
- → Can I make these pork chops without a Blackstone griddle?
While a Blackstone griddle provides ideal heat distribution for blackened pork chops, you can also use a cast iron skillet or grill. The key is achieving high, even heat for the initial sear before reducing to medium to finish cooking through.
- → How should I store leftover pork chops?
Allow the pork chops to cool completely before transferring to an airtight container. They can be stored in the refrigerator for 3-4 days. For longer storage, wrap individually and freeze for up to 3 months. Thaw completely before reheating.
- → Why do I need to pat the pork chops dry before cooking?
Patting the pork chops dry with paper towels removes excess moisture from the surface, which is essential for achieving a proper sear and char. Moisture on the meat surface creates steam, preventing the formation of that desirable blackened crust.