
 Save
Save
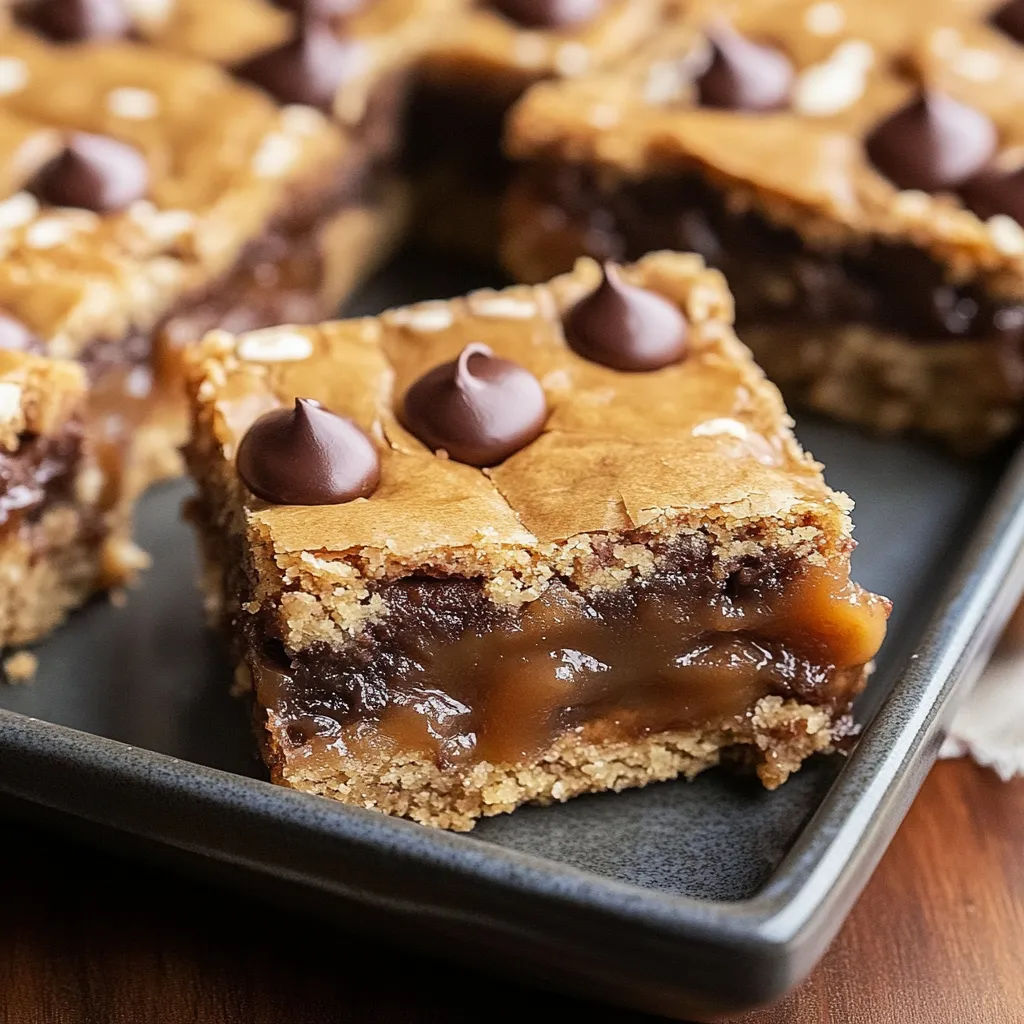
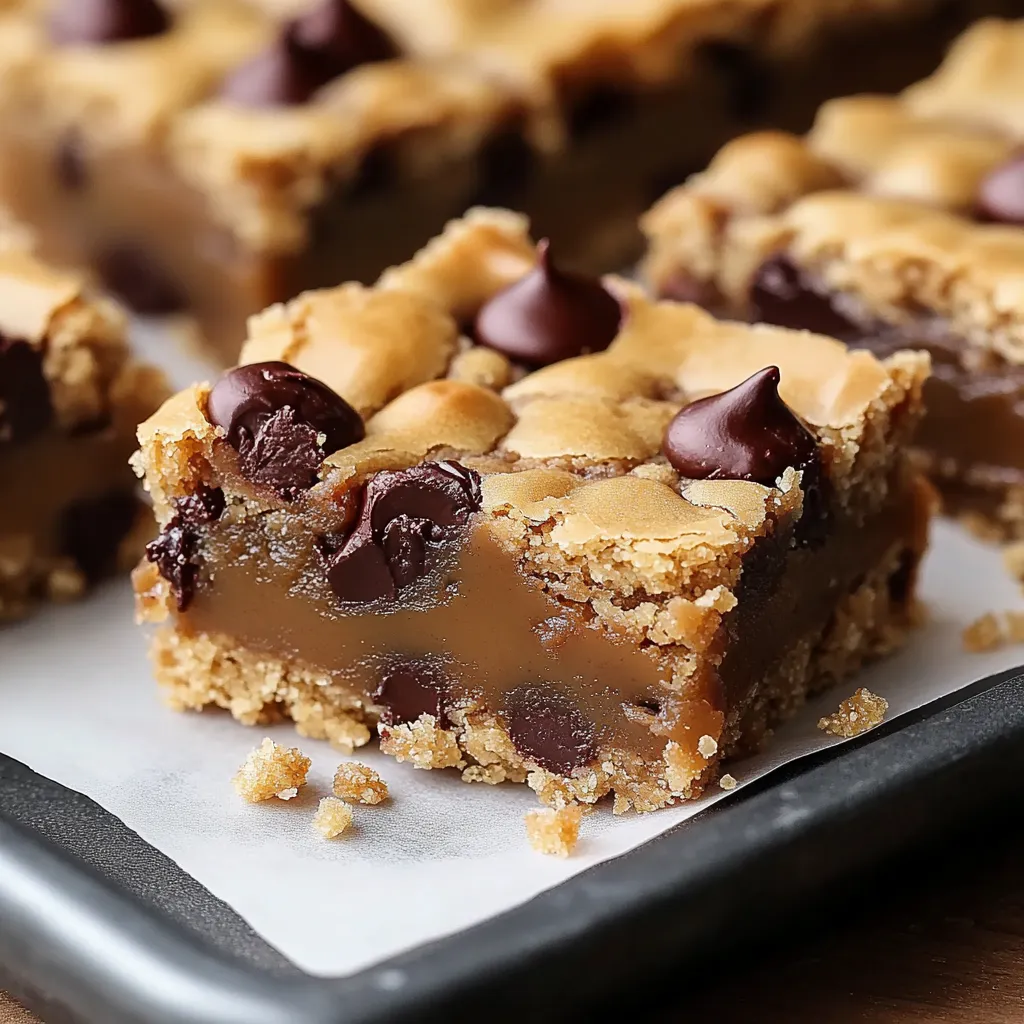
This decadent treat combines buttery cookie dough, gooey caramel, and rich peanut butter for a dessert experience that truly lives up to its name. The layers of flavors and textures create something magical that disappears quickly whenever I bring it to gatherings.
I first made these bars for a neighborhood potluck when I needed something impressive but didn't have time for anything complicated. They were such a hit that three different people asked for the recipe before the night was over.
Ingredients
- Butter: softened to room temperature for that essential rich foundation and tender crumb
- Brown sugar: packed tightly for deep caramel notes that make these bars irresistible
- White sugar: to create the perfect sweetness balance and crisp exterior
- Medium eggs: at room temperature for proper binding and structure
- Vanilla extract: pure is best for that warm aromatic flavor
- All purpose flour: measured by spooning into cups and leveling for consistent results
- Baking soda: to provide just enough lift without making them cakey
- Salt: preferably kosher to enhance all the flavors and balance sweetness
- Milk chocolate chips: for melty pockets of sweetness throughout the bars
- Caramels: unwrapped and ready to create that signature gooey center
- Evaporated milk: which creates silky smooth caramel unlike regular milk
- Peanut butter: creamy works best for a seamless integration with the caramel
Step-by-Step Instructions
- Prepare Your Space:
- Set your oven to preheat at 375°F and prepare your baking pan with a generous coating of cooking spray. I find lining with parchment paper with overhang on the sides makes removal even easier after cooling.
- Create The Cookie Base:
- Cream together your softened butter with both sugars until the mixture becomes noticeably lighter in color and texture. This typically takes about 3 minutes with an electric mixer. The creaming process incorporates air which is crucial for the right texture in your final bars.
- Add The Wet Ingredients:
- Beat in eggs one at a time, allowing each to fully incorporate before adding the next. This prevents the mixture from breaking and ensures even distribution. Add vanilla and mix until everything is beautifully combined into a smooth batter.
- Incorporate Dry Ingredients:
- Whisk your flour, baking soda and salt in a separate bowl before gradually adding to the wet mixture. Mix just until no dry streaks remain. Overmixing at this stage can develop too much gluten and make your bars tough.
- Add Chocolate Chips:
- Fold in the chocolate chips until evenly distributed throughout the dough. The dough will be thick and sticky at this point which is exactly what you want for these substantial bars.
- Bake First Layer:
- Press half the cookie dough into an even layer in your prepared pan. This first bake is crucial as it creates a stable base that can support the caramel layer. Bake just until set around 8 minutes it should look slightly underdone.
- Create Caramel Layer:
- While the base bakes, combine caramels and evaporated milk in a microwave safe bowl. Heat in 30 second intervals, stirring between each until completely smooth. Fold in the peanut butter until fully incorporated into a luscious caramel sauce.
- Assemble The Layers:
- Pour your warm caramel mixture over the partially baked cookie layer, spreading it to the edges. Drop remaining cookie dough by spoonfuls over the caramel. The dough islands will spread during baking but leave gorgeous caramel rivers visible.
- Complete The Baking:
- Return the pan to the oven for the final bake of about 18 minutes. Look for golden brown cookie portions and bubbling caramel as indicators of doneness. The center may still seem soft but will set as it cools.
- Cool Completely:
- Allow the bars to cool fully in the pan before cutting. This patience is rewarded with clean cuts and perfectly set caramel. For best results, cool at room temperature for at least 2 hours.
The caramel layer is truly what makes these bars special. The first time I made them for my daughter's birthday, she declared them better than her actual birthday cake. Now they've become our special tradition for celebrations when we want something more interesting than the standard cake.
Storage Solutions
These bars maintain their amazing texture and flavor for up to 5 days when stored properly. Keep them in an airtight container at room temperature with parchment paper between layers to prevent sticking. If your kitchen runs warm, refrigeration will help keep the caramel layer firm, but allow them to come to room temperature before serving for the best eating experience.
Perfect Pairings
These indulgent bars create a delightful contrast when served with something slightly bitter or acidic to cut through the richness. A scoop of coffee ice cream, a shot of espresso, or even a tart raspberry sauce drizzled over the top takes these bars to another level. For a truly decadent dessert experience, warm individual servings slightly and top with a sprinkle of flaky sea salt.
Troubleshooting Tips
If your caramel layer seems too runny during preparation, try reducing the evaporated milk by a tablespoon or adding an extra handful of caramels. The caramel will continue to set as the bars cool, so slight runniness during the baking process is normal and expected. For cutting perfect squares, chill the bars for 30 minutes after they've completely cooled, then use a large sharp knife wiped clean between cuts.
Recipe FAQs
- → Can I make these bars ahead of time?
Yes! These bars can be made 1-2 days in advance. Store them in an airtight container at room temperature, or refrigerate them for up to 5 days. For the best texture, let refrigerated bars come to room temperature before serving.
- → How do I know when the bars are fully baked?
The bars are done when the cookie dough on top is golden brown, the edges are firm, and the caramel layer is bubbling. The center may still seem slightly soft but will firm up as it cools.
- → Can I freeze these bars?
Absolutely! Once completely cooled, cut into squares and place in a freezer-safe container with parchment paper between layers. Freeze for up to 3 months. Thaw overnight in the refrigerator or for a few hours at room temperature before serving.
- → What can I substitute for peanut butter if I have nut allergies?
For a nut-free version, use sunflower seed butter or cookie butter (speculoos spread) as alternatives that provide similar texture and complementary flavors without nuts.
- → Why did my caramel layer turn out too hard?
If your caramel layer is too firm, it likely cooked too long or at too high a temperature. When melting the caramels, use medium-low heat and stir frequently. The evaporated milk helps keep the caramel soft, so make sure you're using the correct amount.
- → Can I use homemade caramel instead of store-bought caramels?
Yes, homemade caramel sauce can be substituted. You'll want about 1½ cups of thick caramel sauce. If your homemade caramel is on the thinner side, reduce the amount of evaporated milk in the recipe.