
 Save
Save
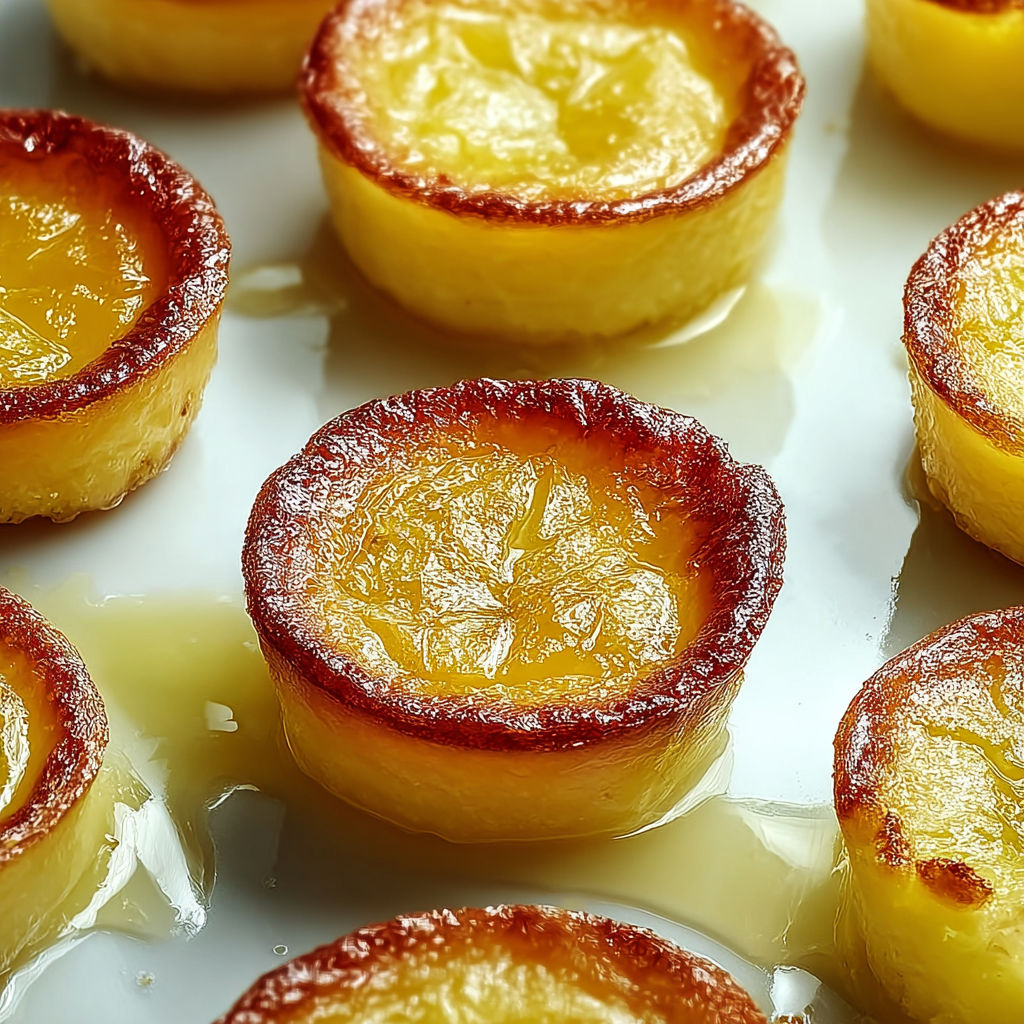
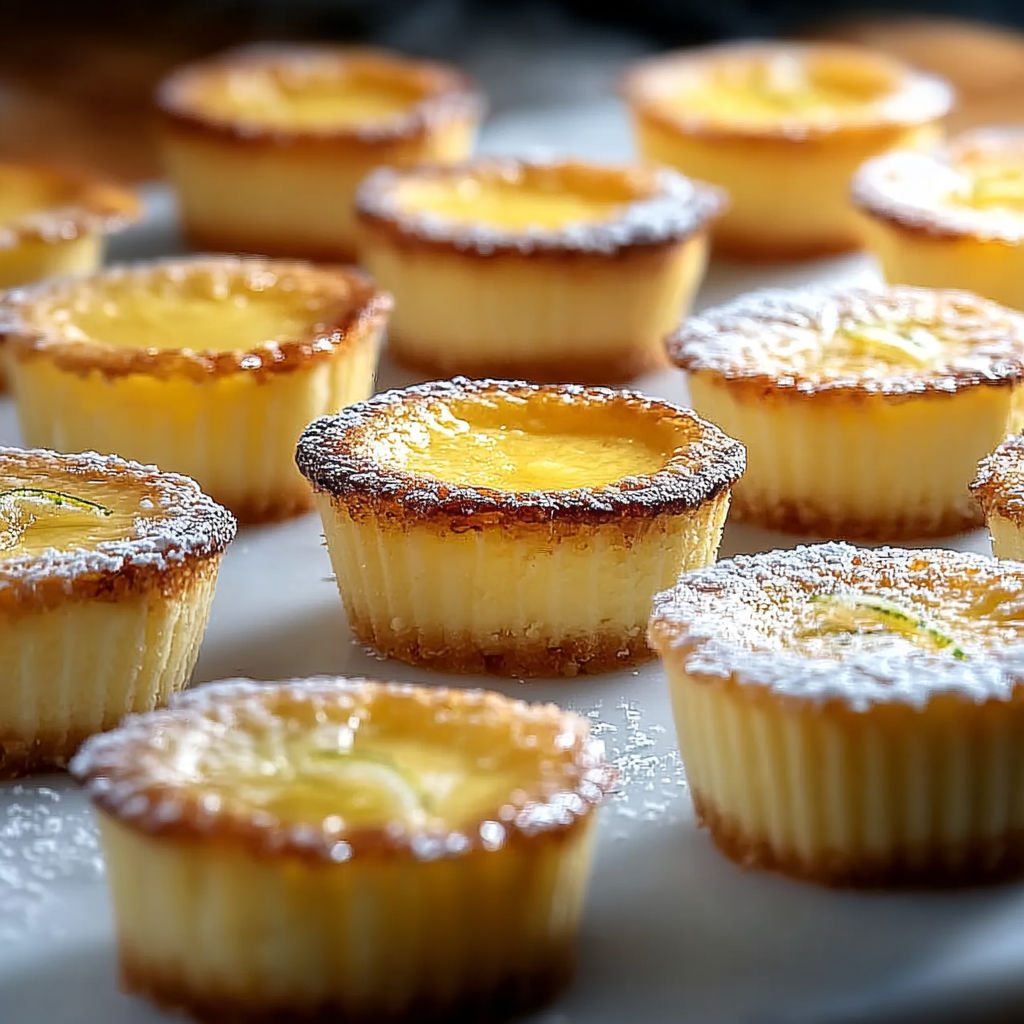
These baby lemon impossible pies have been my answer to easy sunshine desserts on busy weeknights and for potlucks. With just a blender and pantry basics you get creamy two-layer mini pies topped with a fresh lemon kick and a crisp golden crust.
I brought these to a neighbor’s block party once and watched them disappear in minutes. Now they are my go to for quick make ahead treats that taste like a professional bakery made them.
Ingredients
- Large eggs: Provide structure and help set the filling so look for fresh eggs with rich orange yolks if you can
- Granulated sugar: Gives just the right amount of sweetness and balances the lemon’s tartness
- Lemon zest and fresh juice: Non negotiable for clean citrus flavor choose fragrant heavy lemons
- Unsalted butter: Adds richness making the pies tender inside use high quality if possible
- Whole milk: Creates a silky custard like filling opt for full fat for best texture
- All purpose flour: Magically forms a soft crust at the base sift for an extra fine crumb
- Powdered sugar for dusting: Adds a touch of magic and elegance before serving
- Meyer lemons or backyard fruit: They take the flavor to the next level if you can find them
Instructions
- Prep the Muffin Tin:
- Lightly grease a standard twelve cup muffin tin to prevent sticking. Use a pastry brush or paper towel to reach the sides for easy pie removal.
- Whisk Eggs and Sugar:
- Crack the large eggs into a big mixing bowl. Add the granulated sugar then whisk vigorously by hand or with a mixer for two to three minutes. You want the mixture pale and fluffy to trap air which helps lift the pies as they bake.
- Combine Butter Lemon Juice and Zest:
- Melt the unsalted butter until just liquid but not hot. Pour it into the egg mixture along with fresh lemon juice and finely grated zest. Stir gently so you do not deflate the mix. The lemon should fragrance the whole bowl.
- Make a Smooth Batter:
- In a separate bowl whisk the flour and whole milk together until smooth and lump free. This ensures you do not have dry spots in your pies. Pour this milk flour blend into the egg mixture and stir until fully combined and silky.
- Fill the Muffin Tin:
- Use a measuring cup or scoop to ladle the batter into the prepared muffin tin. Fill each cavity no more than two thirds full so the pies rise without spilling. Tap the tin gently on the counter to pop bubbles.
- Bake to Perfection:
- Place the muffin tin in the center of a preheated three hundred fifty degree oven. Bake for twenty five to thirty minutes watching for a lightly golden top and a center that jiggles just slightly when moved. Overbaking can dry them out so check early.
- Cool and Dust:
- Let the pies cool in the tin for at least fifteen minutes to firm up. Run a thin knife around each pie if needed. Transfer to a rack and dust generously with powdered sugar right before serving for a classic finish.

Lemon zest remains my favorite part because it perfumes the whole kitchen. My kids ask for extra zest in their batch and seeing their faces dusted with powdered sugar always makes the baking worth it.
Storage Tips
These mini pies hold up beautifully for two days at room temperature if left loosely covered. For longer storage tuck them in an airtight container in the fridge and they will stay fresh for up to five days. To freeze cool completely then wrap each pie and layer in a freezer bag for up to two months. A quick warm up in the oven restores their texture.
Ingredient Substitutions
If you only have low fat or skim milk the pies will still work but may be slightly firmer. You can swap in gluten free all purpose flour if needed just ensure it is a blend made for baking. For extra tanginess try substituting half the lemon juice with lime juice.
Serving Suggestions
I love these straight from the tin with a dusting of powdered sugar but you can dress them up for guests with a dollop of whipped cream and fresh berries. Arrange them in colorful cupcake wrappers for a sunny party tray. They make adorable lunchbox desserts as well.
Cultural Context
Impossible pies likely became a sensation in North America during the 1970s when quick mix blender desserts were all the rage. The name comes from the magic of turning simple batter into its own crust and filling without any fuss. This lemony twist feels timeless and is a hit with both old and young.
Seasonal Adaptations
In the winter serve with a pool of warm berry compote or melted white chocolate for a cozy treat. In spring top with a tangle of sugared violets or edible flowers for a fresh look. If you have Meyer lemons or sweet mandarins try swapping them in for a softer citrus note.
Success Stories
I have friends who make these with kids and call them magic pies since the layers appear almost by themselves. Readers have told me they double the batch and freeze some for quick after school snacks.
Freezer Meal Conversion
To turn these into the ultimate freezer friendly treat cool them completely then stack separated by wax paper in a container. Thaw overnight in the fridge or pop into a lunchbox still frozen where they will be perfectly chilled by the time dessert rolls around.
Serve with an extra sprinkle of powdered sugar and enjoy their creamy citrus magic. These pies are sure to bring some sunshine to your table any time of year.
Recipe FAQs
- → What gives these pies their 'impossible' texture?
The batter separates during baking, forming a light, sponge-like base while the top remains custardy, thanks to the balance of eggs, milk, and minimal flour.
- → Can I use bottled lemon juice instead of fresh?
Fresh lemon juice provides the best flavor and brightness, but bottled juice can be used in a pinch for a similar tangy taste.
- → How do I know when they're done baking?
They're ready when the tops are golden and slightly jiggly in the center. The edges will just start to pull away from the tin.
- → What's the best way to serve impossible pies?
Allow them to cool before dusting with powdered sugar. Serve at room temperature or chilled for a refreshing treat.
- → Can these be made ahead of time?
Yes, they can be baked a day early and kept covered in the refrigerator. Dust with sugar just before serving for best results.