
 Save
Save
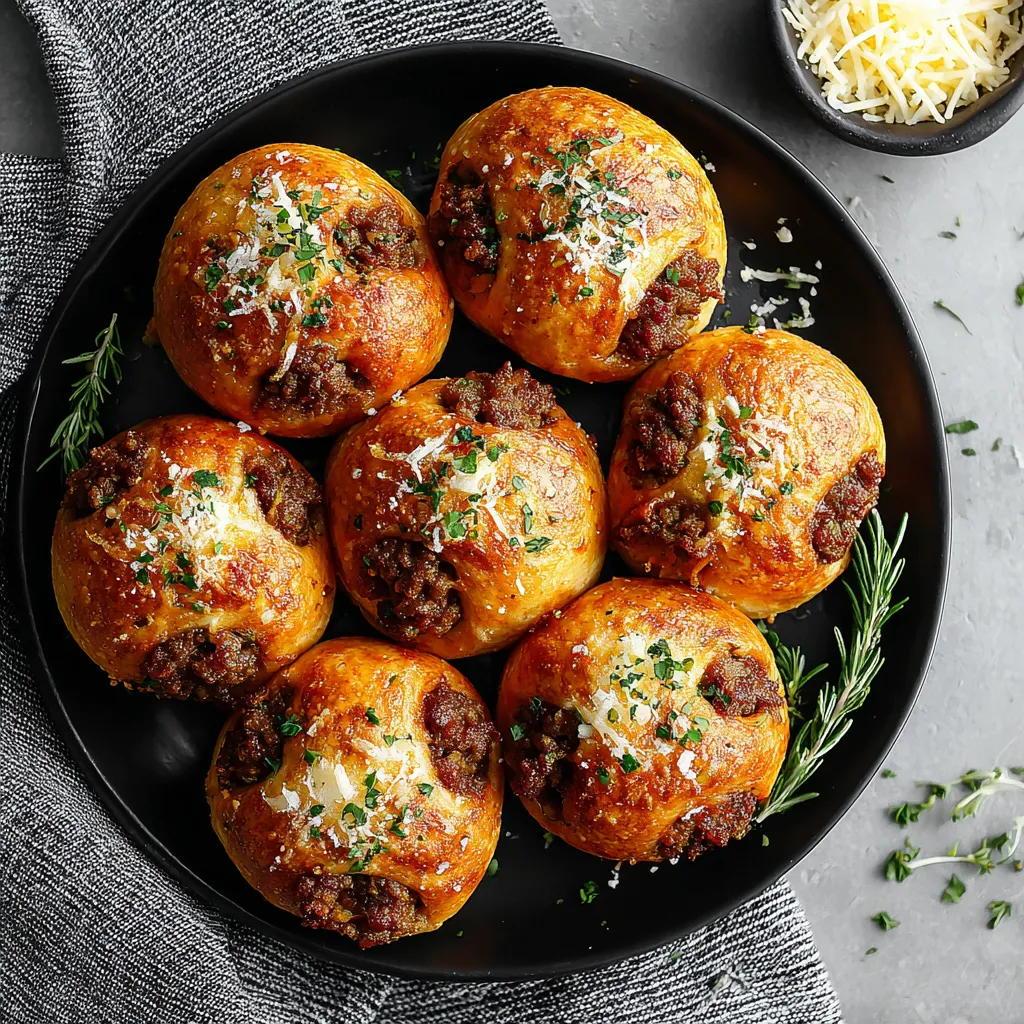
This irresistible recipe transforms ordinary burger ingredients into bite-sized bombs of flavor, perfect for game days, quick family dinners, or anytime you need a crowd-pleasing appetizer. The combination of seasoned beef, gooey cheese, and garlic parmesan coating creates an explosion of flavor in every bite.
I first made these cheeseburger bombs for a last-minute Super Bowl party when I needed something substantial but easy to eat while cheering. They disappeared faster than any other dish, and now my nephew requests them for every family gathering we host.
Ingredients
- Ground beef: creates the hearty base (a leaner option like 90/10 will reduce grease while maintaining flavor)
- Salt and pepper: standard seasonings that enhance the meat's natural taste
- Garlic powder: provides concentrated flavor without the risk of burning that fresh garlic has
- Onion powder: adds depth without the texture of chopped onions that some picky eaters might reject
- Worcestershire sauce: the secret ingredient that gives these bombs that authentic burger flavor
- Shredded cheddar cheese: opt for a sharp variety for more pronounced flavor (look for blocks you shred yourself for better melting)
- Refrigerated biscuit dough: the convenient shortcut that makes this recipe weeknight friendly
- Butter: creates the rich garlicky coating that transforms these from good to irresistible
- Minced garlic: fresh is best here as it mingles with the butter to create an aromatic crust
- Parmesan cheese: use freshly grated for best flavor and texture (it creates a crispy exterior)
- Fresh parsley: adds a pop of color and fresh flavor to balance the richness
Step-by-Step Instructions
- Prepare For Success:
- Preheat your oven to 375°F and line a baking sheet with parchment paper. This temperature is perfect for cooking the biscuit dough evenly while allowing the filling to heat through completely without drying out. The parchment prevents sticking and makes cleanup a breeze.
- Create The Flavorful Filling:
- Brown the ground beef thoroughly, breaking it into small crumbles. Drain excess fat to prevent soggy bombs. Add all the seasonings while the meat is still hot; this allows the flavors to bloom and permeate the beef. Fold in the cheddar cheese while the meat is still warm, watching it transform into a gooey delicious mixture.
- Prepare The Dough Packages:
- Take your time rolling each biscuit into a thin round (about 1/4 inch thickness). Too thin and they might burst during baking; too thick and the ratio of dough to filling will be off. Add the filling to the center, being careful not to overstuff or you will have difficulty sealing them properly.
- Seal With Care:
- This is the most critical step; gather the edges of each biscuit and pinch firmly to create a tight seal. Any gaps will allow the cheesy filling to leak during baking. Place seam side down to further prevent leaks during baking.
- Create The Garlic Parmesan Magic:
- The garlic butter mixture should be warm enough to stay liquid but not hot enough to melt into the dough. Brush it generously over the tops, creating a flavorful base for the Parmesan to stick to. The cheese will create a golden crust during baking that adds texture and flavor.
- Bake To Perfection:
- Watch carefully during the last few minutes of baking. You want a golden brown exterior but don't want to overcook, or the bombs will dry out. The perfect cheeseburger bomb should be slightly crisp outside with a hot gooey center.
- Final Touch:
- Sprinkle with fresh parsley immediately after removing them from the oven. The heat will release the herb's oils enhancing the aroma and presentation. Let rest for 5 minutes before serving; this allows the filling to set slightly so it doesn't burn mouths.
 Save
Save
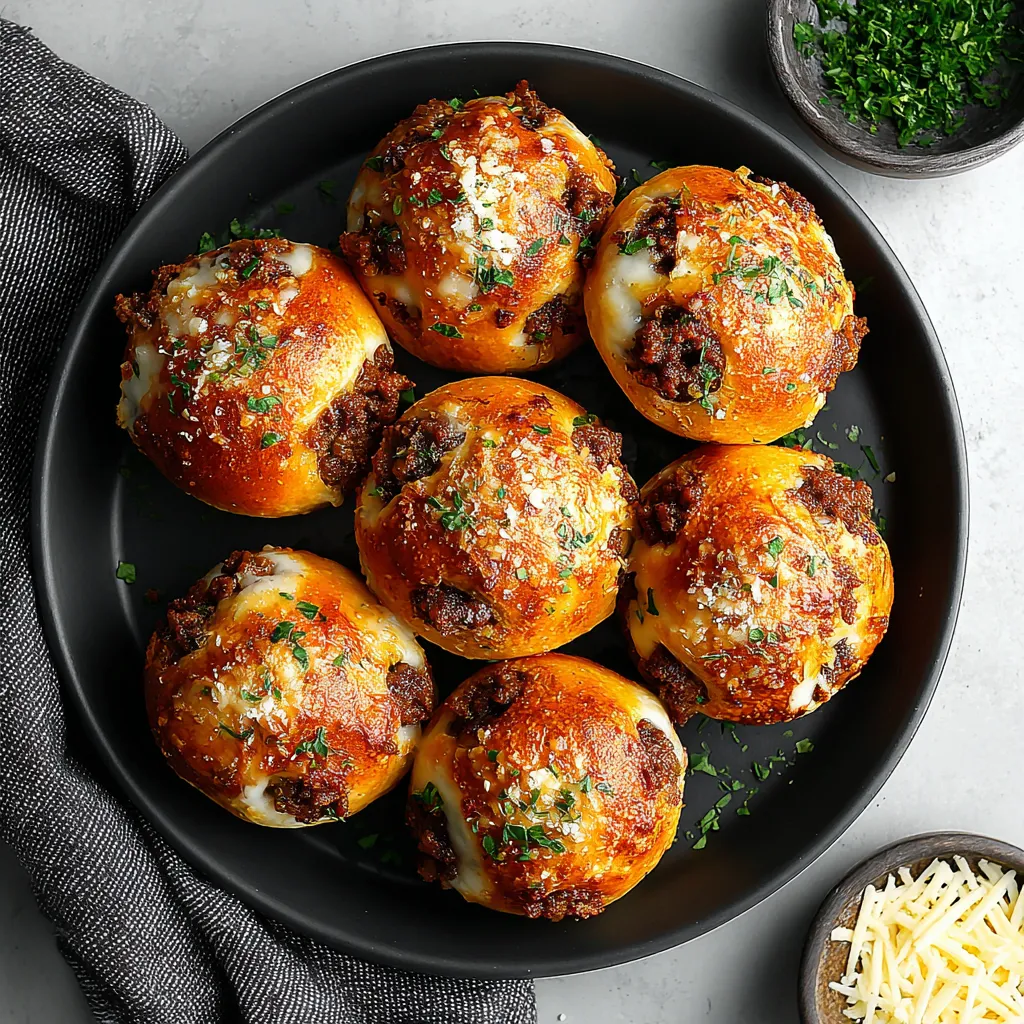
My absolute favorite part of this recipe is the moment when someone takes their first bite. The expression of surprise and delight when they discover the melty cheesy center never gets old. I once served these at a potluck where a professionally trained chef asked for the recipe; that's when I knew this humble dish was truly special.
Make Ahead Magic
These cheeseburger bombs are perfect for busy weeknights when prepared in advance. You can assemble them completely then refrigerate for up to 24 hours before baking. Simply add 2-3 minutes to the baking time if cooking from cold. For longer storage, freeze the unbaked bombs on a sheet pan until solid (about 2 hours) then transfer to a freezer bag. They'll keep for up to 3 months. When ready to enjoy, bake from frozen at 375°F for about 18-20 minutes.
Dipping Delights
While these bombs are delicious on their own, dipping sauces take them to another level. Try classic burger companions like ketchup, mustard, or special sauce (a mixture of mayonnaise, ketchup, and relish). For a more gourmet approach, offer a spicy sriracha mayo, chipotle aioli, or homemade ranch dressing. I've found that setting up a dipping station with multiple options makes these bombs the centerpiece of any gathering, encouraging guests to try different flavor combinations.
Kid Friendly Variations
This recipe is extremely adaptable for families with picky eaters. For children who don't like visible onions or garlic, the powder versions already solve that problem. You can further customize by using milder cheeses like American or mozzarella for less intense flavor. Some parents in my neighborhood have had success adding finely grated vegetables like zucchini or carrots to the meat mixture—a sneaky way to include more nutrition. Smaller portions can be made using mini biscuits, creating perfect kid-sized bites.
Recipe FAQs
- → Can I make these cheeseburger bombs ahead of time?
Yes! You can prepare them up to the point of baking, then refrigerate for up to 24 hours. You can also fully prepare and freeze them. When ready to serve, thaw in the refrigerator and bake as directed, adding 2-3 minutes to the cooking time.
- → What can I serve with these garlic Parmesan bombs?
These bombs pair wonderfully with dipping sauces like ranch, marinara, or BBQ sauce. For a complete meal, serve with a fresh green salad, coleslaw, or roasted vegetables. They also make great appetizers for parties or game day gatherings.
- → Can I use homemade biscuit dough instead of refrigerated?
Absolutely! Homemade biscuit dough works perfectly. Just ensure it's rolled to approximately 1/4 inch thickness. This substitution can enhance the flavor and allow you to control the ingredients.
- → How do I know when the cheeseburger bombs are fully cooked?
The bombs are done when the exterior is golden brown and the dough is completely cooked through, typically after 12-15 minutes at 375°F (190°C). If using a food thermometer, the internal temperature should reach 165°F (74°C).
- → Can I add other ingredients to the filling?
Definitely! Consider adding diced onions, mushrooms, bacon bits, or diced pickles to mimic your favorite burger toppings. Just make sure any additional ingredients are pre-cooked and excess moisture is removed to prevent soggy bombs.
- → What's the best cheese to use in these bombs?
While the recipe calls for cheddar, you can experiment with different cheeses. Pepper jack adds spice, mozzarella creates a satisfying cheese pull, and American cheese melts beautifully. Feel free to use a combination for complex flavor.