 Save
Save
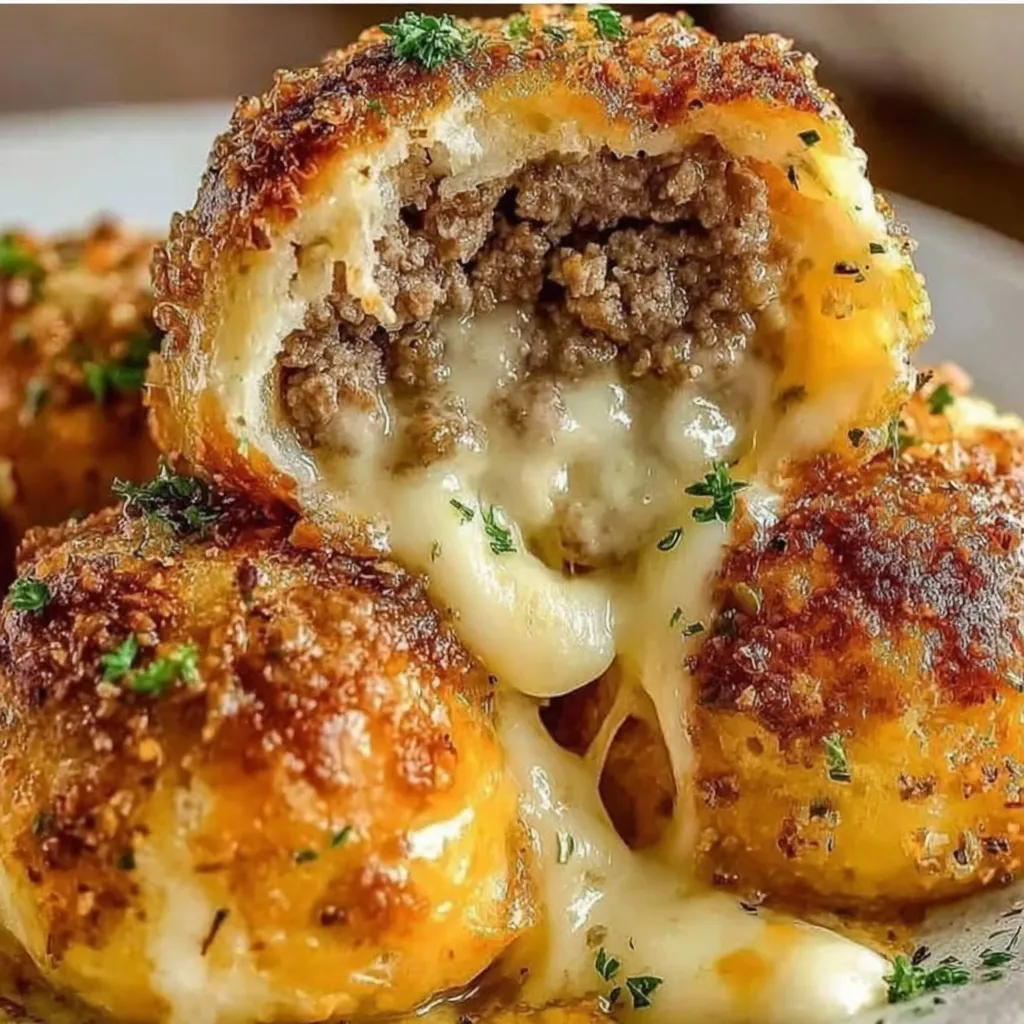
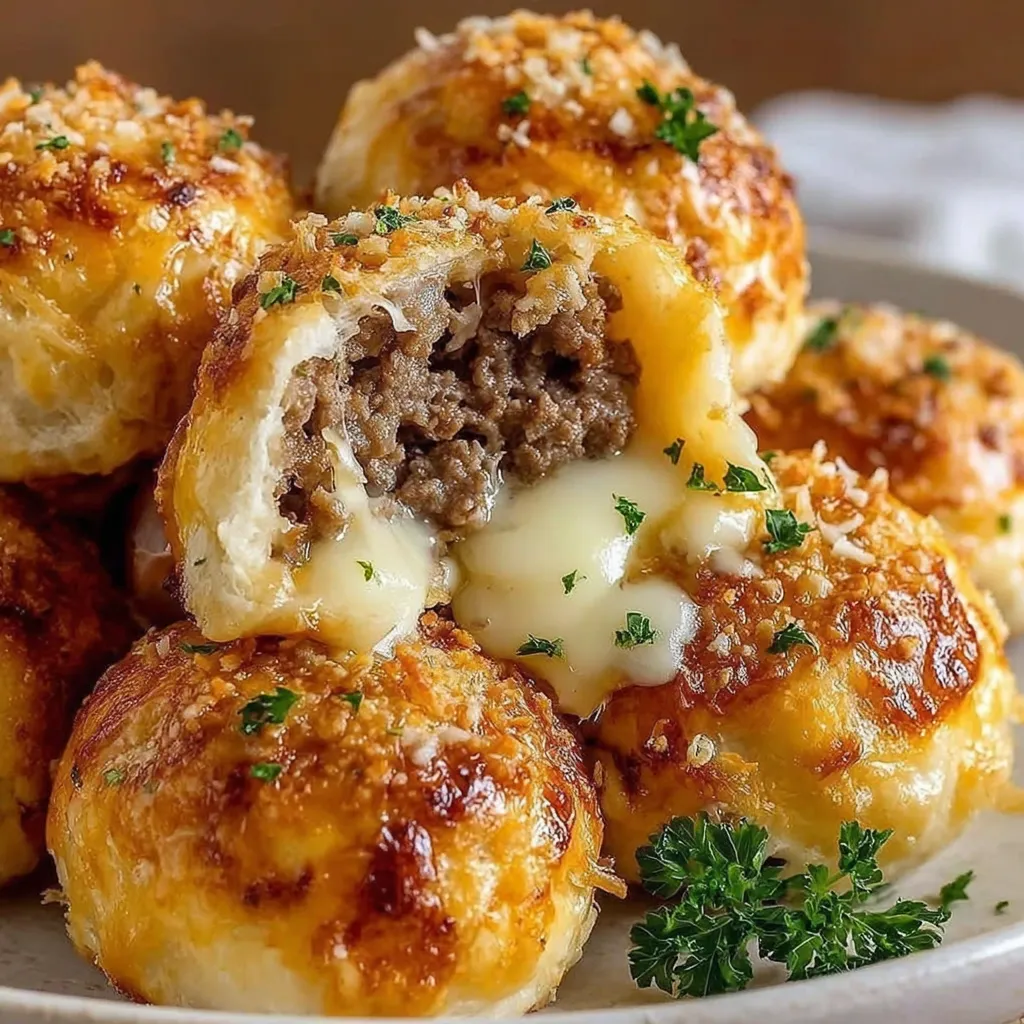
This hearty Garlic Parmesan Cheeseburger Bombs recipe transforms classic burger flavors into irresistible bite-sized morsels perfect for game day gatherings or weeknight dinners when you need something fun and satisfying.
I first created these during a rainy Sunday football game, and they disappeared faster than any appetizer I've ever made. My teenage son now requests them weekly, claiming they're "way better than regular burgers."
Ingredients
- Ground beef 80/20: The fat ratio is important for juicy, flavorful bombs
- Garlic cloves: Look for firm bulbs with tight skin for the freshest flavor
- Shredded cheese: Either mozzarella or cheddar works perfectly depending on your preference
- Refrigerated biscuits: The secret to quick assembly without making dough from scratch
- Parmesan cheese: Freshly grated delivers the best flavor punch
- Italian seasoning: A perfect blend that eliminates the need for multiple spice jars
Step-by-Step Instructions
- Prepare Your Oven:
- Preheat to 375°F which ensures the perfect golden exterior while thoroughly cooking the interior. Take this time to grease your baking sheet thoroughly to prevent sticking.
- Brown The Meat Mixture:
- Cook ground beef with crushed garlic over medium heat until completely browned, about 5 minutes. Be sure to break up any large chunks with a wooden spoon for even cooking. Drain excess fat thoroughly to prevent soggy bombs.
- Create The Filling:
- Add Italian seasoning and your choice of shredded cheese to the hot meat mixture. Stir continuously until cheese is completely melted and incorporated, creating a cohesive filling that will stay together during baking.
- Prepare The Biscuits:
- Flatten each refrigerated biscuit using your palms or a rolling pin until approximately 4 inches in diameter. Work gently to avoid tearing while ensuring even thickness throughout each circle.
- Fill And Seal:
- Place two tablespoons of filling in the center of each flattened biscuit. Carefully fold the edges upward and pinch firmly to create a tight seal. This step is crucial to prevent leakage during baking.
- Bake To Perfection:
- Arrange sealed bombs on your prepared baking sheet with at least an inch between each. Bake for 12 to 15 minutes until the exterior becomes beautifully golden brown. The interior should reach 165°F for food safety.
 Save
Save
My family particularly loves the contrast between the soft cheesy interior and the slightly crisp exterior. My daughter, typically a picky eater, devours these without complaint, making them a true miracle food in our household.
Make Ahead Options
These cheeseburger bombs work wonderfully as a make ahead option. Prepare them completely up to the baking stage, then refrigerate for up to 24 hours before cooking. If making further in advance, freeze the unbaked bombs on a baking sheet until solid, then transfer to freezer bags for storage up to 3 months. When ready to enjoy, bake frozen bombs at 375°F for about 18 to 20 minutes until golden and heated through.
Serving Suggestions
Transform these bombs into a complete meal by pairing them with complementary sides. A simple green salad with vinaigrette brings freshness to balance the richness. For a more substantial meal, serve alongside sweet potato fries or a light tomato soup. Consider creating a dipping station with options like marinara sauce, ranch dressing, or a spicy aioli to let guests customize their experience.
Creative Variations
The basic recipe provides an excellent foundation for endless customization. Create a breakfast version by substituting cooked sausage and adding scrambled eggs to the filling. For a Mediterranean twist, use ground lamb, feta cheese, and oregano instead of the traditional ingredients. Vegetarians can enjoy these by replacing the beef with a mixture of sautéed mushrooms, black beans, and walnuts for a satisfying meatless alternative that maintains the hearty texture.
Recipe FAQs
- → Can I make these cheeseburger bombs ahead of time?
Yes! You can prepare them up to the baking stage, refrigerate for up to 24 hours, then bake when ready. Add 2-3 minutes to the baking time if cooking from cold. You can also freeze the assembled bombs before baking - just thaw in the refrigerator before cooking.
- → What dipping sauces pair well with these?
Ketchup, mustard, or burger sauce work wonderfully for the classic burger experience. Ranch dressing, marinara sauce, or garlic aioli also complement the flavors nicely. For something special, try mixing equal parts ketchup and mayo with a dash of hot sauce.
- → How do I prevent the biscuit dough from opening while baking?
Ensure you thoroughly seal the edges by pinching firmly and rolling slightly between your palms. Don't overfill with the beef mixture - two tablespoons is ideal. Place them seam-side down on the baking sheet, and if any look questionable, give them an extra pinch before baking.
- → Can I use ground turkey instead of beef?
Absolutely! Ground turkey makes a lighter alternative. Since turkey is leaner, you might want to add a tablespoon of olive oil when cooking to maintain moisture. The flavor profile will be slightly different but equally delicious, especially with the garlic and cheese components.
- → How should I store and reheat leftovers?
Store cooled leftovers in an airtight container in the refrigerator for up to 3 days. For best results, reheat in a 350°F oven for 5-7 minutes until warmed through. While microwaving works in a pinch (30-40 seconds), it may make the biscuit exterior slightly softer than the original crispy texture.
- → Can I make mini versions for a larger crowd?
Yes! Cut each biscuit in half and use about 1 tablespoon of filling per mini bomb. Reduce baking time to 8-10 minutes and check frequently to prevent over-browning. This modification yields approximately 16 bite-sized appetizers perfect for larger gatherings.
