
 Save
Save
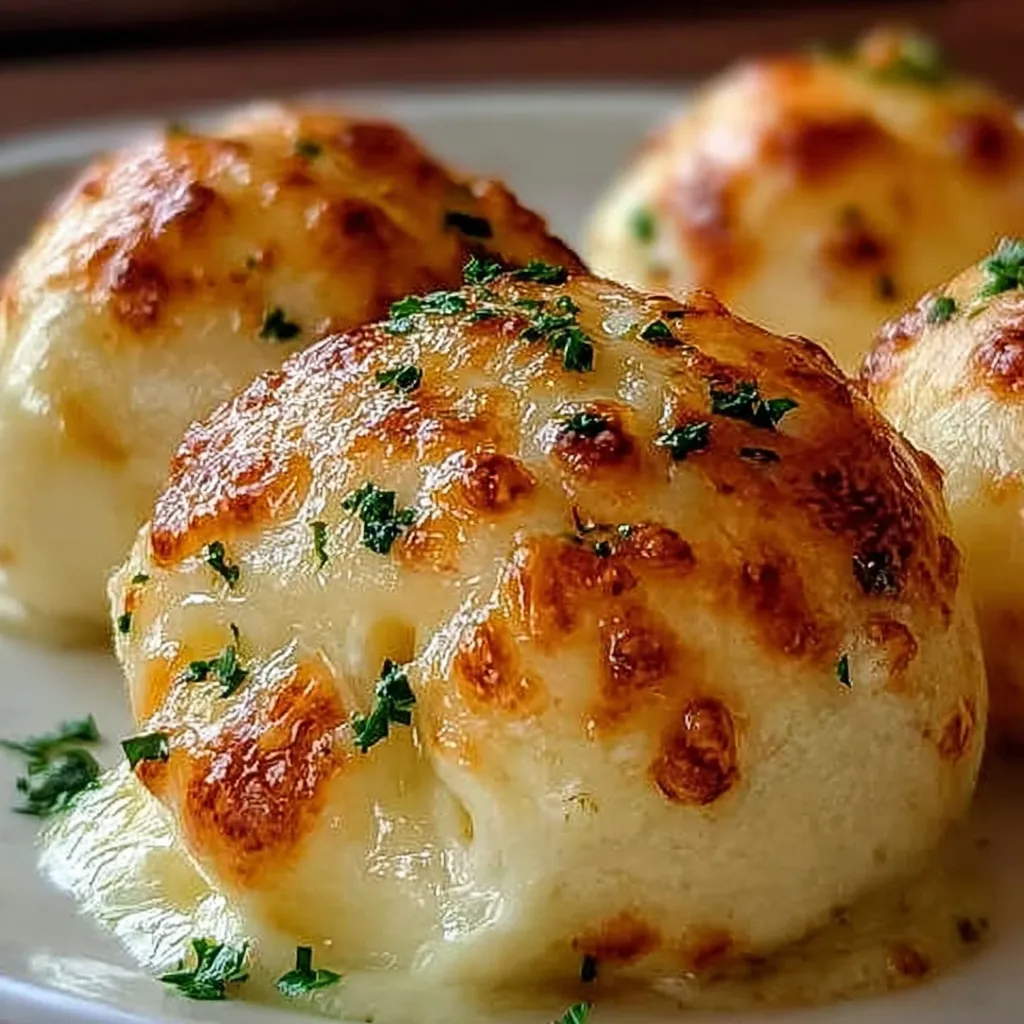
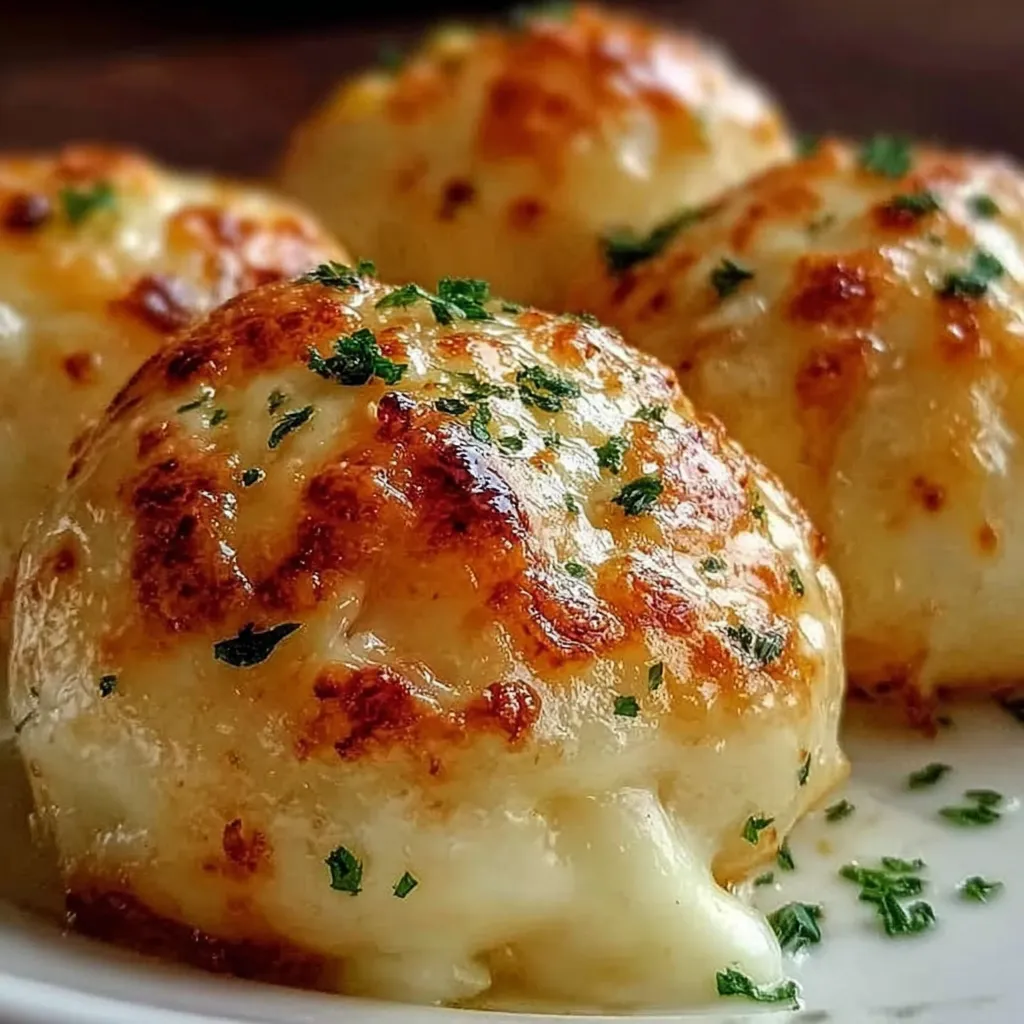
This cheesy garlic butter bombs recipe transforms simple ingredients into irresistible appetizers that disappear minutes after hitting the table. The combination of melted cheese and garlic butter creates little pockets of flavor that everyone reaches for first at gatherings.
I first made these for a last minute neighborhood potluck and arrived with them still warm from the oven. Three people asked for the recipe before I even set the plate down, and now they've become my signature contribution to any gathering.
Ingredients
- Pizza dough: Provides the perfect pillowy exterior while getting crisp on the outside. Store bought works perfectly, but homemade adds extra flavor if you have time
- Garlic cloves: Bring essential aromatic flavor. Look for firm bulbs with tight skin for the freshest taste
- Unsalted butter: Allows you to control the salt level. European style butter with higher fat content creates a richer flavor
- Mozzarella cheese: Creates those irresistible stretchy cheese pulls. Fresh or low moisture both work well
- Cheddar cheese: Adds a sharp flavor contrast to the mild mozzarella. Choose medium or sharp based on your preference
- Fresh parsley: Brightens the flavor and adds visual appeal. Italian flat leaf variety offers more pronounced flavor
- Salt and pepper: Balance and enhance all the other flavors. Freshly ground pepper makes a noticeable difference
Step-by-Step Instructions
- Prepare the oven:
- Preheat your oven to 375°F and line a baking sheet with parchment paper to prevent sticking. The moderate temperature ensures the dough cooks through without burning the outside before the inside is done.
- Prepare the dough:
- On a lightly floured surface, roll the pizza dough to approximately half an inch thickness. Using a knife or pizza cutter, cut the dough into 3inch squares. Work quickly as the dough becomes harder to manage as it warms up.
- Create the filling:
- Combine the shredded mozzarella and cheddar cheeses in a bowl with minced garlic cloves. Season with salt and pepper to taste. The combination of cheeses creates the perfect balance of meltability and flavor.
- Form the bombs:
- Place a generous tablespoon of the cheese mixture in the center of each dough square. Carefully fold the edges over the filling, pinching firmly to seal. Make sure there are no openings where cheese could leak out during baking.
- Prepare the garlic butter:
- Melt the butter in a small saucepan over low heat and add minced garlic. Allow to infuse for about 1 minute without browning the garlic, which would create bitterness.
- Finish and bake:
- Brush each sealed dough ball generously with the garlic butter mixture, coating all sides. Arrange on the prepared baking sheet with at least an inch between each bomb. Bake for 15 to 20 minutes until golden brown and slightly firm to the touch.
 Save
Save
The first time I made these, I accidentally used salted butter and added the normal amount of salt to the filling. While everyone still devoured them, I learned that controlling the salt yourself produces a more balanced flavor. Now I never make them without a sprinkling of flaky sea salt right after they come out of the oven.
Storage Tips
These cheesy bombs stay fresh in an airtight container in the refrigerator for up to 3 days. For best results when reheating, place them in a 350°F oven for about 5 minutes rather than using the microwave, which can make the dough tough. You can also freeze the unbaked bombs on a baking sheet until solid, then transfer to a freezer bag for up to 1 month. When ready to serve, bake from frozen, adding about 5 extra minutes to the baking time.
Creative Variations
The basic recipe serves as an excellent template for endless variations. Try adding cooked and crumbled bacon or Italian sausage to the cheese mixture for a heartier option. Vegetable lovers can incorporate finely chopped spinach, sun dried tomatoes, or roasted red peppers. For a spicy kick, mix in diced jalapeños or a sprinkle of red pepper flakes. You can also experiment with different cheese combinations like pepper jack for heat or smoked gouda for depth.
Serving Suggestions
These cheesy garlic butter bombs pair beautifully with marinara or ranch dipping sauce. For an elegant presentation, arrange them on a wooden board surrounded by small dipping bowls and garnish with additional fresh herbs. They make a perfect accompaniment to soup or salad for a more substantial meal. I often serve them alongside a simple tomato soup for a grown up take on grilled cheese and soup that delights everyone at the table.
Recipe FAQs
- → Can I make these Cheesy Garlic Butter Bombs ahead of time?
Yes! You can prepare them up to the point of baking, then refrigerate for up to 24 hours. When ready to serve, brush with the garlic butter and bake, adding an extra 2-3 minutes to the cooking time since they'll be cold.
- → What can I use instead of pizza dough?
Store-bought biscuit dough, crescent roll dough, or homemade bread dough all work well as substitutes. Each will provide a slightly different texture but equally delicious results.
- → Can I add other fillings to these cheese bombs?
Absolutely! Try adding small pieces of pepperoni, cooked bacon, jalapeños, or herbs like basil or oregano to the cheese mixture. Just be careful not to overfill, as this may cause the bombs to burst during baking.
- → How do I store and reheat leftovers?
Store cooled leftovers in an airtight container in the refrigerator for up to 3 days. Reheat in a 350°F oven for 5-7 minutes or in the microwave for 15-20 seconds until warmed through.
- → Why did my cheese bombs burst open while baking?
This typically happens when the dough isn't sealed properly or the bombs are overfilled. Make sure to pinch the edges firmly and twist slightly to ensure a good seal. Also, allow the dough to come to room temperature if it's been refrigerated, as cold dough is more likely to split.
- → Can I freeze these cheese bombs?
Yes, you can freeze them either before or after baking. To freeze unbaked bombs, place them on a baking sheet until solid, then transfer to a freezer bag. Bake from frozen, adding 5-7 minutes to the cooking time. For baked bombs, freeze in a single layer, then reheat in a 350°F oven until warmed through.