
 Save
Save
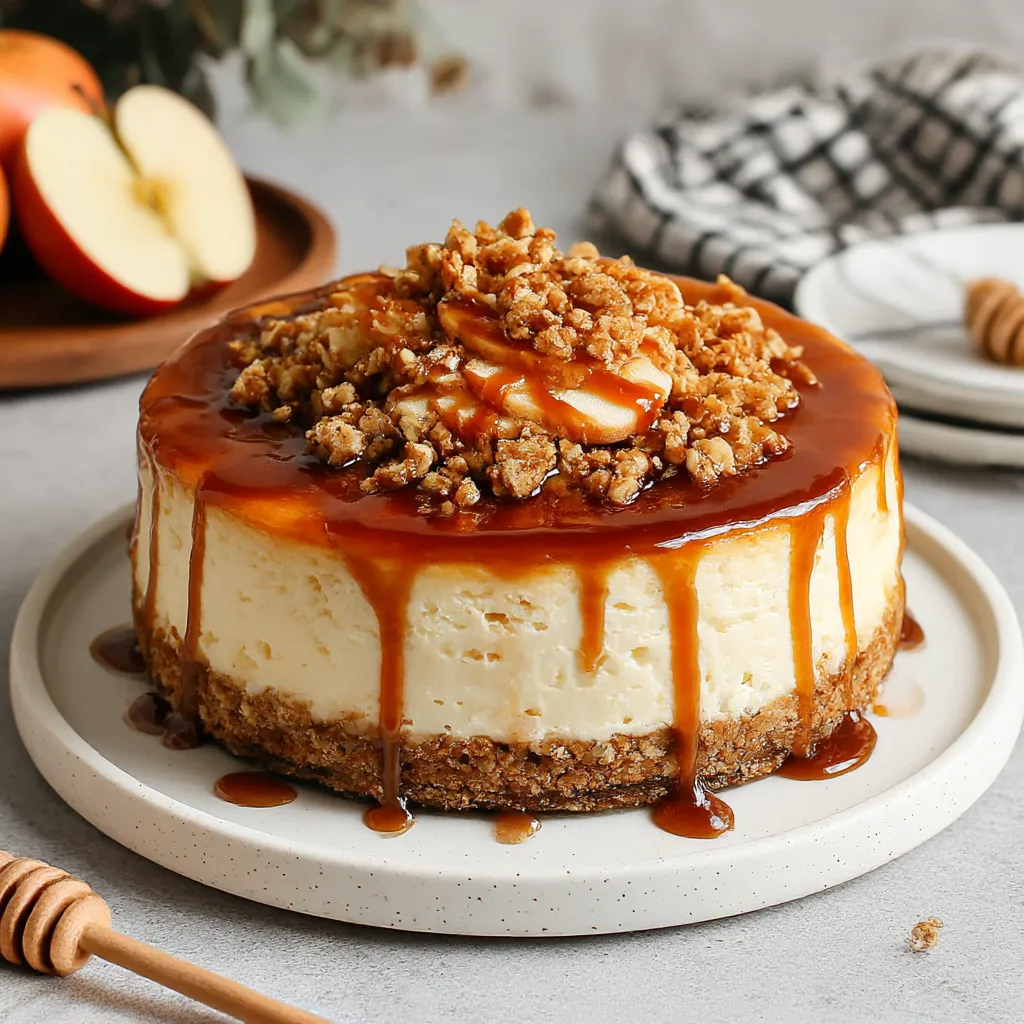
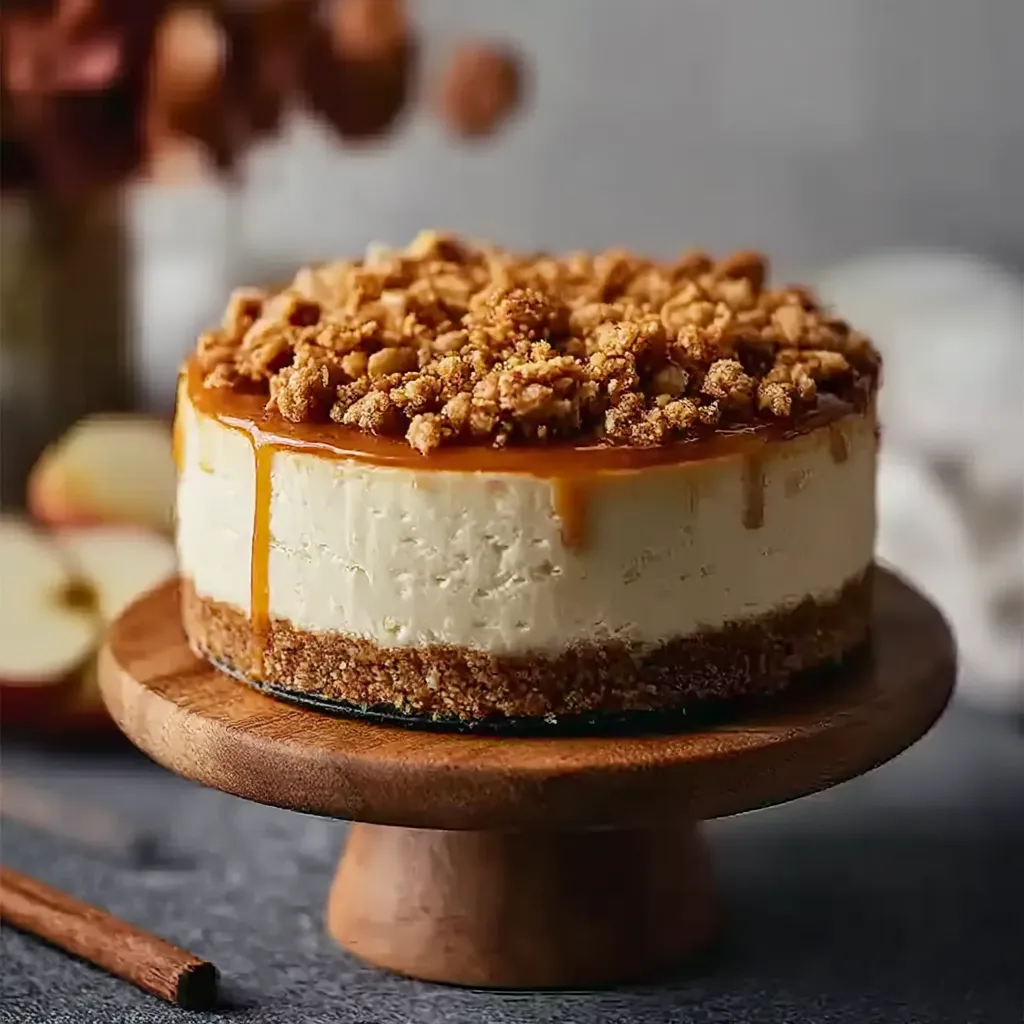
This apple crisp cheesecake combines the creamy indulgence of classic cheesecake with the comforting flavors of apple crisp. The layers work together beautifully with a buttery graham cracker base, silky smooth cheesecake center, cinnamon-spiced apples, and a crunchy oat topping that creates the perfect textural contrast in every bite.
I first made this cheesecake for my sister's birthday celebration last fall, and it's become our family's most requested dessert. The aroma of cinnamon and baked apples fills the kitchen with warmth, making it impossible to wait for that first slice.
Ingredients
- Graham cracker crumbs: form the perfect buttery base that complements the creamy filling
- Cream cheese: provides that classic tangy richness use full-fat for best results
- Fresh apples: are the star use firm varieties like Granny Smith or Honeycrisp that hold their shape when baked
- Cinnamon and nutmeg: create that signature warm spice profile
- Old fashioned oats: add wonderful texture to the topping quick oats won't provide the same crunch
- Sour cream: helps achieve that velvety smooth cheesecake texture
- Brown sugar: adds depth with its molasses notes
Step-by-Step Instructions
- Prepare the Crust:
- Mix graham cracker crumbs, sugar, and melted butter until it resembles wet sand. Press firmly into the bottom of your springform pan using the flat bottom of a measuring cup to create an even layer. The firmer you press, the better your crust will hold together when sliced.
- Create the Cheesecake Filling:
- Beat cream cheese until completely smooth, about 2 minutes on medium speed. Add sugar and continue beating until fluffy. Incorporate vanilla, then add eggs one at a time, beating just until blended after each addition. Fold in sour cream gently. The filling should be silky smooth with no lumps for the perfect cheesecake texture.
- Layer the Components:
- Pour the cheesecake filling over the prepared crust, smoothing the top with an offset spatula. Prepare the apple mixture by tossing sliced apples with spices and sugar until evenly coated. Arrange these spiced apple slices over the cheesecake layer, overlapping slightly for even distribution and a beautiful presentation.
- Make the Crumble Topping:
- Combine all dry topping ingredients in a bowl, then pour in the melted butter. Use your fingers to work the mixture until it forms small clumps with varying sizes. Sprinkle this crumble evenly over the apple layer, covering completely for maximum crunch in every bite.
- Bake to Perfection:
- Place the springform pan on a baking sheet to catch any potential drips. Bake until the center is almost set but still has a slight jiggle about 50 to 60 minutes. The edges should be firm and lightly golden. Avoid overbaking which can cause cracks and a dry texture.
- Cooling and Chilling:
- Allow the cheesecake to cool completely at room temperature before refrigerating. This gradual cooling helps prevent cracks. Refrigerate for at least 4 hours, preferably overnight, to allow the flavors to meld and the texture to set properly.
My grandmother taught me the importance of patience when making cheesecake. She always said that rushing the cooling process would lead to disappointment. Following her advice has made all the difference in creating that perfect creamy texture that makes this recipe so special.
Preventing Cheesecake Cracks
The most common issue with cheesecakes is cracking on the surface. To prevent this, avoid overmixing once you add the eggs which can incorporate too much air. Another helpful technique is to run a thin knife around the edge of the cheesecake immediately after removing from the oven. As the cheesecake cools and contracts, this prevents it from pulling and cracking. For extra insurance, some bakers place a small dish of water in the oven to create moisture during baking.
Seasonal Apple Variations
While this recipe works beautifully with any baking apple, each variety brings its own character to the dessert. In early fall, try Honeycrisp for a perfect balance of sweetness and structure. Granny Smith provides a tart contrast that balances the sweet cheesecake beautifully. For a more complex flavor profile, use a combination of apple varieties. I particularly love mixing Braeburn and Golden Delicious for a nuanced apple layer that isnt too sweet or too tart.
Serving Suggestions
This cheesecake is stunning on its own, but a few additions can elevate it even further. A drizzle of warm caramel sauce just before serving creates an impressive presentation and enhances the apple flavors. For texture contrast, serve with a small scoop of vanilla bean ice cream on the side. During fall gatherings, I like to create a dessert board featuring slices of this cheesecake alongside apple cider donuts, maple cookies, and fresh apple slices for a themed dessert experience that guests always remember.
Storage Tips
For the freshest flavor and texture, consume within 5 days of baking. Store in the refrigerator with a cake dome or loosely covered with plastic wrap after the cheesecake has fully cooled. For freezing, wrap individual slices in plastic wrap then aluminum foil to prevent freezer burn. The texture remains almost perfect when thawed overnight in the refrigerator.
 Save
Save
Recipe FAQs
- → How do I prevent my cheesecake from cracking?
To prevent cracking, avoid overmixing the batter which introduces excess air. Bake at the recommended temperature and avoid opening the oven door frequently. When finished baking, turn off the oven and let the cheesecake cool gradually inside with the door slightly ajar before refrigerating.
- → Can I make this dessert ahead of time?
Yes! This dessert actually benefits from being made ahead. For best results, prepare it 1-2 days before serving and keep refrigerated. The flavors will meld beautifully, and the texture will set perfectly.
- → What type of apples work best for this dessert?
Firm, tart-sweet apples like Granny Smith, Honeycrisp, or Braeburn work best as they hold their shape during baking and provide nice flavor contrast to the sweet cheesecake. Avoid softer varieties that might become too mushy.
- → How should I store leftovers?
Store leftovers in an airtight container in the refrigerator for up to 5 days. You can also freeze individual slices wrapped tightly in plastic wrap and placed in a freezer bag for up to 2 months. Thaw overnight in the refrigerator before serving.
- → Can I substitute the graham cracker crust?
Absolutely! You can use gingersnaps, vanilla wafers, digestive biscuits, or even shortbread cookies instead of graham crackers. Just maintain the same proportion of crumbs to butter for proper binding.
- → How do I know when the cheesecake is done baking?
The cheesecake is done when the edges are set but the center still has a slight jiggle when you gently shake the pan. It will continue to set as it cools. Overbaking can cause cracks and a dry texture.