
 Save
Save
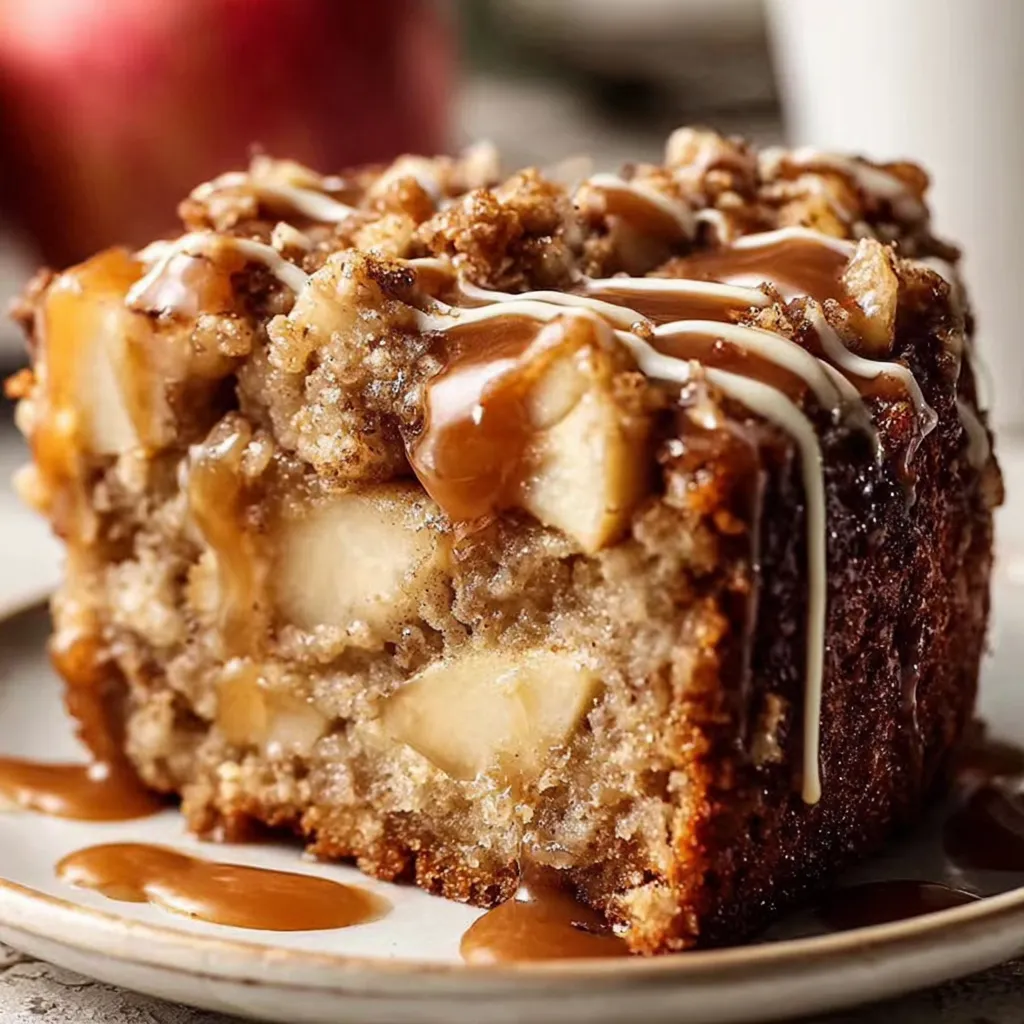
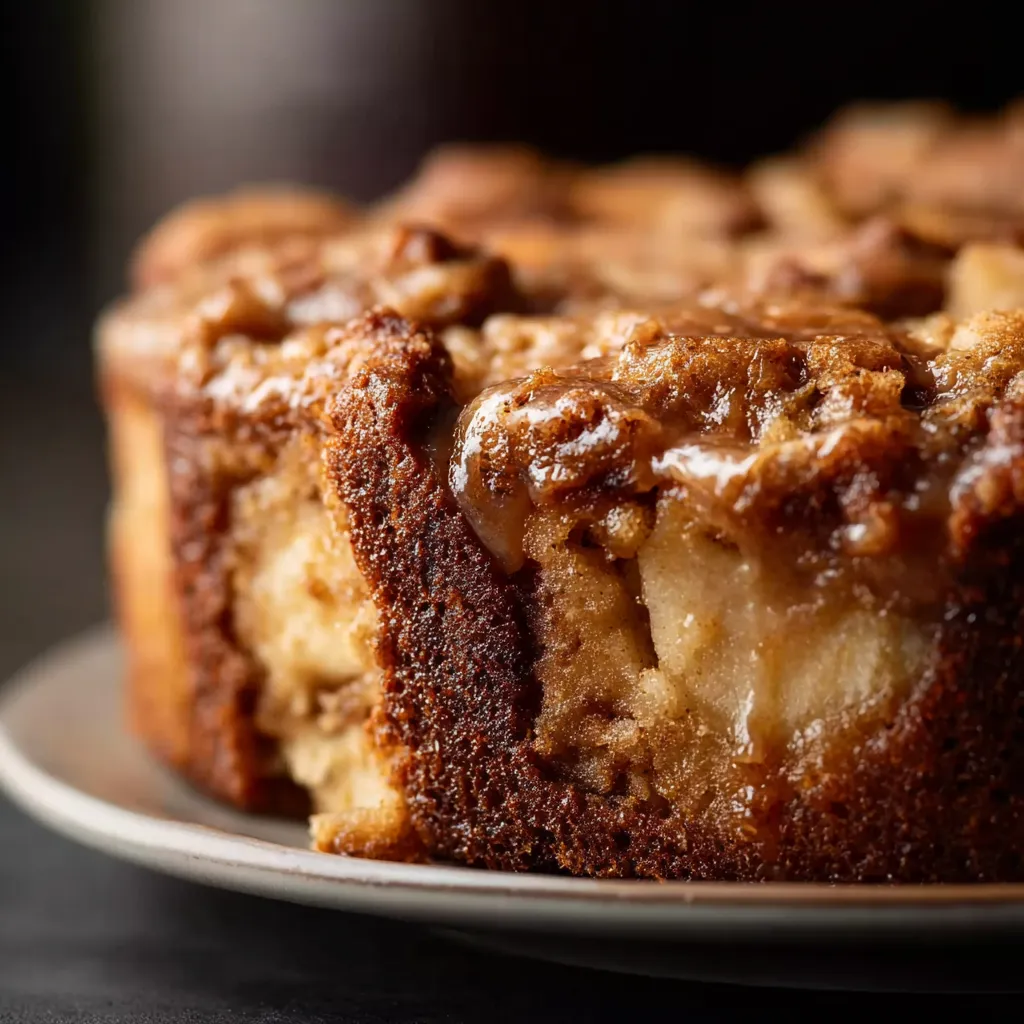
This rustic apple cake recipe has been passed down through generations in my family, bringing the comforting flavors of autumn to our table year after year. The tender crumb studded with juicy apple pieces creates the perfect balance of sweetness and fruit in every bite.
I first baked this apple cake when hosting my first Thanksgiving as a newlywed. My mother in law requested the recipe before leaving, which remains one of my proudest kitchen moments to this day.
Ingredients
- All purpose flour: Provides the perfect structure while keeping the crumb tender
- Baking powder and baking soda: Work together to create just the right amount of lift
- Cinnamon: Brings warm spice notes that complement the apples beautifully
- Unsalted butter: Adds richness and allows you to control the salt content
- Granulated and brown sugars: Combine for perfect sweetness and moisture
- Eggs: Bind everything together and contribute to the cake's tender texture
- Vanilla extract: Enhances all other flavors in the recipe
- Sour cream or Greek yogurt: Creates an incredibly moist crumb
- Apples: Are the star of the show choose firm varieties that hold their shape when baked
- Lemon juice: Prevents browning and adds a subtle brightness to balance the sweetness
Step-by-Step Instructions
- Prepare the Apples:
- Peel, core, and chop your apples into half inch cubes making sure the pieces are relatively uniform for even cooking. Toss them immediately with lemon juice to prevent browning and set aside while you prepare the batter.
- Prepare the Pan:
- Preheat your oven to 350°F and thoroughly grease a 9 inch round cake pan. For easy removal line the bottom with parchment paper and grease the paper as well. This extra step ensures your cake will come out perfectly intact.
- Mix Dry Ingredients:
- In a large bowl whisk together the flour baking powder baking soda salt and cinnamon until thoroughly combined. This even distribution ensures the cake will rise properly and have consistent flavor throughout.
- Cream Butter and Sugars:
- In a separate bowl beat the softened butter with both sugars until the mixture becomes noticeably lighter in color and fluffy in texture. This process incorporates air which helps create a tender cake structure.
- Add Wet Ingredients:
- Beat in eggs one at a time allowing each to fully incorporate before adding the next. Stir in vanilla extract and sour cream mixing until just combined. The mixture may look slightly curdled but this is perfectly normal.
- Combine Wet and Dry Mixtures:
- Gradually fold the dry ingredients into the wet ingredients using a gentle hand with a spatula. Mix just until no dry flour remains visible being careful not to overmix which would develop gluten and toughen the cake.
- Add Apples and Optional Mix Ins:
- Gently fold in the prepared apples along with any optional additions like nuts or dried fruit. The batter will be thick and chunky which is exactly what you want for this rustic style cake.
- Transfer to Pan:
- Spoon the batter into your prepared pan and use a spatula to smooth the top. If using the cinnamon sugar topping sprinkle it evenly over the surface for a delightful crisp top when baked.
- Bake to Perfection:
- Bake for 45 to 55 minutes until the top is golden brown and a toothpick inserted in the center comes out clean or with just a few moist crumbs. The cake may need additional time if your apples were particularly juicy.
- Cool and Serve:
- Allow the cake to cool in the pan for 10 minutes before carefully removing to a wire rack to cool completely. This resting period allows the cake structure to set and makes slicing much easier.
 Save
Save
My grandmother always insisted on using at least two different varieties of apples in her cake for the most complex flavor. She would say the secret to a memorable apple cake is mixing sweet apples with tart ones. I follow this advice to this day and it truly makes a difference.
Storing Your Apple Cake
This cake keeps beautifully at room temperature for up to three days when stored in an airtight container. The flavors actually deepen and improve overnight making it an excellent make ahead dessert. For longer storage refrigerate for up to a week though the texture is best when allowed to come to room temperature before serving. You can also freeze individual slices wrapped tightly in plastic wrap and aluminum foil for up to three months just thaw overnight in the refrigerator when ready to enjoy.
Seasonal Apple Varieties
While this recipe works with any apple you might have on hand certain varieties truly shine in baked goods. Granny Smith provides tartness and holds its shape beautifully while Honeycrisp offers sweetness and a pleasant firm texture. Fall baking season brings wonderful heirloom varieties like Northern Spy Braeburn and Jonagold which offer complex flavors. For the absolute best results try using a combination of at least two varieties in your cake blending their flavor profiles for a more interesting depth.
Serving Suggestions
This versatile cake can be presented in multiple ways depending on the occasion. For a simple everyday treat serve it unadorned allowing the apple and cinnamon flavors to shine. To elevate it for dessert dust with powdered sugar or drizzle with a simple glaze made from powdered sugar and a splash of milk. For true decadence serve slightly warm with a scoop of vanilla ice cream or dollop of lightly sweetened whipped cream. It also pairs beautifully with sharp cheddar cheese for a traditional farmhouse approach.
The History Behind Apple Cake
Apple cakes have been a staple in home baking for centuries particularly in regions with abundant apple harvests. This style of rustic fruit filled cake has roots in European traditions where preserving seasonal produce was essential. American settlers adapted these recipes using local ingredients and techniques. The addition of sour cream is a distinctly American touch popularized in the mid 20th century when refrigeration became common in households. This particular recipe style became especially popular during the 1950s and 60s when home baking saw a renaissance and recipes were frequently shared between neighbors and family members.
Recipe FAQs
- → What type of apples work best for this cake?
Firm, tart apples like Granny Smith or Honeycrisp work best as they hold their shape during baking and provide a nice contrast to the sweet cake. These varieties also release less moisture, helping maintain the cake's ideal texture.
- → Can I make this cake gluten-free?
Yes, you can substitute the all-purpose flour with a cup-for-cup gluten-free flour blend. The structure and moisture from the apples and sour cream help maintain a good texture even with gluten-free flour.
- → How should I store this apple cake?
Store the cake in an airtight container at room temperature for up to 3 days or refrigerate for up to a week. The flavors actually deepen overnight, making it taste even better the next day.
- → Can I freeze this apple cake?
Yes, this cake freezes well for up to 3 months. Wrap it tightly in plastic wrap and then aluminum foil or place in a freezer-safe container. Thaw overnight in the refrigerator before serving.
- → What can I substitute for sour cream in this recipe?
Plain Greek yogurt works perfectly as a one-to-one substitute for sour cream. You could also use buttermilk, though the cake might be slightly less rich. Full-fat yogurt works better than non-fat for maintaining moisture.
- → Why does my batter seem very thick?
The batter for this cake should be relatively thick - this helps suspend the apple chunks throughout rather than having them sink to the bottom. If it seems too thick to stir, you can add 1-2 tablespoons of milk.