
 Save
Save
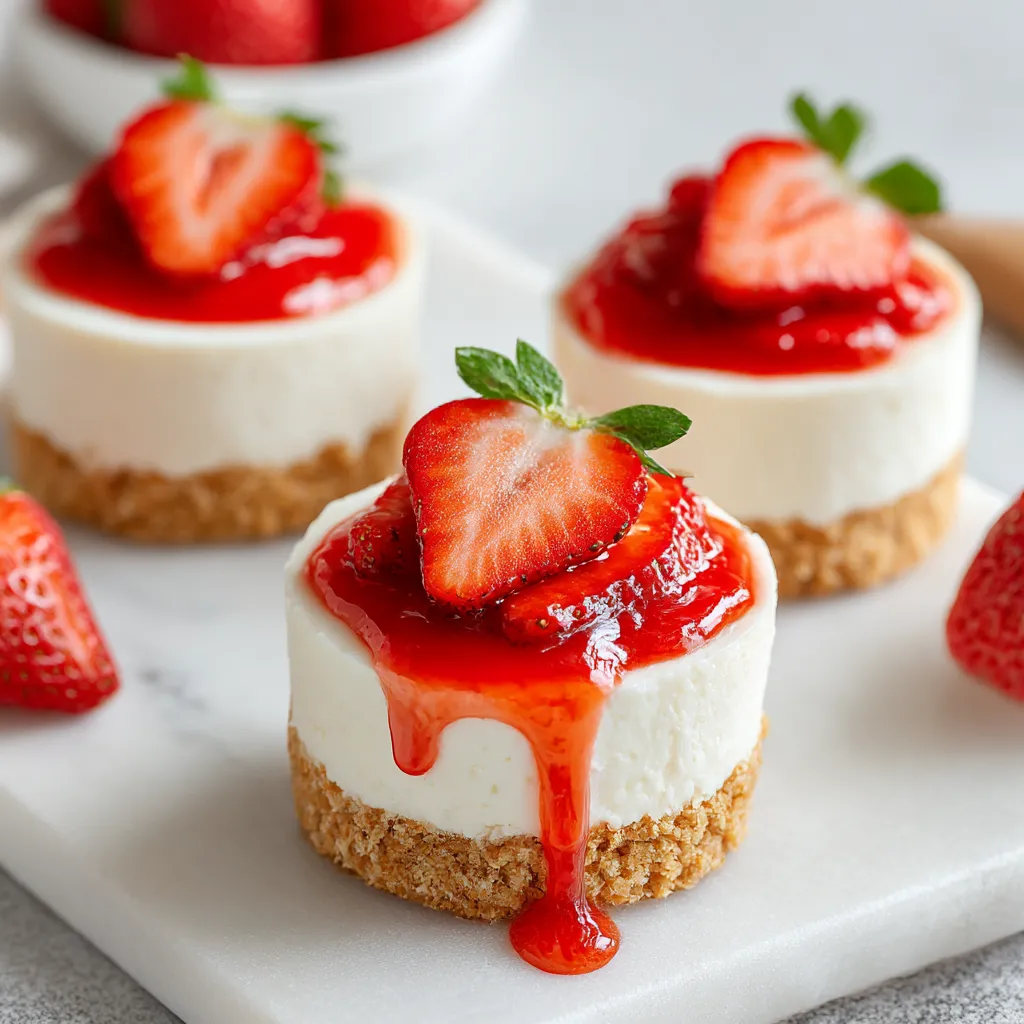
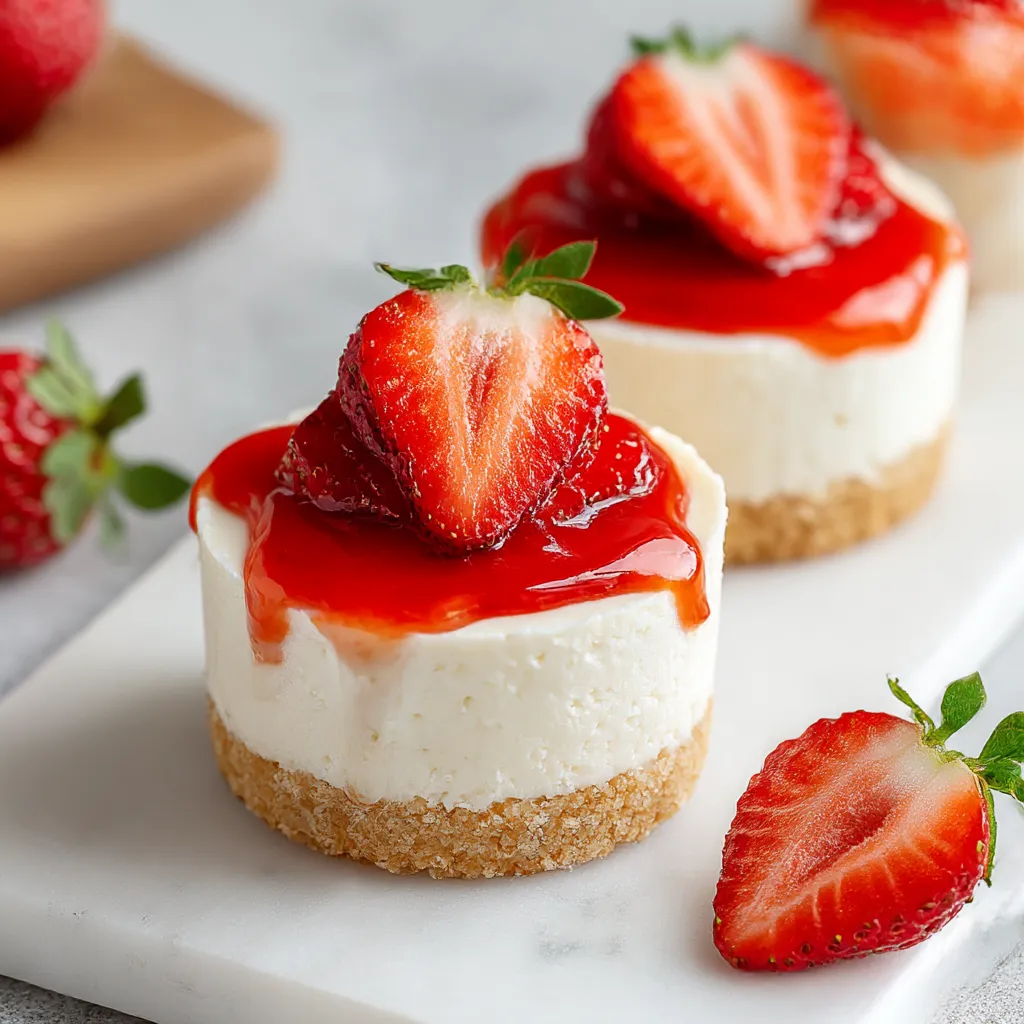
These mini strawberry cheesecake cups transform a classic dessert into perfectly portioned treats that deliver all the creamy indulgence without the fuss of a traditional cheesecake. No water baths or worry about cracks. Just pure dessert pleasure in individual servings that never fail to delight guests.
I first created these mini cheesecakes for my daughter's birthday when she requested something special but not too heavy. They were such a hit that they've become our go to dessert for every celebration since.
Ingredients
- Graham cracker crumbs: preferably fine for the perfect textured crust that holds together beautifully
- Granulated sugar: adds just the right sweetness to both the crust and filling
- Unsalted butter: melted creates that golden buttery base that contrasts perfectly with the creamy filling
- Cream cheese: softened look for full fat versions for the richest flavor
- Vanilla extract: adds depth to the filling choose pure extract for best results
- Fresh strawberries: hulled and sliced select bright red berries with no white shoulders for maximum flavor
Step-by-Step Instructions
- Prepare the Crust:
- Combine graham cracker crumbs and sugar in a bowl then incorporate melted butter until the mixture resembles wet sand. The mixture should hold together when pressed between your fingers. Distribute about 1-2 tablespoons into each muffin cup and press firmly using the back of a spoon creating an even compact layer.
- Create the Filling:
- Beat softened cream cheese with sugar and vanilla extract until the mixture becomes light and fluffy with no lumps remaining about 2-3 minutes of continuous mixing. Ensure your cream cheese is truly at room temperature for the smoothest possible result. The filling should have a silky consistency that falls slowly from the beater when lifted.
- Assemble the Cheesecakes:
- Divide the cream cheese mixture evenly among the muffin cups carefully smoothing the tops with a spatula for a professional finish. Fill each cup nearly to the top leaving just enough room for the strawberry topping. The filling will set but not expand so you can fill generously.
- Add Strawberry Topping:
- Arrange thinly sliced strawberries on top of each cheesecake gently pressing them slightly into the filling to ensure they adhere well. Create concentric circles overlapping slightly for the most attractive presentation.
- Chill to Perfection:
- Refrigerate the assembled mini cheesecakes for at least 2 hours allowing the filling to firm up completely and the flavors to meld together. For best results chill overnight giving the desserts time to develop their full flavor profile.
 Save
Save
My absolute favorite part of this recipe is the contrast between the crisp graham cracker crust and the silky smooth cheesecake filling. It reminds me of summer evenings on my grandmother's porch where we would enjoy fresh berries from her garden with cream. These mini cups capture that same nostalgic flavor combination in a more sophisticated package.
Make Ahead Magic
These mini cheesecake cups actually improve with time in the refrigerator making them perfect for advance preparation. The graham cracker crust softens slightly becoming more cake like while the filling firms to the perfect consistency. Prepare them up to two days before your event and store covered in the refrigerator. Add the strawberry topping no more than 6 hours before serving for the freshest appearance.
Substitution Secrets
The beauty of this versatile recipe lies in its adaptability to whatever fruits are in season. Replace strawberries with blueberries raspberries or blackberries for equally delicious results. For a tropical twist try diced mango or pineapple with a sprinkle of toasted coconut. You can also swap the graham cracker crumbs for chocolate cookie crumbs or gingersnaps to create entirely new flavor combinations that complement your chosen fruit topping.
Serving Suggestions
These mini cheesecakes are perfectly delightful on their own but can be elevated for special occasions. Serve on small dessert plates with a drizzle of chocolate sauce or a dollop of whipped cream. For an elegant presentation place each cup on a pool of fruit coulis and garnish with mint leaves. These also make wonderful additions to dessert buffets where guests can help themselves to these perfectly portioned treats.
Recipe FAQs
- → Can I make these mini cheesecakes ahead of time?
Yes, you can prepare these mini strawberry cheesecake cups up to 2 days in advance. Store them covered in the refrigerator, but add the fresh strawberry topping shortly before serving for the best appearance and texture.
- → What can I substitute for graham crackers in the crust?
If graham crackers aren't available, you can substitute digestive biscuits, vanilla wafers, gingersnaps, or even crushed shortbread cookies. Just maintain the same ratio of crumbs to butter for proper binding.
- → Do I need to bake these cheesecake cups?
No, these are no-bake cheesecake cups. After assembling, they simply need to chill in the refrigerator for at least 2 hours to set properly. This makes them perfect for warm weather when you don't want to use the oven.
- → Can I use frozen strawberries instead of fresh?
Fresh strawberries work best for topping these cheesecake cups. If using frozen strawberries, thaw them completely and drain excess moisture to prevent the filling from becoming watery. Consider macerating frozen berries with a little sugar before using.
- → What other fruits can I use for these cheesecake cups?
These cheesecake cups are versatile and work beautifully with many fruits. Try blueberries, raspberries, blackberries, sliced peaches, or a mixed berry combination. You could also use fruit preserves or compotes instead of fresh fruit.
- → How do I know when the cream cheese filling is properly mixed?
The cream cheese filling is properly mixed when it's completely smooth with no lumps, light in texture, and holds its shape. For best results, ensure your cream cheese is fully softened to room temperature before beating, and scrape down the sides of the bowl frequently during mixing.