
 Save
Save
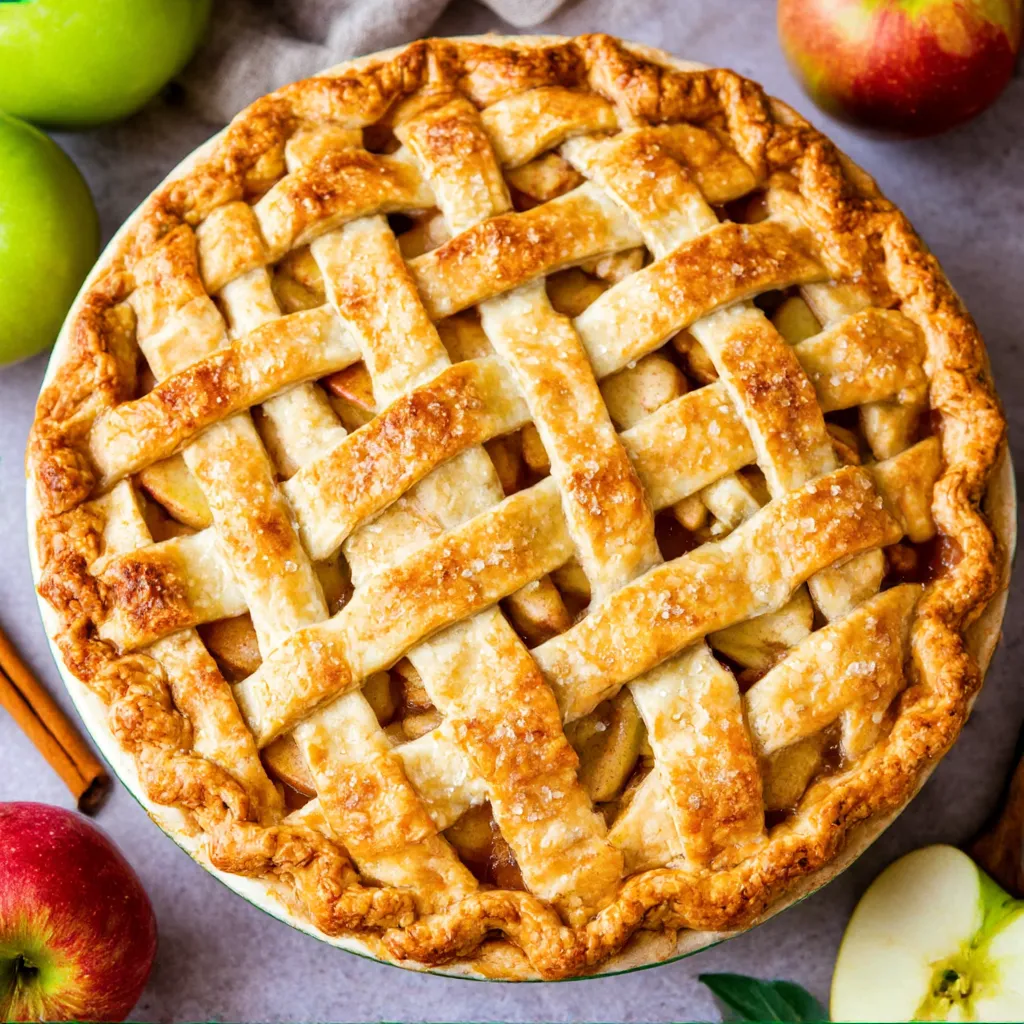
This classic apple pie recipe transforms ordinary apples into a dessert that brings everyone to the table with its perfect balance of sweet filling and flaky crust. The secret lies in cooking the filling before baking, which ensures perfectly tender apples and eliminates that dreaded gap between filling and crust.
I discovered this method after years of disappointment with runny fillings and undercooked apples. Now my family specifically requests this pie for every holiday, and I've even won our neighborhood baking contest twice with this exact recipe.
Ingredients
- Homemade double pie crust: Gives this pie its foundation and ensures that perfect flaky texture that store-bought simply cannot match
- Five pounds mixed apples: Provide the ideal balance of tart and sweet notes while maintaining their structure during cooking
- Brown sugar: Adds rich caramel undertones that complement the apples beautifully
- Granulated sugar: Balances the tartness and helps create that perfect syrupy filling
- All-purpose flour: Thickens the filling to achieve that perfect slice that holds together
- Warm spices (cinnamon, nutmeg, and cardamom): Create that classic apple pie aroma that makes everyone feel at home
- Lemon juice and zest: Brighten all the flavors and prevent the apples from browning
- Vanilla extract: Rounds out the flavor profile with warm aromatic notes
Step-by-Step Instructions
- Prepare the Apples:
- Select a mix of apple varieties to create complexity in your pie. Granny Smith provides tartness while Gala and Golden Delicious add sweetness. Peel and slice them into consistent 1/8-inch pieces, working with one apple at a time and tossing with lemon juice to prevent browning. This careful preparation ensures even cooking and a beautiful presentation when sliced.
- Cook the Filling:
- Combine your sliced apples with sugars, flour, salt, and spices in a large skillet over medium heat. Cover and cook for exactly 20 minutes, stirring every few minutes. This crucial pre-cooking step ensures your apples reach the perfect tenderness while releasing their juices to create that luscious sauce. The filling should be fork-tender but still hold its shape—your apples will not soften further during baking.
- Cool Completely:
- Spread the cooked filling on a sheet pan and refrigerate until completely cool. This essential step prevents the bottom crust from becoming soggy when assembled. The filling will thicken as it cools, concentrating those wonderful flavors and making it easier to achieve a picture-perfect slice later.
- Assemble and Bake:
- Place your bottom crust in a deep 9-inch pie dish and fill with the cooled apple mixture. Top with your second crust, either as a lattice or whole with vents. Chill the assembled pie for 20-30 minutes before baking at 425°F for 15 minutes, then reduce to 350°F and continue baking with a foil shield for 40-45 minutes. This temperature adjustment ensures a perfectly browned crust without burning.
- Cool and Serve:
- Allow the pie to cool completely for 4 hours before slicing. This patience-testing step is non-negotiable as it allows the filling to set properly. Serve with vanilla ice cream for the ultimate dessert experience that will have everyone asking for seconds.
 Save
Save
The cardamom in this recipe was actually an accidental addition one Thanksgiving when I grabbed the wrong spice jar. My family loved it so much that it became a permanent ingredient in my apple pie. Sometimes the best culinary discoveries happen by mistake!
Make-Ahead Options
This recipe shines in its flexibility for busy schedules. You can prepare the filling up to three days in advance and keep it refrigerated. For even longer storage, the cooled filling freezes beautifully for up to three months. When ready to use, simply thaw overnight in the refrigerator. The pie dough can also be made ahead and frozen, making this an excellent option for holiday planning when oven time is at a premium.
Choosing the Best Apples
The key to exceptional apple pie is using a mixture of varieties. Firm apples like Granny Smith, Honeycrisp, and Braeburn maintain their structure and prevent a mushy filling. Golden Delicious and Gala contribute sweetness and juiciness. Avoid Red Delicious as they break down too easily during cooking. During fall apple season, try incorporating local varieties from farmers markets for unique flavor profiles that elevate your pie beyond the ordinary.
Troubleshooting Common Issues
If your filling seems too watery after cooking, stir in an additional tablespoon of flour before cooling. For a too-thick filling, add a tablespoon of apple juice or water. Should your crust begin browning too quickly during baking, cover the entire pie loosely with foil until the last 10 minutes. Remember that apple pies need adequate cooling time—cutting too soon results in a runny filling that won't hold its shape when sliced.
Recipe FAQs
- → What are the best apple varieties to use for this pie?
A mix of apple varieties creates the most complex and satisfying flavor. Granny Smith provides tartness and structure, while sweeter varieties like Golden Delicious and Gala add depth. Using a combination of 2-3 different apple types is ideal, with Honeycrisp, Braeburn, and Pink Lady also being excellent options.
- → Why pre-cook the apple filling?
Pre-cooking the filling offers several advantages: it prevents the gap that often forms between the filling and top crust when raw apples shrink during baking, ensures perfectly tender apples, allows control over the thickness of the filling, and creates a deeper caramelized flavor. The pre-cooked filling can also be made ahead and frozen for convenience.
- → How do I prevent my pie crust from becoming soggy?
Several techniques help prevent soggy crust: pre-cooking the filling removes excess moisture, chilling the assembled pie before baking helps the bottom crust set before absorbing liquid, starting with a high oven temperature (425°F) helps seal the bottom crust, and using a preheated baking sheet provides direct heat to the bottom of the pie.
- → Can I make this pie ahead of time?
Yes! You have several options: make just the filling up to 3 months ahead and freeze it; assemble the entire unbaked pie and freeze for up to 3 months (bake directly from frozen, adding 15-20 minutes to the bake time); or bake the pie completely, cool it, and store at room temperature for 2 days or refrigerated for up to 5 days.
- → Why do I need to let the pie cool for 4 hours?
The cooling period is crucial for the filling to set properly. When hot, the filling is too liquid and will run everywhere if cut. As it cools, the natural pectins in the apples and the flour thickener work together to create the perfect sliceable consistency. This waiting period also allows the flavors to meld and develop more complexity.
- → What's the purpose of brushing the crust with milk or egg?
Brushing the top crust creates a more attractive finish. Milk alone creates a matte brown finish, while beaten egg adds shine and gloss. A combination gives you the best of both. The liquid also helps the sprinkled sugar adhere to the crust, adding a pleasant crunch and sparkle to the finished pie.