
 Save
Save
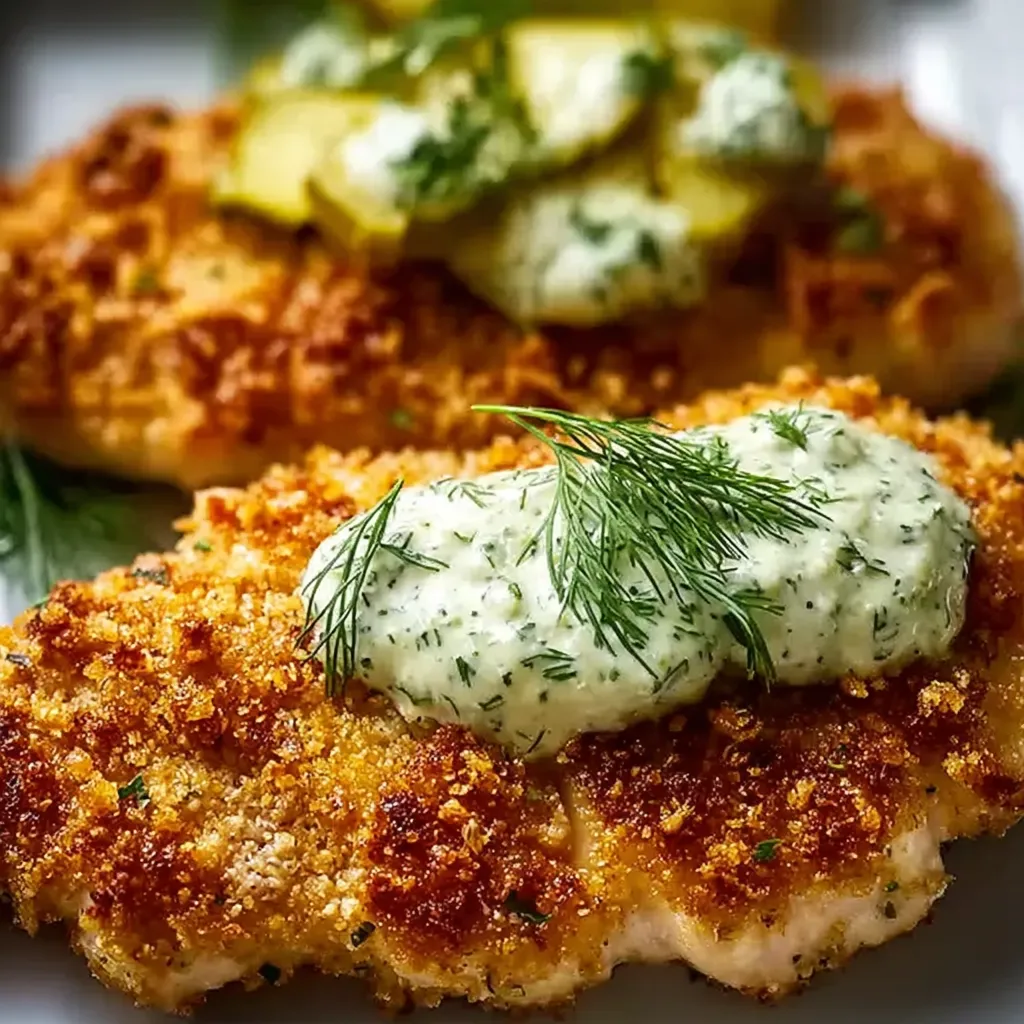
This crispy dill pickle parmesan chicken transforms ordinary chicken breasts into a flavor explosion with the tangy kick of pickle brine and savory parmesan crust. Each bite delivers that perfect crunch followed by juicy, tender meat infused with dill pickle goodness.
I discovered this recipe during a pandemic lockdown when pickle brine was the only marinade left in my fridge. What started as a desperate experiment became my family's most requested weeknight dinner, with my teenagers actually fighting over the last piece.
Ingredients
- Boneless skinless chicken breasts: choose ones of similar thickness for even cooking
- Dill pickle juice: the secret ingredient that tenderizes and flavors the chicken
- Seasoned breadcrumbs: creates the perfect crispy exterior
- Grated Parmesan cheese: adds rich umami flavor and helps form the golden crust
- Large eggs: crucial for helping the breading adhere properly
- All purpose flour: provides the first layer of coating that everything else sticks to
- Garlic powder: adds depth without the risk of burning that fresh garlic has
- Onion powder: provides subtle savory notes that complement the pickle flavor
- Paprika: adds a touch of color and mild sweetness to balance the tanginess
- Cooking oil: use something with a high smoke point like canola or vegetable oil
Step-by-Step Instructions
- Marinate the Chicken:
- Pour the dill pickle juice over your chicken breasts in a shallow dish or ziplock bag. Make sure every piece is fully submerged to ensure even flavor distribution. Let this sit in the refrigerator for at least 30 minutes, though I find 2 hours gives the best flavor penetration without making the chicken too salty. The acid in the pickle juice works to tenderize the meat while infusing it with that distinctive tangy dill flavor.
- Prepare the Breading Station:
- Set up your three bowl assembly line with attention to seasoning. In the first bowl, whisk the flour with salt, pepper, and garlic powder until evenly distributed. In the second bowl, beat the eggs until completely smooth with no streaks of white showing. For the third bowl, thoroughly mix the breadcrumbs with the grated Parmesan, ensuring there are no clumps of cheese that might fall off during cooking. Position these bowls in order with a clean plate at the end to hold your breaded chicken.
- Preheat the Oil:
- Add enough oil to cover the bottom of a heavy skillet by about 1/4 inch. Heat over medium until shimmering but not smoking. The perfect temperature is around 350°F if you have a thermometer, but the breadcrumb test works perfectly too. Drop a few breadcrumbs in and they should sizzle immediately without burning.
- Coat the Chicken:
- Remove one chicken breast from the marinade and pat it lightly with paper towels to remove excess moisture. Thoroughly coat it in the seasoned flour, shaking off any excess. Next, dip it completely in the beaten egg, allowing extra to drip off. Finally, press it firmly into the breadcrumb mixture, ensuring even coverage on all sides and pressing gently to adhere the coating. Set aside on your clean plate and repeat with remaining pieces.
- Fry the Chicken:
- Carefully place breaded chicken into the hot oil without crowding the pan. Work in batches if necessary to maintain oil temperature. Cook for 5 to 7 minutes per side, adjusting heat as needed to maintain a steady sizzle without burning. The coating should develop a deep golden brown color while the chicken cooks through to 165°F internal temperature. Use a meat thermometer to check doneness at the thickest part.
- Drain Excess Oil:
- Transfer the cooked chicken to a wire rack set over a baking sheet rather than directly onto paper towels. This method allows air to circulate underneath, keeping the bottom coating crispy instead of becoming soggy. If using paper towels, flip the chicken after a minute to ensure even oil absorption.
- Rest the Chicken:
- Allow the chicken to rest undisturbed for a full 10 minutes. During this time, the internal juices redistribute throughout the meat, ensuring moistness in every bite. The internal temperature will also continue to rise slightly, completing the cooking process without drying out the chicken.
- Serve or Store:
- Serve immediately with a squeeze of fresh lemon juice to brighten the flavors or slice and use in sandwiches. If storing, let cool completely before refrigerating to prevent condensation that would soften the crispy coating.
 Save
Save
Pickle juice is my secret weapon in the kitchen. I started saving it years ago instead of pouring it down the drain, and now my family jokes that no jar of pickles is ever truly empty until the brine has been repurposed. This chicken recipe is by far my favorite use, transforming what would be waste into the most flavorful chicken youll ever taste.
Make Ahead Options
This chicken can be prepared through the breading stage and refrigerated for up to 8 hours before cooking. Simply place the breaded chicken on a sheet pan lined with parchment paper, cover loosely with plastic wrap, and refrigerate. When ready to cook, allow the chicken to sit at room temperature for 15 minutes before frying for the most even cooking results.
Flavor Variations
The basic recipe creates a wonderful foundation that can be customized endlessly. Try using spicy pickle juice for a kick of heat, or add Italian herbs to the breadcrumb mixture for a Mediterranean twist. One of my favorite variations includes adding 1 tablespoon of ranch seasoning to the breadcrumb mixture, which creates a tangy kick that pairs beautifully with the dill pickle flavor. For cheese lovers, try mixing in some shredded mozzarella with the Parmesan for an extra gooey element.
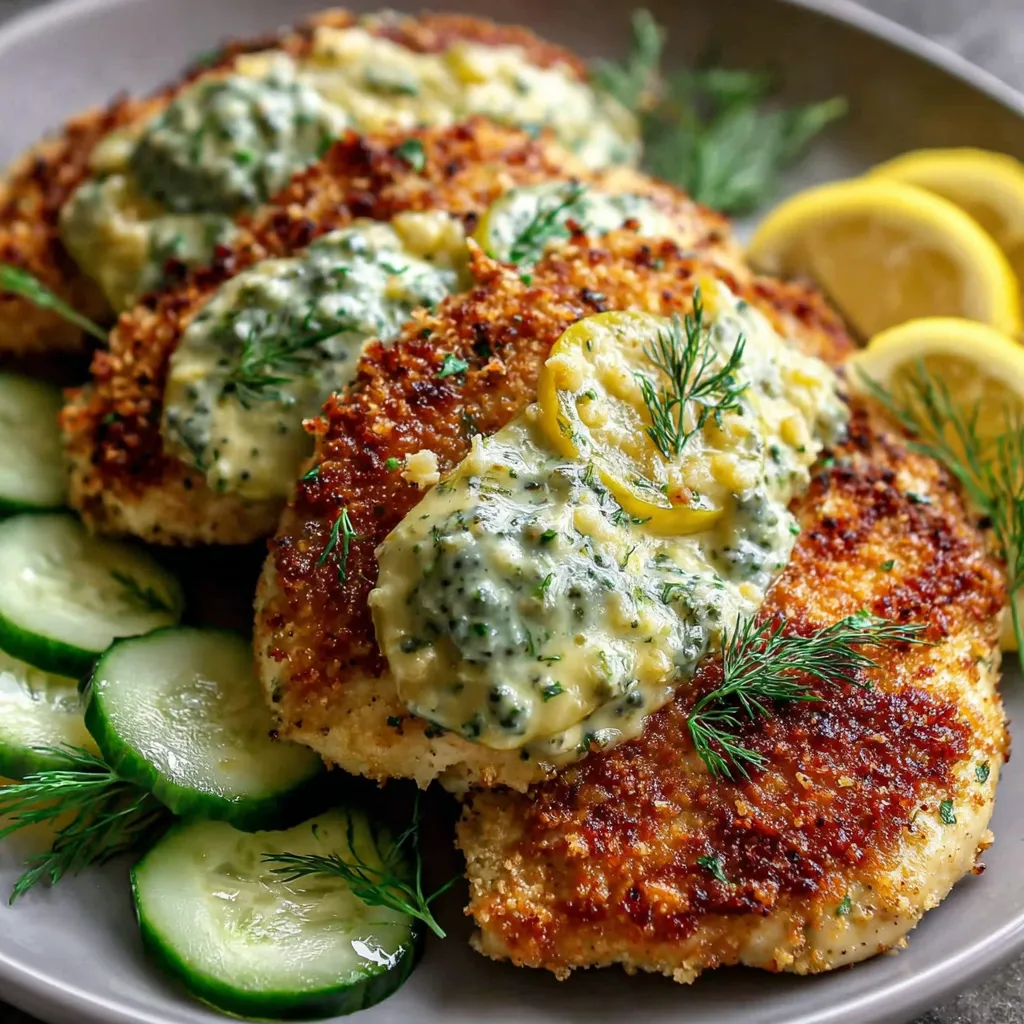
Serving Suggestions
This chicken shines as the star of any meal but pairs particularly well with creamy sides that complement its tangy profile. Serve alongside garlic mashed potatoes and roasted green beans for a complete dinner. For a lighter option, slice the chicken and place atop a crisp salad dressed with ranch or buttermilk dressing. My family loves when I turn this into chicken sandwiches on brioche buns with lettuce, tomato, and a smear of mayonnaise mixed with a touch of the same pickle juice used in the marinade.
Troubleshooting Tips
If your coating starts to burn before the chicken is cooked through, lower the heat and finish cooking in a 350°F oven until the internal temperature reaches 165°F. For chicken breasts that are particularly thick, consider butterflying them or pounding to an even thickness before marinating to ensure even cooking. If you find the pickle flavor too subtle, try poking the chicken with a fork before marinating to allow deeper penetration of the brine.
Recipe FAQs
- → Can I bake this chicken instead of frying it?
Yes! For a healthier version, preheat your oven to 425°F (220°C), place the breaded chicken on a wire rack over a baking sheet, spray lightly with cooking oil, and bake for 20-25 minutes until the internal temperature reaches 165°F (75°C). The coating may not be quite as crispy as the fried version, but it will still be delicious.
- → How long should I marinate the chicken in pickle juice?
For best results, marinate for at least 30 minutes as the recipe suggests. However, you can marinate for up to 4 hours for more pronounced pickle flavor. Avoid marinating overnight as the acid in the pickle juice can begin to break down the protein too much, affecting the chicken's texture.
- → What sides pair well with Dill Pickle Parmesan Chicken?
This chicken pairs beautifully with fresh sides like coleslaw, garden salad, or roasted vegetables. For starches, consider mashed potatoes, mac and cheese, or garlic bread. The tanginess of the chicken also complements creamy sides particularly well.
- → Can I use chicken thighs instead of breasts?
Absolutely! Boneless, skinless chicken thighs make an excellent substitute and often result in juicier meat. The cooking time might be slightly different—cook until the internal temperature reaches 165°F (75°C). Thighs typically take about 6-8 minutes per side when frying.
- → How do I store leftovers and reheat them?
Store cooled leftover chicken in an airtight container in the refrigerator for up to 3 days. To reheat while maintaining crispiness, place the chicken on a wire rack over a baking sheet and warm in a 350°F (175°C) oven for 10-15 minutes. Avoid microwaving if possible as it will make the coating soggy.
- → Can I use a different type of pickle juice?
Yes, you can experiment with different pickle flavors! Bread and butter pickle juice will create a sweeter profile, while spicy pickle juice adds heat. Just ensure you're using the juice from actual pickles rather than vinegar or another substitute for authentic results.