
 Save
Save
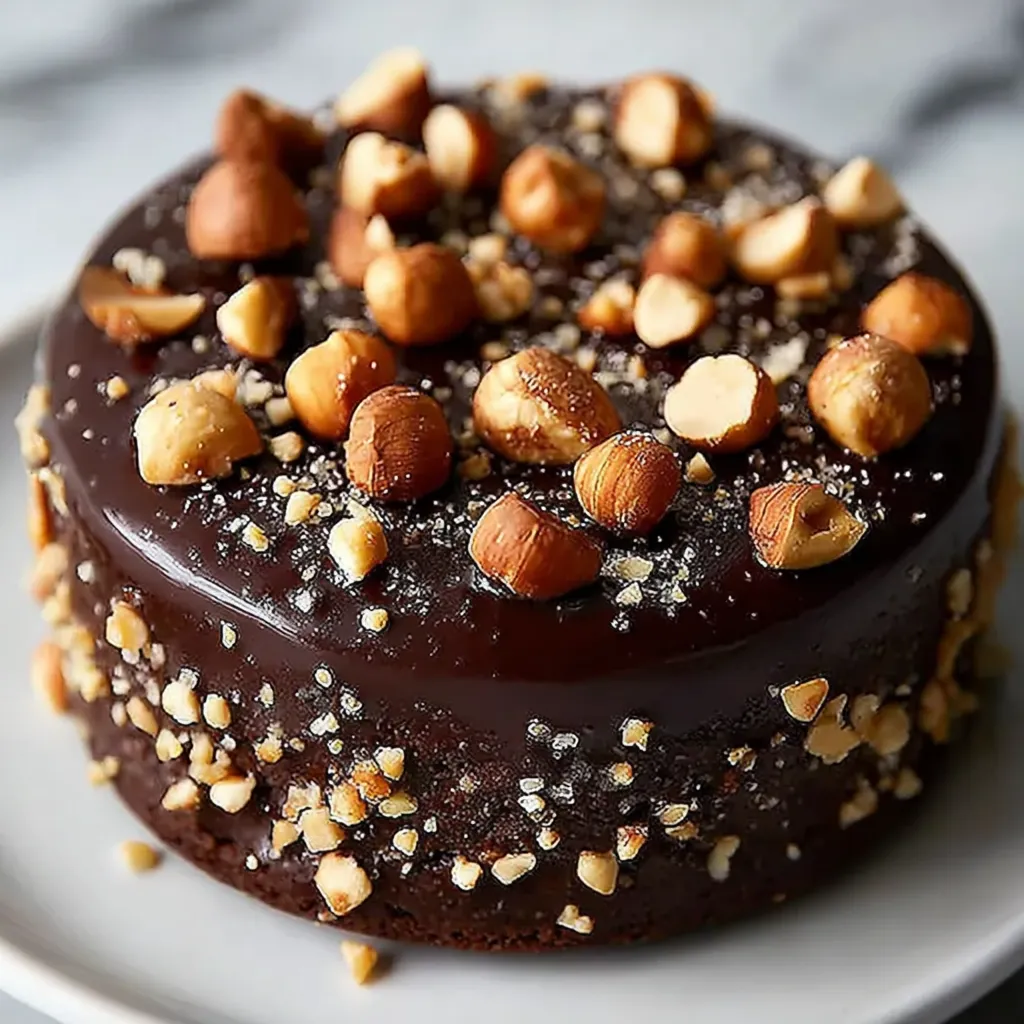
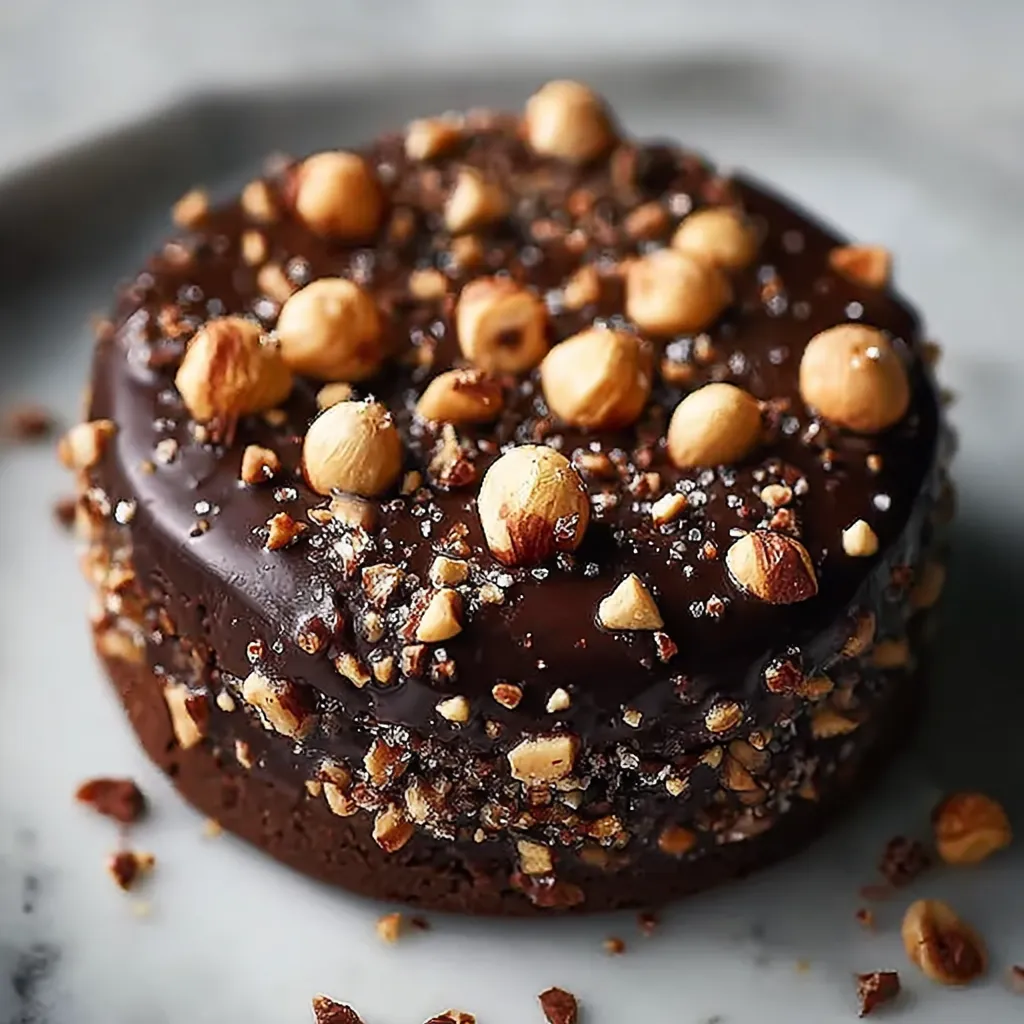
This chocolate hazelnut crunch cookie recipe transforms basic ingredients into irresistible treats with the perfect balance of sweetness, chocolate richness, and nutty crunch. The cornflake surprise adds an unexpected texture that keeps everyone reaching for more.
These cookies have become my signature dessert for holiday gatherings. I discovered this combination when trying to use up pantry items during a snowstorm, and now my family insists I make a double batch whenever they visit.
Ingredients
- Unsalted butter: creates a rich base and gives better control over salt content
- Granulated sugar: provides sweetness and helps create crisp edges
- Brown sugar: adds moisture and a subtle caramel flavor that pairs beautifully with hazelnuts
- Large eggs: bind everything together while adding structure
- Vanilla extract: enhances all the flavors especially the chocolate and nuts
- All purpose flour: provides the perfect structure look for unbleached for best flavor
- Baking soda: ensures proper rise and creates that crackly top texture
- Salt: balances the sweetness and enhances the nutty flavors
- Chocolate chips: use semi sweet or dark for balanced flavor that is not too sweet
- Chopped hazelnuts: bring earthy flavor and satisfying crunch toast them first for maximum flavor
- Crushed cornflakes: add unexpected textural contrast that makes these cookies memorable
Step-by-Step Instructions
- Preheat the Oven:
- Set your oven to 350°F and ensure it reaches full temperature before baking. Position racks in the center for even heat distribution. Line your baking sheets with parchment paper for easy cleanup and to prevent sticking.
- Cream Butter and Sugars:
- Start with room temperature butter for proper incorporation. Beat the butter with both sugars for a full 3 minutes until genuinely light and fluffy. This process incorporates air creating a tender cookie texture and the caramel notes from the brown sugar will develop during this crucial step.
- Add Eggs and Vanilla:
- Add eggs one at a time beating for 30 seconds between each addition. This ensures proper emulsification and prevents curdling. Add the vanilla and mix just until incorporated the fragrant vanilla complements the hazelnut beautifully.
- Combine Dry Ingredients:
- Whisk the flour baking soda and salt together thoroughly to ensure even distribution of leavening. Add this mixture to your wet ingredients in three portions mixing on low speed just until no dry streaks remain. Overmixing develops gluten resulting in tough cookies.
- Fold in Crunchy Ingredients:
- Use a rubber spatula to gently fold in the hazelnuts chocolate chips and cornflakes. This preserves the air incorporated during creaming and maintains texture. The cornflakes should be crushed but not powdered keeping some larger pieces for that signature crunch.
- Scoop and Bake:
- Use a cookie scoop or tablespoon to portion dough leaving 2 inches between cookies. Press down slightly but not completely flat allowing room for spread. Bake one sheet at a time for consistent results watching for golden brown edges with slightly pale centers.
- Cool and Enjoy:
- The cookies will appear soft when first removed this is perfect. Let them set on the hot baking sheet for exactly 5 minutes which allows carryover cooking to finish the centers while maintaining chewiness. Transfer to a wire rack to complete cooling which develops the final crisp exterior.
 Save
Save
The chocolate hazelnut combination reminds me of my grandmother's favorite European cookies. She would always claim hazelnuts were nature's perfect nut due to their rich flavor and healthy fats. Whenever I bake these, the aroma instantly transports me to her kitchen where we would dip fresh cookies in milk while they were still warm.
Make Ahead Options
These cookies actually improve in flavor after 24 hours as the ingredients meld together. The dough can be refrigerated for up to 3 days before baking, allowing you to prepare in advance and bake fresh when needed. For longer storage, portion the dough into balls, freeze on a sheet pan, then transfer to a freezer bag once solid. Bake directly from frozen, adding just 2 minutes to the baking time.
Perfect Pairings
These cookies create a divine dessert experience when served alongside specific beverages. Try them with a glass of cold milk for classic comfort, a shot of espresso to enhance the chocolate notes, or even a small glass of hazelnut liqueur for an adult treat. For an impressive dessert, sandwich vanilla ice cream between two cookies and roll the edges in additional chopped hazelnuts.
Nutty Variations
While hazelnuts create the signature flavor, this versatile recipe welcomes adaptations. Almonds offer a milder nutty profile, while walnuts bring a slight bitterness that contrasts beautifully with the sweet dough. For a tropical twist, substitute macadamia nuts and add white chocolate chips instead of semi sweet. The cornflakes can be replaced with crushed pretzels for a sweet and salty combination that many find irresistible.
Recipe FAQs
- → Can I substitute other nuts for the hazelnuts?
Yes, you can substitute walnuts, pecans, or almonds for the hazelnuts with excellent results. Just make sure to toast them first for maximum flavor. For a nut-free version, try using additional chocolate chips or add white chocolate chunks.
- → Do I really need to toast the hazelnuts?
While not absolutely necessary, toasting the hazelnuts significantly enhances their flavor and adds depth to the cookies. Simply spread them on a baking sheet and toast at 350°F for about 8-10 minutes until fragrant before chopping.
- → What can I use instead of cornflakes?
The cornflakes add a unique crunch, but you can substitute rice krispies, crushed pretzels, or even potato chips for a similar textural contrast. Each will contribute a slightly different flavor profile to your cookies.
- → Can I freeze the cookie dough?
Absolutely! Form the dough into balls and freeze them on a baking sheet, then transfer to a freezer bag for storage up to 3 months. You can bake them directly from frozen, just add 2-3 minutes to the baking time.
- → Why did my cookies spread too much?
Over-spreading usually happens when butter is too warm or there's not enough flour. Make sure your butter is softened but still cool to the touch, and measure your flour correctly. Chilling the dough for 30 minutes before baking can also help prevent spreading.
- → Can I make these cookies smaller or larger?
Yes, but you'll need to adjust baking time accordingly. Smaller cookies might only need 8-9 minutes, while larger cookies could require 13-15 minutes. Watch for golden edges and slightly underdone centers as your indicator.