
 Save
Save
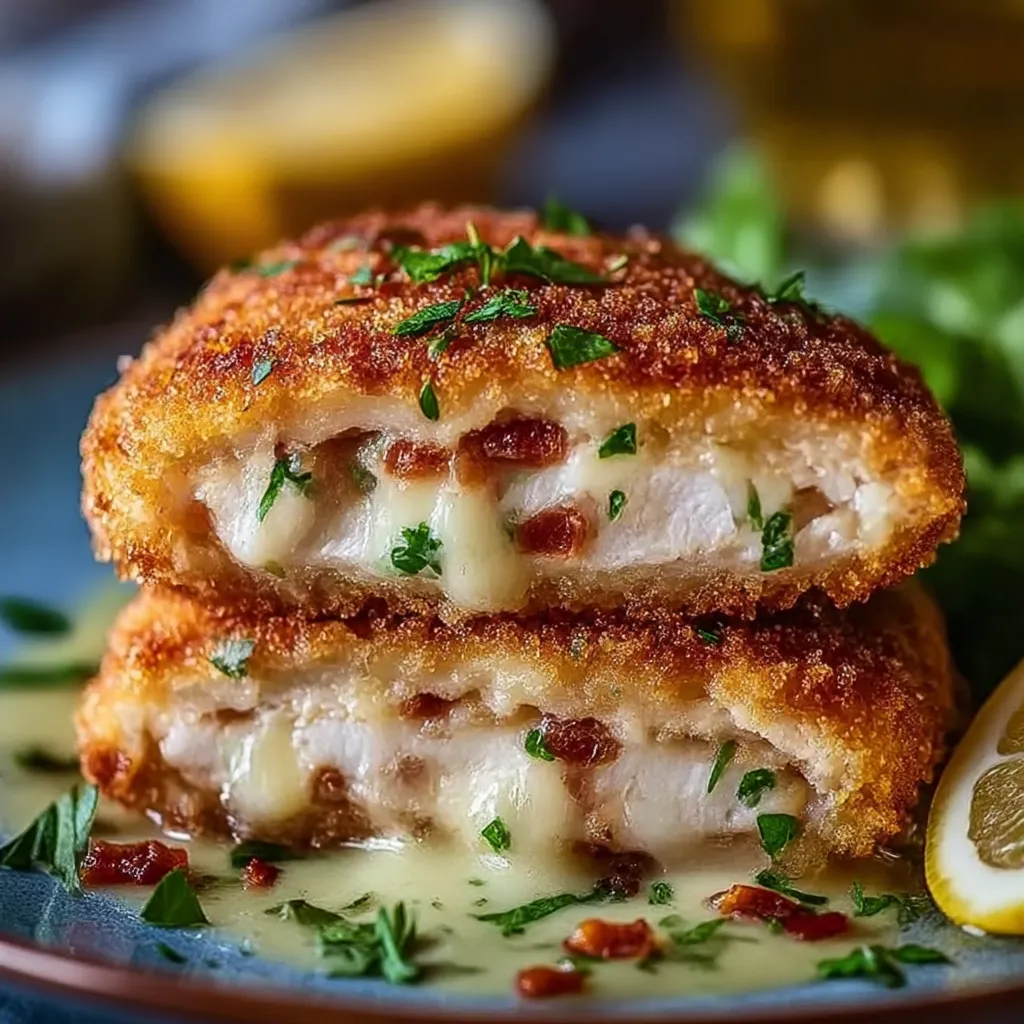
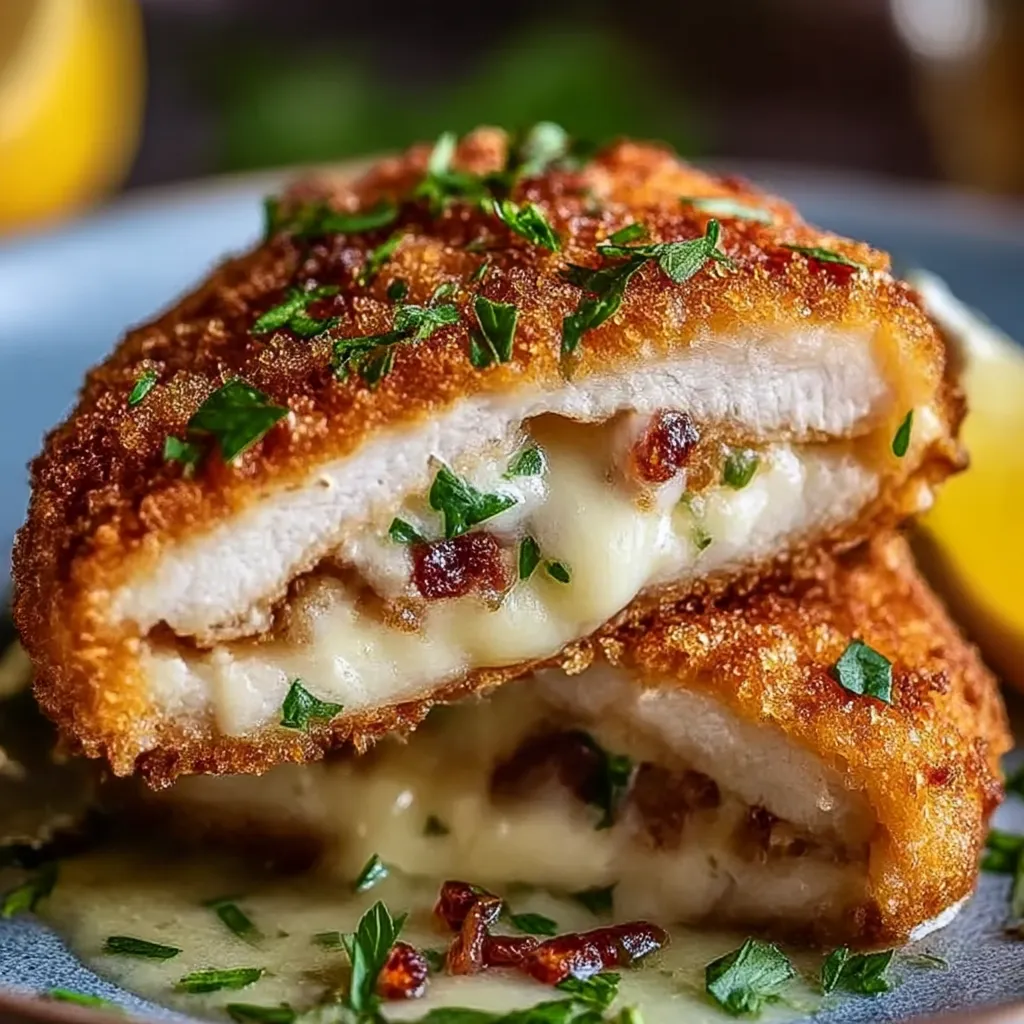
This succulent Chicken Kiev has been my go-to dinner party recipe for years, impressing guests with its crispy exterior and glorious herb butter center that creates a show-stopping moment when cut open at the table.
I first served this Chicken Kiev at my sister's birthday dinner where it earned me the family title of "butter whisperer" and sparked a tradition of everyone requesting it for their special celebrations.
Ingredients
- Unsalted butter: Creates the luxurious molten center that defines Chicken Kiev, choose the highest quality you can find for the richest flavor
- Fresh garlic: Provides aromatic punch, look for firm bulbs with tight skin
- Flat leaf parsley: Adds bright herbaceous notes, always choose vibrant bunches with no wilting
- Boneless skinless chicken breasts: Serve as the foundation, select even sized pieces for consistent cooking
- Panko breadcrumbs: Create the ultimate crispy exterior, these Japanese style breadcrumbs provide superior crunch
- Avocado oil: Has a high smoke point perfect for achieving golden perfection, worth the investment for crispy results
Step-by-Step Instructions
- Prepare the Compound Butter:
- Combine softened butter with minced garlic cloves, fresh chopped parsley, lemon juice, salt, and pepper until thoroughly integrated. The lemon brightens the mixture while the herbs and garlic infuse the butter with incredible aromatics. Shape this fragrant mixture into a small log, wrap tightly in plastic, and freeze for at least 30 minutes until completely firm. This freezing step is critical as it ensures the butter stays intact during the cooking process.
- Prepare the Chicken:
- Place each chicken breast between plastic wrap and pound to approximately 1/4 inch thickness using gentle, even strokes. Work from the center outward to create uniform thickness throughout the breast. Season both sides with salt and pepper, which penetrates the meat and enhances its natural flavors. Take care not to pound too aggressively, which can tear the delicate meat.
- Assemble the Kiev:
- Remove the frozen butter log and cut into four equal portions. Position one butter portion in the center of each flattened chicken breast. Fold the sides of the chicken over the butter, then roll the entire piece forward creating a tight package with the butter completely enclosed. Tuck any loose edges underneath, creating a neat bundle that seals the precious butter inside. Chill the assembled rolls for 30 minutes, which helps them maintain their shape during cooking.
- Bread the Chicken:
- Create a three-station breading setup with flour, beaten eggs, and breadcrumbs. Roll each chilled chicken bundle first in flour, which creates the base layer that helps the egg adhere. Next dip in beaten egg, which acts as the glue for the final layer. Finally coat thoroughly with breadcrumbs, pressing gently to ensure complete coverage. This triple coating creates the protective shell that keeps the butter inside while creating the signature crispy exterior.
- Pan Fry for Color:
- Heat avocado oil in a skillet until shimmering but not smoking. Carefully place the breaded chicken seam side down into the hot oil and cook until deeply golden brown, approximately 3 to 4 minutes per side. Use tongs to gently turn the chicken, avoiding any tears in the breading. This step creates the beautiful color and initial crispness that makes Chicken Kiev so appealing.
- Finish in the Oven:
- Transfer the golden chicken to a baking dish and place in a preheated 350°F oven for 20 to 25 minutes. The gentle oven heat cooks the chicken through without burning the coating while allowing the internal butter to warm to the perfect molten consistency. Check for doneness using a meat thermometer inserted into the thickest part of the chicken, aiming for 165°F.
 Save
Save
The fresh parsley in this dish transports me back to my grandmother's garden where she taught me to appreciate the bright flavor of just picked herbs. She would have adored this recipe with its simple elegant approach to transforming everyday ingredients into something special.
Make Ahead Magic
This Chicken Kiev actually benefits from being prepared in advance. You can complete all steps up through breading then refrigerate the prepared chicken for up to 24 hours before cooking. This makes it perfect for entertaining as you can do all the messy prep work well before guests arrive then simply fry and bake when ready to serve. The chilling time also helps the breading adhere better to the chicken resulting in less risk of the coating falling off during cooking.
Troubleshooting Butter Leaks
If you've ever had the disappointing experience of cutting into your Chicken Kiev only to discover the butter has vanished here are my solutions. First ensure your butter is frozen solid not just chilled before rolling. Second double check that your chicken is completely sealed with no small holes or thin spots. Finally consider doing a double breading process by repeating the egg and breadcrumb steps for an extra protective layer. These techniques create a more secure package keeping that precious butter where it belongs.
Serving Suggestions
Chicken Kiev pairs beautifully with simple sides that complement without competing. My favorite accompaniment is a bright lemony arugula salad which cuts through the richness of the dish. For a more traditional approach serve with fluffy mashed potatoes which capture any escaped butter sauce. If entertaining serve each Kiev on a warmed plate with a sharp knife and encourage guests to cut into it at the table for the theatrical butter release moment that always generates appreciative gasps.
Recipe FAQs
- → Can I prepare Chicken Kiev ahead of time?
Yes, you can assemble the chicken kiev up to 24 hours in advance. Prepare everything through the breading stage, then keep covered in the refrigerator. Allow an extra 5 minutes of cooking time if cooking directly from cold. You can also freeze the assembled, uncooked kiev for up to 1 month - just thaw overnight in the refrigerator before cooking.
- → How do I prevent the butter from leaking out during cooking?
The key is properly freezing the butter before stuffing, ensuring the chicken is sealed tightly around it, and chilling the assembled rolls before cooking. Make sure to seal all edges well when rolling, and if needed, secure with toothpicks. The initial frying helps seal the exterior quickly, which also helps keep the butter inside until serving time.
- → Can I bake Chicken Kiev instead of frying?
Yes, for a lighter version, skip the frying and bake the breaded chicken at 400°F (200°C) for about 30-35 minutes until golden brown and the internal temperature reaches 165°F (74°C). While it won't be quite as crispy as the fried version, it will still be delicious. Spraying or brushing the breaded chicken with a little oil before baking helps achieve better browning.
- → What sides pair well with Chicken Kiev?
Chicken Kiev pairs wonderfully with simple sides that can soak up the delicious butter sauce. Try mashed potatoes, steamed rice, or egg noodles. For vegetables, consider steamed asparagus, green beans, or a simple green salad with a light vinaigrette. The richness of the dish means lighter sides create a well-balanced meal.
- → How can I tell when my Chicken Kiev is properly cooked?
The most reliable method is using an instant-read thermometer inserted into the thickest part of the chicken (not the butter center) - it should read 165°F (74°C). Visually, the breading should be golden brown and crisp, and if you cut into the thickest part, the chicken should be opaque white with no pink, while the butter center should be completely melted.
- → Can I use different herbs in the butter filling?
Absolutely! While parsley is traditional, you can experiment with other fresh herbs like tarragon, chives, dill, or thyme. You can also add finely grated lemon zest for extra brightness, or a pinch of crushed red pepper flakes for some heat. Just maintain similar proportions to ensure the butter freezes properly.