
 Save
Save
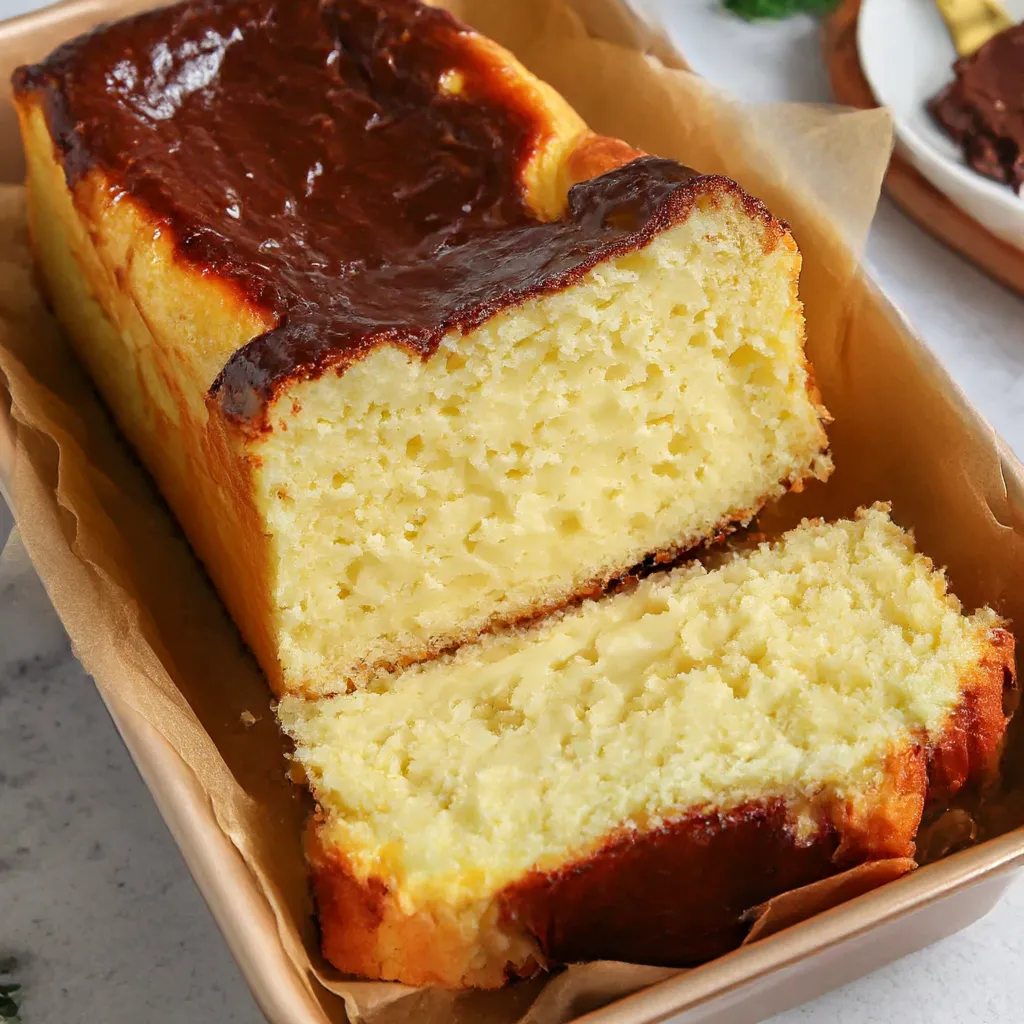
This rustic Burnt Basque Cheesecake adapted for a loaf pan delivers all the caramelized flavor and creamy texture of the traditional Spanish dessert in a convenient, sliceable form. The signature burnt top contrasts beautifully with the luscious, barely set center for an impressive yet surprisingly simple dessert experience.
I discovered this recipe during lockdown when round cake pans were impossible to find, and it's become my signature dessert for dinner parties. The loaf shape actually makes it easier to get those perfect, photogenic slices.
Ingredients
- Cream cheese: Full fat only for proper structure and richness, ensure it's completely softened
- Granulated sugar: Provides sweetness while helping create that caramelized top
- Large eggs: Bring structure and richness, room temperature is crucial for smooth incorporation
- Heavy cream: Creates that impossibly silky texture, substitute nothing here
- Vanilla extract: Pure is best for clean flavor
- Salt: Enhances sweetness and balances flavors
- All purpose flour: Just a tablespoon creates the perfect density
Step-by-Step Instructions
- Prepare Your Pan:
- Line your loaf pan generously with parchment paper, allowing extra paper to hang over the sides. This is not just for easy removal but also crucial for the characteristic wrinkled edges. The paper should crinkle up the sides rather than fit perfectly.
- Beat Cream Cheese And Sugar:
- Using a stand mixer or electric hand mixer, beat these ingredients for a full 2 minutes until extremely smooth. Stop and scrape down the sides and bottom of the bowl multiple times. Any lumps now will remain in your final cheesecake.
- Add Eggs Gradually:
- Add one egg, beat for 30 seconds until fully incorporated, then add the second. This gradual addition prevents the batter from curdling and ensures silky texture. The mixture should become noticeably lighter in color.
- Incorporate Liquid Ingredients:
- Pour in the heavy cream in a slow, steady stream while mixing on low speed. Add vanilla and salt. The batter will become quite loose at this stage, resembling a thick pancake batter. This is exactly what you want.
- Add Flour With Care:
- Sift the flour directly over the bowl to prevent any lumps, then fold gently with a spatula using a figure eight motion. Overmixing at this stage can develop gluten and toughen your cheesecake.
- Bake At High Temperature:
- The 400°F oven is essential for achieving the burnt top. Place the pan on the middle rack and resist opening the oven door during baking. The cake will rise dramatically then settle as it cools.
- Cool Properly:
- The cooling process is just as important as the baking. Let it cool completely at room temperature before refrigerating to prevent a too-dense texture and potential cracking.
I always serve this with a small dish of flaky sea salt on the side. The first time I made this cheesecake, my daughter thought I had ruined it because of the dark top, but one bite converted her into requesting it for every birthday since.
The Spanish Origin Story
Burnt Basque Cheesecake originated at La Viña restaurant in San Sebastián, Spain in the 1990s. Unlike American cheesecakes with their graham cracker crusts and careful water baths, this rebellious dessert embraces imperfection. The traditional version is baked in a round pan at extremely high temperatures, creating the signature burnt exterior that provides complex flavor contrast to the creamy interior. Our loaf pan adaptation maintains this spirit while offering more convenient slicing.
Perfect Pairings
This cheesecake shines with a contrasting element. Serve with fresh berries macerated with a touch of sugar and lemon zest for brightness against the rich cake. For an adult version, a small glass of Pedro Ximénez sherry creates a magical pairing, its raisin notes complementing the caramelized top. In autumn, try topping with a spoonful of apple butter and toasted walnuts for seasonal warmth.
Troubleshooting Tips
If your cheesecake cracks severely, you likely overbaked it. Next time, remove it when the center still has a pronounced jiggle. For now, dust with powdered sugar before serving to disguise any flaws. If your top isn't dark enough, you can briefly broil the cheesecake, but watch it constantly to prevent burning the entire cake. Remember that different ovens vary in temperature accuracy, so use visual cues rather than strict timing.
 Save
Save
Recipe FAQs
- → Why does this cheesecake use a loaf pan instead of a round pan?
The loaf pan creates a different depth ratio that makes portioning easier and ensures even baking. It's also a practical alternative for home bakers who might not have a springform pan, while still achieving the signature burnt top and creamy interior.
- → How do I know when the Basque cheesecake is properly baked?
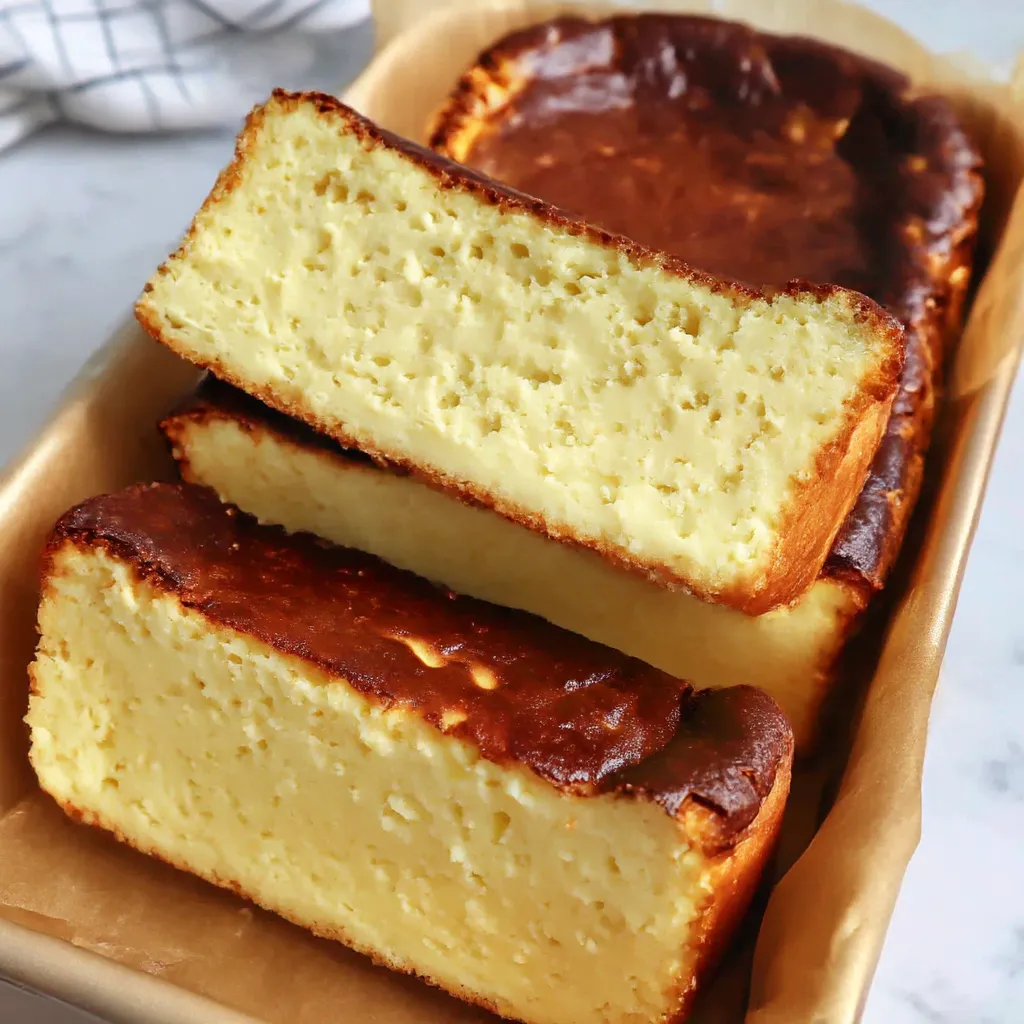
The cheesecake is done when the top is deeply golden brown (almost burnt-looking) but the center still has a slight jiggle when gently shaken. This ensures the signature contrast between the caramelized exterior and creamy interior. Don't worry about cracks—they're part of the rustic charm.
- → Can I make this cheesecake ahead of time?
Yes! In fact, this cheesecake benefits from chilling at least 4 hours, but preferably overnight. This allows the flavors to develop and the texture to set properly, making it perfect for preparing 1-2 days before serving.
- → Why is my cheesecake too firm or overcooked?
This likely happened because it was baked too long. Remember that the center should still jiggle slightly when you remove it from the oven. The residual heat continues cooking it as it cools, and the texture firms up during refrigeration.
- → Can I add other flavors to this Basque cheesecake?
Absolutely! While the classic version is simple, you can experiment with adding citrus zest, a tablespoon of liqueur, or even swirling in fruit preserves before baking. Just be careful not to add too much liquid, which could affect the setting of the cheesecake.
- → Why is proper parchment paper lining important for this cheesecake?
Proper parchment lining with overhang serves two purposes: it prevents the cheesecake from sticking to the pan and makes removal easy after chilling. The wrinkles in the parchment also create the characteristic rustic look of a traditional Basque cheesecake.