
 Save
Save
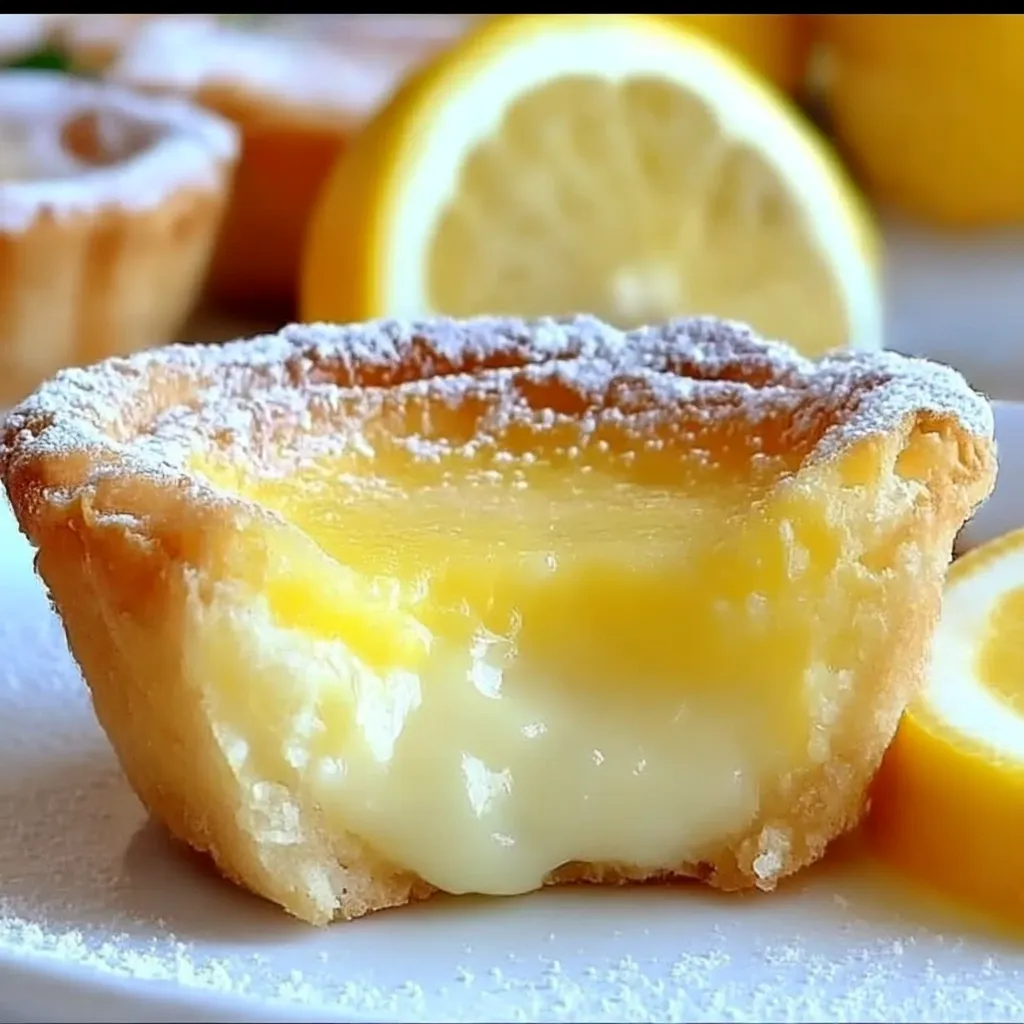
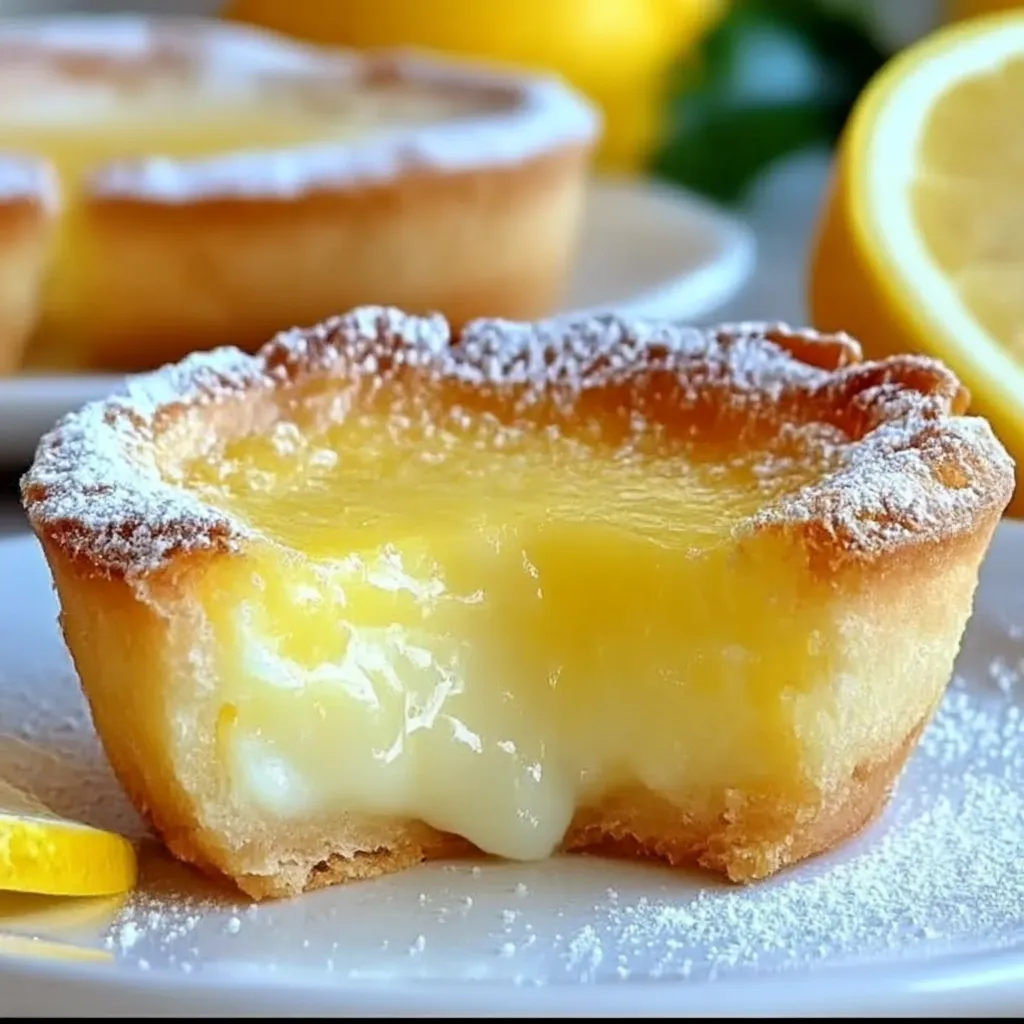
This magical Baby Lemon Impossible Pie creates its own crust while baking, delivering layers of custardy goodness with bright citrus notes in every bite. The simple blending method produces a dessert that separates into distinct textures as it bakes, making it seem impossible yet utterly delicious.
I discovered this vintage recipe in my grandmother's handwritten cookbook and have been making it for Sunday family gatherings ever since. The look of wonder on everyone's face when I explain how it creates its own layers never gets old.
Ingredients
- 1 cup granulated sugar: provides the perfect sweetness to balance the tart lemon
- 1/2 cup all purpose flour: this small amount magically creates the bottom crust layer
- 1/4 cup unsalted butter: melted for richness and that buttery finish
- 1 cup whole milk: creates the custard texture use room temperature for best results
- 3 large eggs: the binding agent that helps create distinct layers
- 1/4 cup fresh lemon juice: freshly squeezed makes all the difference in flavor
- Zest of 1 lemon: contains essential oils that provide intense lemon aroma
- 1 teaspoon vanilla extract: adds depth and rounds out the citrus notes
- 1 pinch of salt: enhances all the flavors and balances sweetness
Step-by-Step Instructions
- Preheat the Oven:
- Set your oven to 350°F and allow it to fully preheat. This consistent temperature is crucial for the pie to separate properly into layers. Position a rack in the middle of the oven for even heat distribution.
- Mix the Ingredients:
- Add all ingredients to a blender in the order listed. Blend on medium speed for about 30 seconds until completely smooth with no flour lumps. If mixing by hand, whisk vigorously for at least 2 minutes to incorporate air and ensure a silky texture. The mixture will be very thin and pourable.
- Prepare the Pie Dish:
- Use a 9 inch glass pie dish for best results as it conducts heat evenly. Butter the dish thoroughly, including the sides, to prevent sticking. The thin layer of butter also helps with the formation of the bottom crust.
- Pour and Bake:
- Pour the mixture directly into the prepared dish. The liquid will be very thin. Carefully transfer to the preheated oven without splashing. Bake for 45 to 50 minutes, watching for a puffed, golden surface. The center should be set but will still have a slight wobble when gently shaken.
- Cool Down:
- Allow the pie to rest undisturbed for a full 30 minutes after removing from the oven. During this time, the layers will continue to set and the pie will sink slightly in the center. This is normal and creates the characteristic dimple in the top.
- Serve:
- Once cooled, slice into wedges using a sharp knife dipped in hot water between cuts for clean slices. Enjoy at room temperature or refrigerate for at least 2 hours for a firmer, more set texture.
 Save
Save
The lemon zest is my secret weapon in this recipe. I always add a little extra because the oils in the zest provide that intense, aromatic lemon flavor that makes this pie so memorable. My grandmother taught me to zest the lemons before juicing them, and I can still picture her hands working the old metal grater over her mixing bowl.
The Magic Behind the Layers
The science of this "impossible" pie is fascinating. During baking, the flour naturally sinks to form a soft bottom crust, while the butter and eggs rise to create a delicate top layer. The middle sets into a luscious custard. The slow cooling process is essential to allow these layers to fully develop and set properly. Never rush this step by refrigerating the hot pie.
Make It Your Own
This adaptable recipe welcomes variations while maintaining its magical properties. Substitute lime juice and zest for a Key lime version, or add 1/2 cup shredded coconut for tropical notes. For a more intense lemon flavor, increase the zest to two lemons. During berry season, scatter 1/2 cup fresh blueberries or raspberries into the pie dish before pouring in the batter they'll float up through the layers as it bakes.
Serving Suggestions
While delicious on its own, this pie reaches new heights with thoughtful accompaniments. Serve with a dollop of lightly sweetened whipped cream or a scoop of vanilla ice cream. For a restaurant quality presentation, add a small pile of fresh berries and a sprig of mint alongside each slice. During summer months, I love to serve this chilled with a side of lemon sorbet for an extra refreshing dessert.
Historical Context
Impossible pies gained popularity in the 1970s when Bisquick featured them in advertisements, though similar self forming custards date back much earlier. Originally made with Bisquick baking mix, this scratch version delivers superior flavor while maintaining the charm of the original. These pies were beloved for their simplicity during a time when convenience cooking was becoming fashionable in American kitchens.
Recipe FAQs
- → Why is it called an 'impossible pie'?
It's called 'impossible' because it magically forms its own layers while baking. The single batter separates during the baking process, creating a firm crust on the bottom, a custard-like middle, and a lightly browned top layer—all without requiring separate preparation steps.
- → Can I make this dessert ahead of time?
Absolutely! This lemon dessert actually tastes even better the next day after the flavors have had time to meld together. Simply store it covered in the refrigerator and serve chilled for the best flavor experience.
- → How do I know when the pie is properly baked?
The pie is done when the top is golden brown and the center is set. It should have a slight jiggle but not appear liquid in the middle. The dessert will continue to firm up as it cools, so don't worry if it seems a bit soft when first removed from the oven.
- → Can I make this dessert dairy-free or gluten-free?
Yes! For a dairy-free version, substitute the whole milk with almond milk and use a plant-based butter alternative. For gluten-free, simply replace the all-purpose flour with your favorite gluten-free flour blend. The magical layering effect will still occur with these substitutions.
- → What's the best way to serve this lemon pie?
This versatile dessert can be served at room temperature or chilled from the refrigerator. For an extra special touch, dust the top with powdered sugar just before serving or add a dollop of whipped cream. It pairs beautifully with fresh berries for a complete dessert presentation.
- → How should I store leftovers?
Cover any leftover pie with plastic wrap or transfer to an airtight container and store in the refrigerator for up to 3-4 days. The flavors continue to develop, making it a perfect make-ahead dessert option for gatherings.